
Hi Guys ! Today we will do install OwnCloud on Ubuntu 21, but before that let’s have some theory.
OwnCloud is a self-hosted file sync and share server. It provides access to your data through a web interface, sync clients or WebDAV while providing a platform to view, sync and share across devices easily—all under your control. OwnCloud’s open architecture is extensible via a simple but powerful API for applications and plugins and it works with any storage.
Features
- Versioning: A file history permits you to roll back to a previous version.
- Encryption: OwnCloud protects user data in transit; when it’s transmitted between client and server.
- Drag and drop upload: Drag files from your desktop file manager to your OwnCloud instance.
- Theming: Change the look of your OwnCloud instance.
- Viewing ODF files: You can view Open Document Format files such as
.odtdocuments and.odsspreadsheets. - Expansion via install able applications: From within the OwnCloud Marketplace, you can install a number of official and third party applications.
- A mobile app for Android and iOS: Mobile apps allow you to interact with your OwnCloud server, such as for syncing, uploading, downloading, and viewing files.
Install OwnCloud on Ubuntu
Install the LAMP Stack
LAMP (Linux, Apache, MySQL, PHP) stack is required to install OwnCloud. In this section, you complete the steps to install a LAMP stack on your machine. Although you don’t have to use Apache as the web server, the OwnCloud developers highly recommend it over web servers like NGINX and lightHTTP.
- Install the LAMP stack with a single command:
sudo apt install lamp-server^ -y - When the installation is complete, enable and start Apache:
sudo systemctl start apache2 sudo systemctl enable apache2- Start and enable the MySQL database:
sudo systemctl start mysql sudo systemctl enable mysql - Set a MySQL admin password and secure the installation:
sudo mysql_secure_installation
During this process, the system asks if you want to enable theVALIDATE PASSWORD COMPONENT. This feature ensures that all created passwords are strong and unique. Answern(as in “no”). When prompted, type and verify a new secure password for the MySQL admin user. You are then prompted to answer four questions, to all of which you should respondy(as in “yes”). - Install PHP and all the required PHP packages
sudo apt install php php-opcache php-gd php-curl php-mysqlnd php-intl php-json php-ldap php-mbstring php-mysqlnd php-xml php-zip -y - Restart Apache to enable any changes:
sudo systemctl restart apache2
Create the OwnCloud Database
Now that you have installed the prerequisites, it’s time to create the OwnCloud database and user. The commands in this section are issued from within the MariaDB console.
- Access the MariaDB console:
sudo mysql -u root -p - create your OwnCloud database:
CREATE DATABASE ownclouddb; - Create a new user with the necessary privileges, including a strong and unique password. Be sure to substitute
PASSWORDwith your own password:GRANT ALL ON ownclouddb.* TO 'unixcop'@'unixcop.local' IDENTIFIED BY 'PASSWORD'; - Flush your database’s privileges:
FLUSH PRIVILEGES; - Finally, exit the database console:
exit
Download OwnCloud
At this point, the system is ready for OwnCloud. Before you actually download the software, check the OwnCloud downloads page to confirm the most recent version.
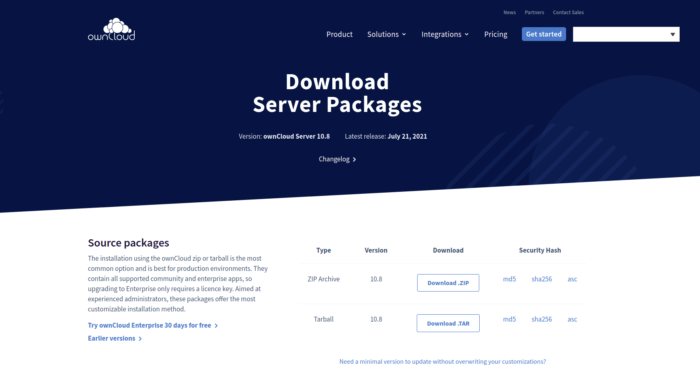
- Download OwnCloud.
wget https://download.owncloud.org/community/owncloud-10.5.0.zip - Unzip the downloaded file:
unzip owncloud-10.5.0.zip
- When you unzip the file, a new directory named
owncloudis created. Move the new directory to the Apache documentroot. This example uses the default directory for Apache site files:sudo mv owncloud /var/www/html/ - Change the ownership of the
ownclouddirectory:sudo chown -R www-data: /var/www/html/owncloud
Create an Apache Configuration File
Apache requires a virtual host configuration file in order to server your OwnCloud instance to the web.
- Create an Apache configuration file using the Nano text editor:
sudo vim /etc/apache2/sites-available/owncloud.conf - Paste the following text into the new file. Replace mentions of
example.comwith your own domain name or your IP Address
<VirtualHost \*:80>
     ServerAdmin [email protected]
     DocumentRoot /var/www/html/owncloud
     ServerName example.com
    <Directory /var/www/html/owncloud>
         Options FollowSymlinks
         AllowOverride All
         Require all granted
     </Directory>

ErrorLog ${APACHE_LOG_DIR}/example.com_error.log

CustomLog ${APACHE_LOG_DIR}/your-domain.com_access.log combined

</VirtualHost>- Save and close the file
- Enable the
rewrite,mime, andunique_idApache modules:sudo a2enmod rewrite mime unique_id - Restart the Apache server:
sudo systemctl restart apache2
The command line portion of the installation is complete.
Configure OwnCloud on Ubuntu
This section covers the web-based portion of the installation.
- Open a web browser and navigate to your site’s domain, if it has been configured to use a domain name like,
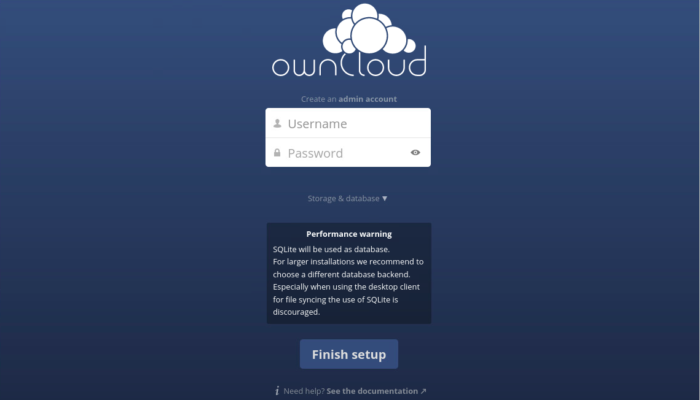
http://unixcop.local/owncloud. - Type a username and password for the admin user; click the
Storage & Databasedrop-down; and then clickMySQL/MariaDB.
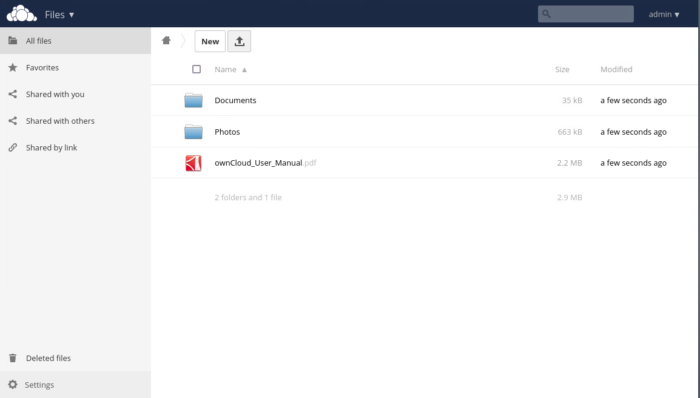
After logging in, you will get the page like this

debian:
root@owncloud:/var/www/owncloud# apt install lamp-server^ -y
Reading package lists… Done
Building dependency tree… Done
Reading state information… Done
E: Unable to locate package lamp-server^
E: Couldn’t find task ‘lamp-server’