
Servers exposed to the internet are at very high risk of malware attacks. There are a number of measures you can take to ensure you are protected from unauthorized users and malicious software. One of them is to use Fail2ban.
Fail2ban is an intrusion prevention tool that protects servers from attacks on the internet. It protects against types of brute-force attacks. It does this by monitoring logs of applications like OpenSSH daemon, Apache, MySQL, mail logs. This tool looks at log files and analyses where connection attempts are coming from, how many times a user attempts to log in, where they try to log in from, and how frequently they try to log in. This guide takes you through how to install and configure Fail2ban on CentOS 8.
This tool is very helpful in stopping brute-force attacks on your server. For example in the case where a user repeatedly tries to gain remote access into your server using different user and password combinations.
Step 1: Install EPEL Repository
To start off, Install the EPEL package as follows.
For CentOS 8:
$ sudo dnf install -y epel-release
For RHEL 8:
$ sudo dnf install https://dl.fedoraproject.org/pub/epel/epel-release-latest-8.noarch.rpm -y
Install Fail2ban on CentOS
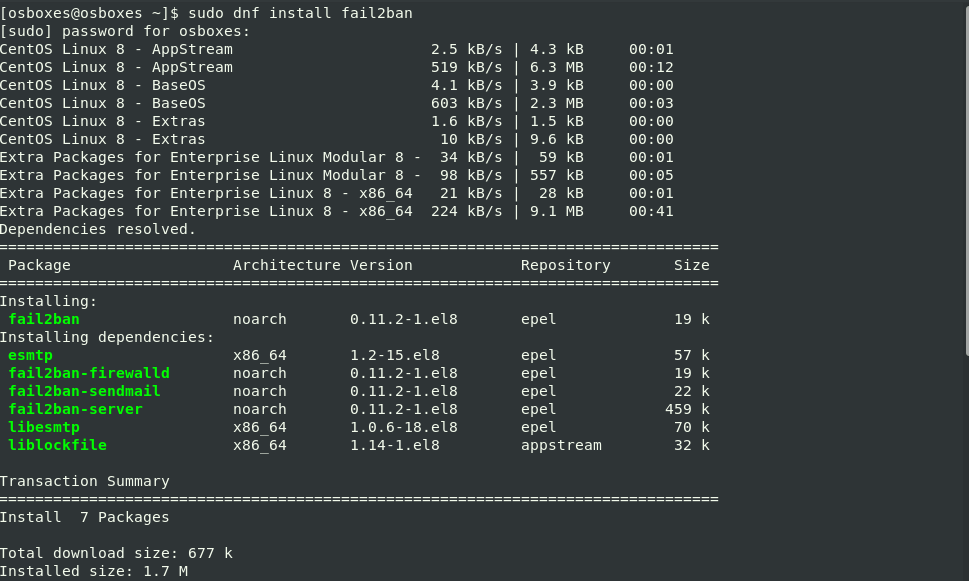
The Fail2ban package is available in the default CentOS 8 repositories. To install it, run the command:
$ sudo dnf install fail2ban
Configure Fail2Ban
Fail2ban keeps all the important configuration files under /etc/fail2ban directory. The default Fail2ban installation comes with two main configuration files, /etc/fail2ban/jail.conf and /etc/fail2ban/jail.d/00-firewalld.conf. The /etc/fail2ban/jail.conf is the main configuration file.

These files should not be modified as they may be overwritten when the package is updated. We, therefore, need to create a copy of this file as jail.local.
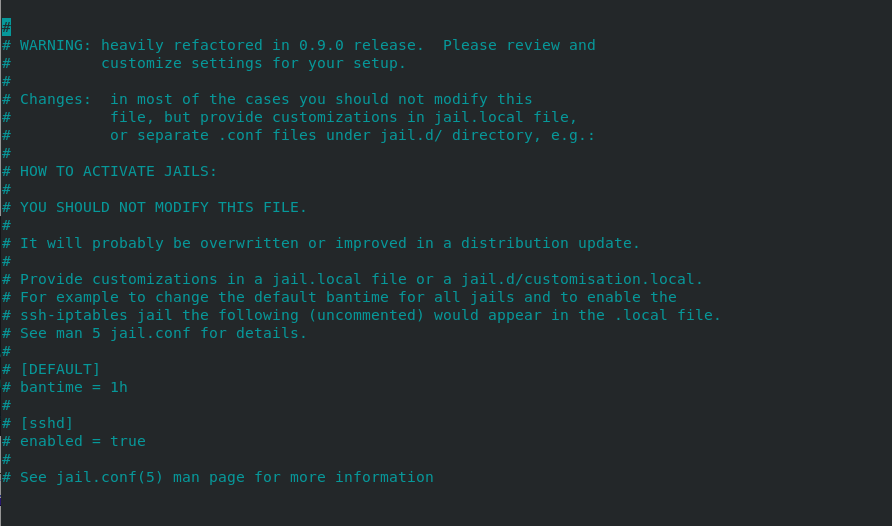
The jail.local file overrides the settings in the jail.conf file. We will create a .local configuration file from the default jail.conf file:.
In this article, we are going to create a jail file that will secure SSH connections. Run the following command to create jail.local file
$ sudo vim /etc/fail2ban/jail.local
Here’s the sample configuration file that we will copy into the jai.local file.
 [DEFAULT]
 ignoreip = 192.168.0.103
 bantime  = 86400
 findtime  = 300
 maxretry = 3
 banaction = iptables-multiport
 backend = systemd
 [sshd]
 enabled = true
In this sample configuration, when an IP address records 3 failed login attempts within the last 5 minutes, then it will be banned for 24 hours with the exception of a host with IP 192.168.0.103
The parameters in our sample configuration are discussed below
- ignoreip – it specifies a list of IP addresses, DNS host or CIDR masks. That would not be banned. You can define several addresses using space (and/or comma) separator.
- bantime – It specifies the duration of time in seconds that a remote host is banned
- maxretry – This specifies the number of failed login attempts before the host is banned. The default value for the maxretry value is 5.
- findtime – This is the time duration between the number of failures before a ban is set.
- banaction – The banning action.
- backend – Specifies the system used to get files modification
Save and exit the configuration file.
Start Fail2ban
Next, start and enable the Fail2ban service:
$ sudo systemctl start fail2ban
$ sudo systemctl enable --now fail2ban

To check the status of the fail2ban service:
$ sudo systemctl status fail2ban
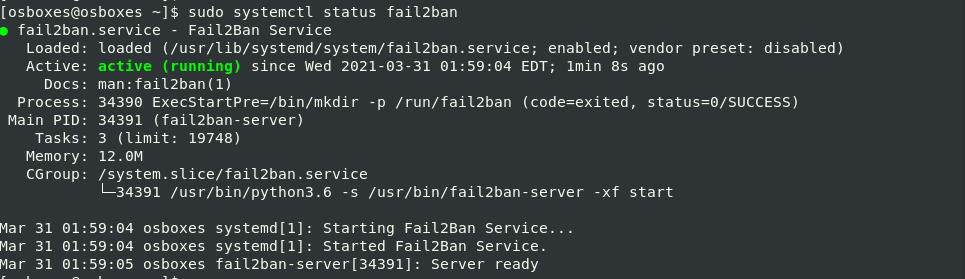
The output shows Fail2Ban running on your CentOS server.
After the configuration, let’s check for any banned IP addresses. The fail2ban-client is used for this purpose. In this example we get the status of ssh jail. Run the command below:
$ sudo fail2ban-client status sshd
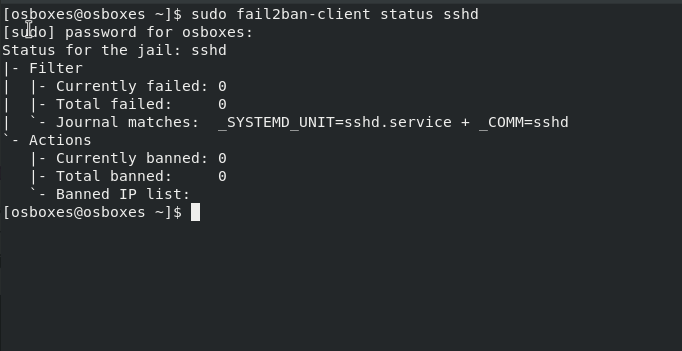
In the output above, there are no banned IP addresses because we have not attempted to log in remotely to the server yet.
We are going to attempt to log in from putty SSH client from a Windows PC with an IP different from the one specified in jail.local configuration file.In this example, I have tried SSH using putty with a different IP address from the one specified in the jail.local file. After three wrong attempts, Fail2ban blocked that IP.
Now when we check the status of ssh jail again, we can see that an IP has been banned.
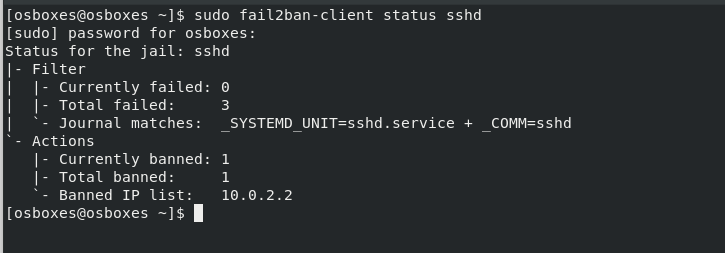
To unban the IP address run the following command:
$ sudo fail2ban-client unban 10.0.2.2
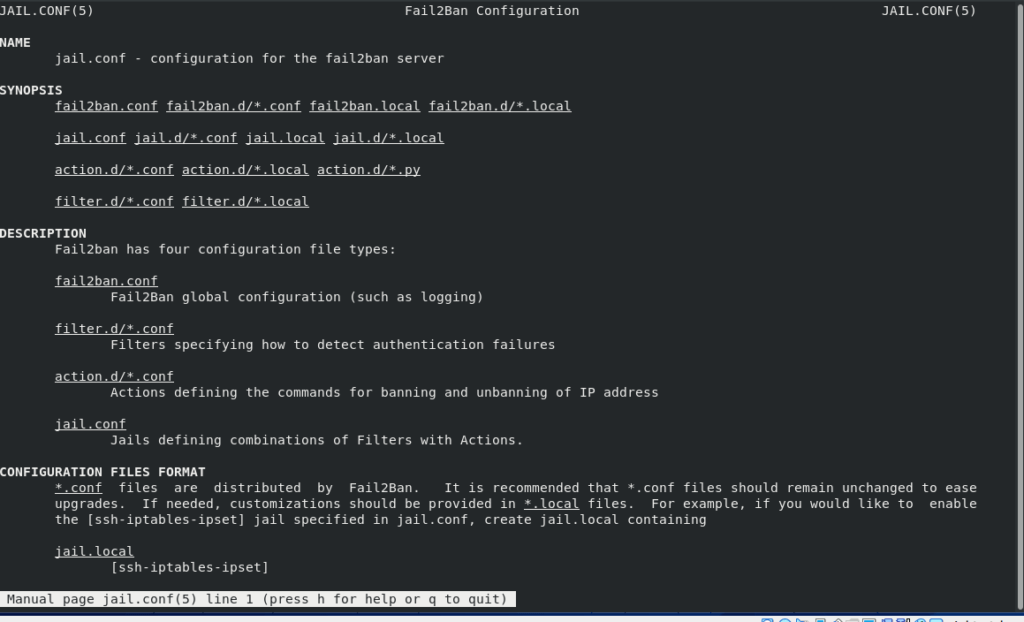
For more information about fail2ban policies visit the man pages with the command.
$ man jail.conf
Conclusion
In this guide we explained how to install and configure Fail2Ban on CentOS 8 . For more information about Fail2Ban, visit the Fail2ban documentation.