")
This post is about I2P SETUP FOR SQUID OUTPROXY.
I2P INSTALLATION ON DEBIAN 10
The Invisible Internet Project (I2P) is a fully encrypted private network layer that has been developed with privacy and security by design in order to provide protection for your activity, location and your identity. The software ships with a router that connects you to the network and applications for sharing, communicating and building.
sudo apt-get update
sudo apt-get install apt-transport-https curl
sudo nano /etc/apt/sources.list.d/i2p.list
deb https://deb.i2p2.de/ buster main
deb-src https://deb.i2p2.de/ buster main
sudo curl -o i2p-debian-repo.key.asc https://geti2p.net/_static/i2p-debian-repo.key.asc
gpg -n --import --import-options import-show i2p-debian-repo.key.asc
sudo apt-key add i2p-debian-repo.key.asc
sudo apt-get update
sudo apt-get install i2p i2p-keyring
IPTABLES CONFIGURATION FOR I2P:
ip ables -I INPUT t -p tcp -m tcp --dport 7657 -j ACCEPT
iptables -I INPUT -p tcp -m tcp --dport 7658 -j ACCEPT
iptables -I INPUT -p tcp -m tcp --dport 7657 -j ACCEPT
iptables -I INPUT -p tcp -m tcp --dport 7658 -j ACCEPT
vi /etc/sysctl.conf
(Add following line at bottom of sysctl.conf)
net.ipv4.conf.eth0.route_localnet=1
(Save and exit)
(Run Following commands):
sysctl -p
iptables -t nat -I PREROUTING -p tcp -d 0.0.0.0/0 --dport 7657 -j DNAT --to-destination 127.0.0.1:7657
iptables -t nat -I PREROUTING -p tcp -d 0.0.0.0/0 --dport 7658 -j DNAT --to-destination 127.0.0.1:7658
iptables-save > /etc/iptables.rules
crontab -e
@reboot sudo iptables-restore -n < /etc/iptables.rules
SET I2P SERVICE TO START AT REBOOT:
systemctl enable i2p
systemctl start i2p
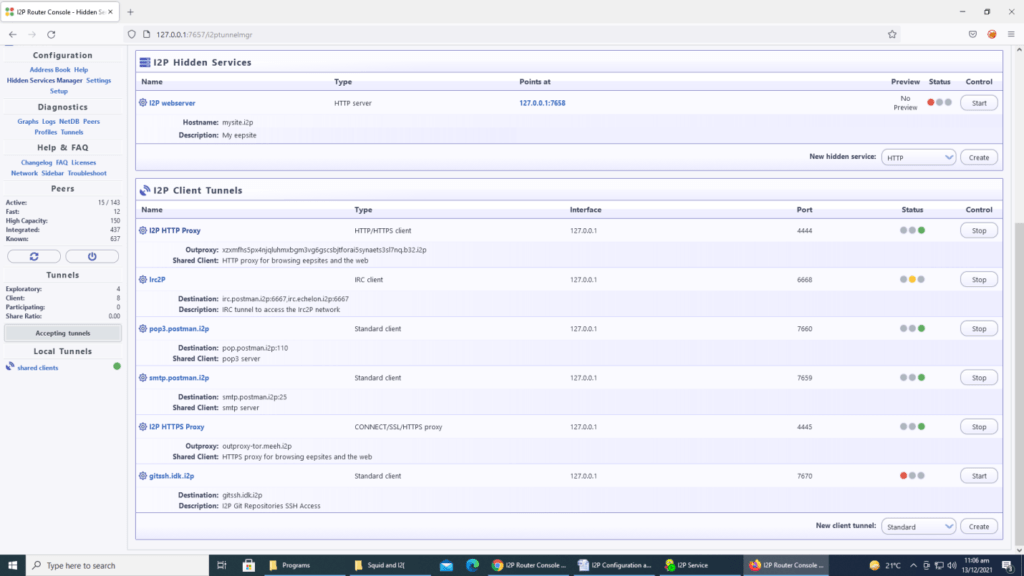
I2P TUNNEL CONFIGURATION FOR OUTPROXY
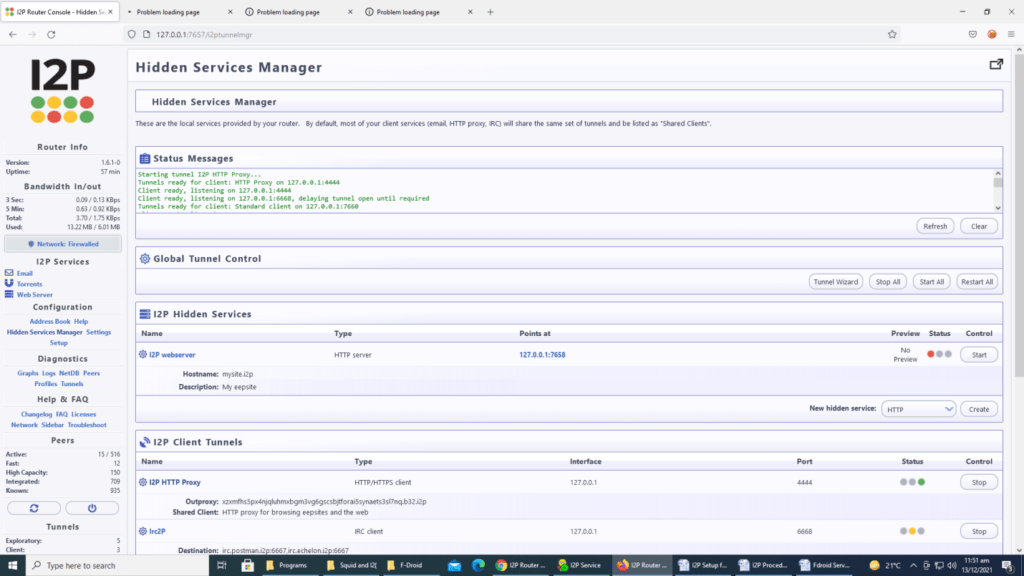
http://127.0.0.1:7657/home
Click on Hidden Service Manager
Click the Server Tunnel, Select tunnel type Standard, Type name of tunnel and Type Host IP and destination port.
Put check on Automatically start tunnel when router starts and click on finish and Tunnel is created as show below.
CONFIGURATION OF USING SQUID AUTHENTICATION IN I2P
nano /etc/i2p/wrapper.config
“Now add following line in wrapper.conf”
i2p.disableSSLHostnameVerification=true
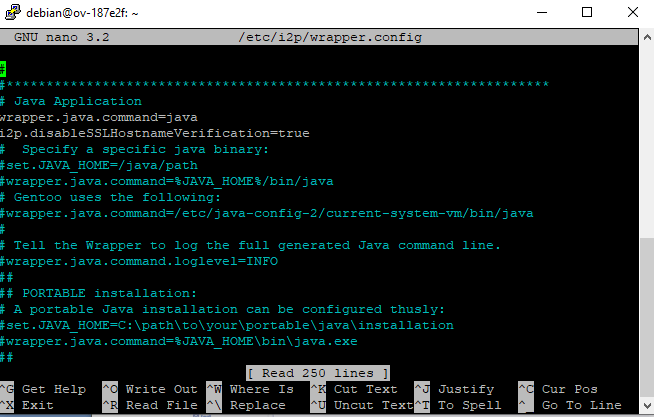
Save and exit
Now restart i2p service as :
service i2p restart
I2P CONFIGURATION AT CLIENT SIDE (ANDROID MOBILE)
Download I2P from Playstore
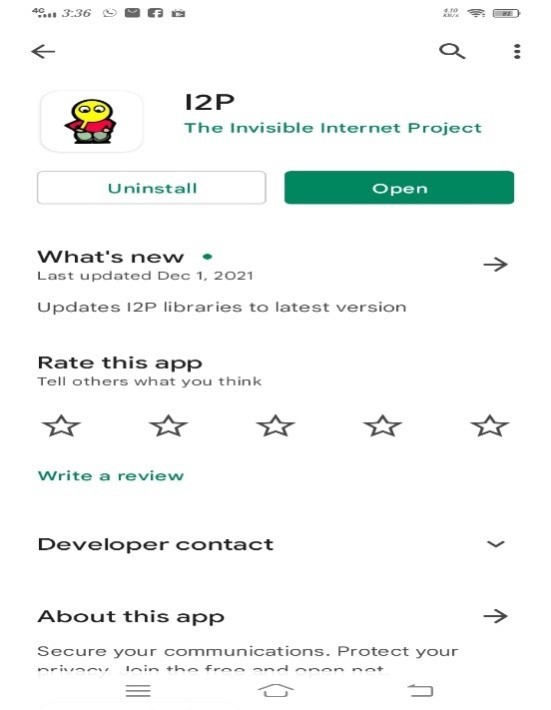
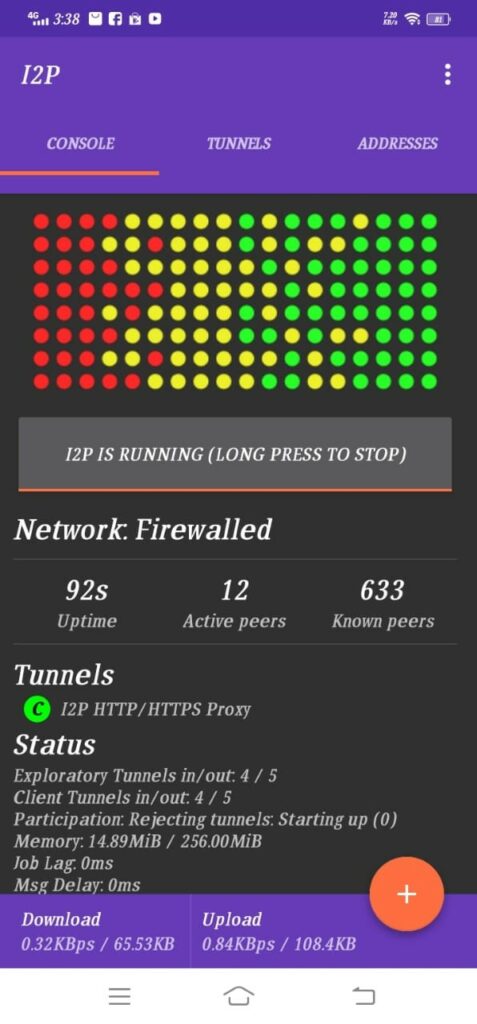
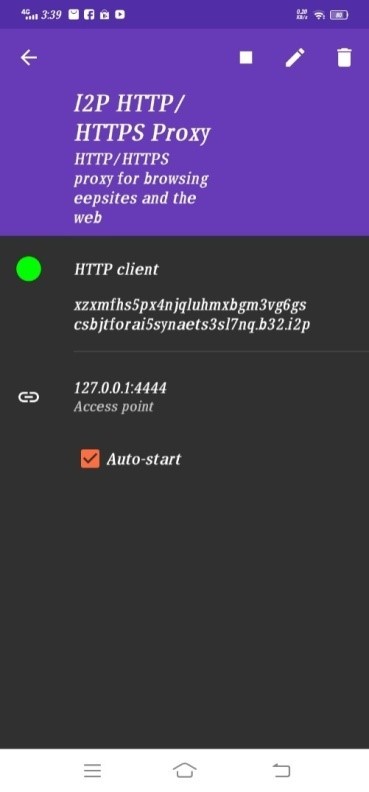
Open and run I2P. After starting I2P Service it will take 2 to 3 minutes to initialize service and tunnels. After successful run of I2P it will be shown as below
Now to set the outproxy URL go to the tunnel tab as shown below
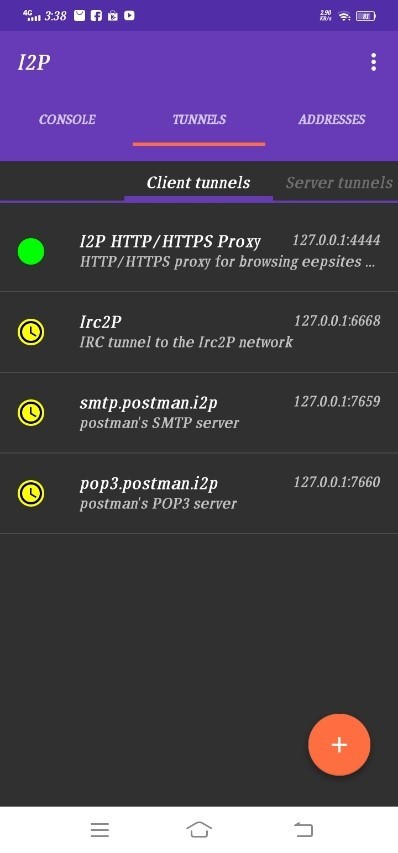
Then click on I2P HTTP/HTTPS Proxy
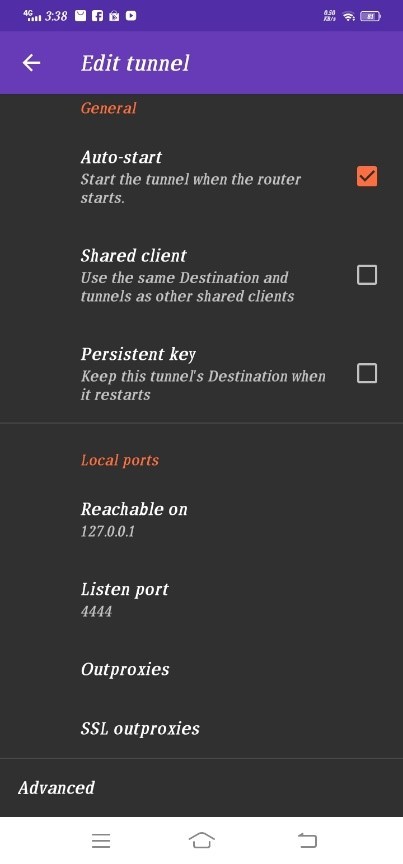
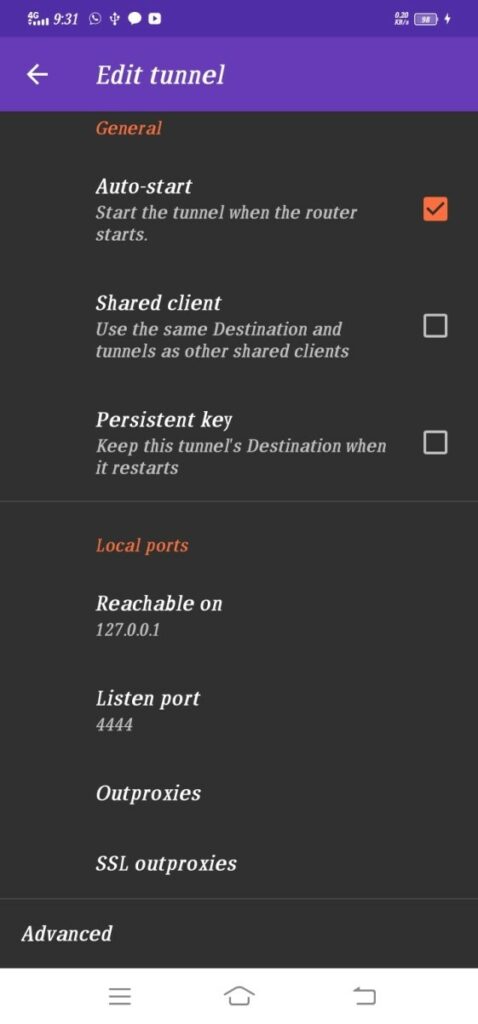
Now click on Outproxies and SSL outproxies and set i2p outproxy url:
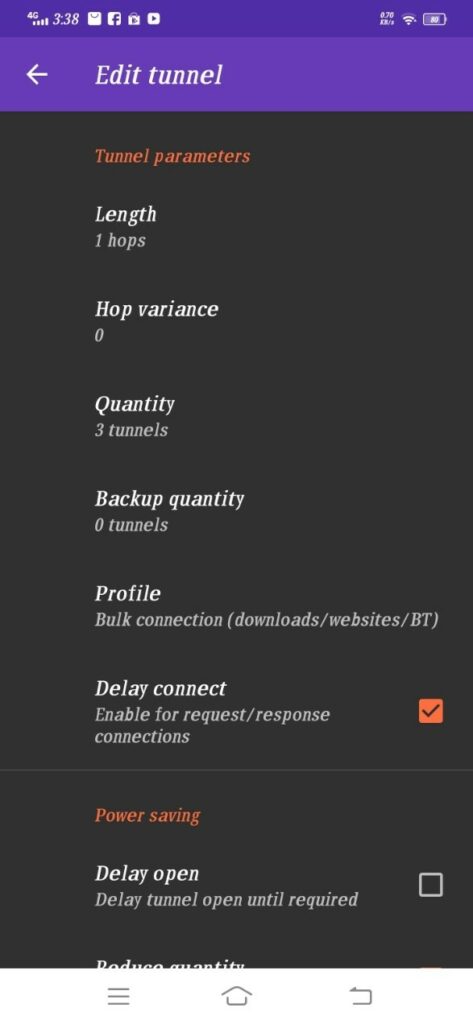
Scroll down and click on Advanced button.
Set the tunnel parameter as shown below (This is optional and for have some better performance)
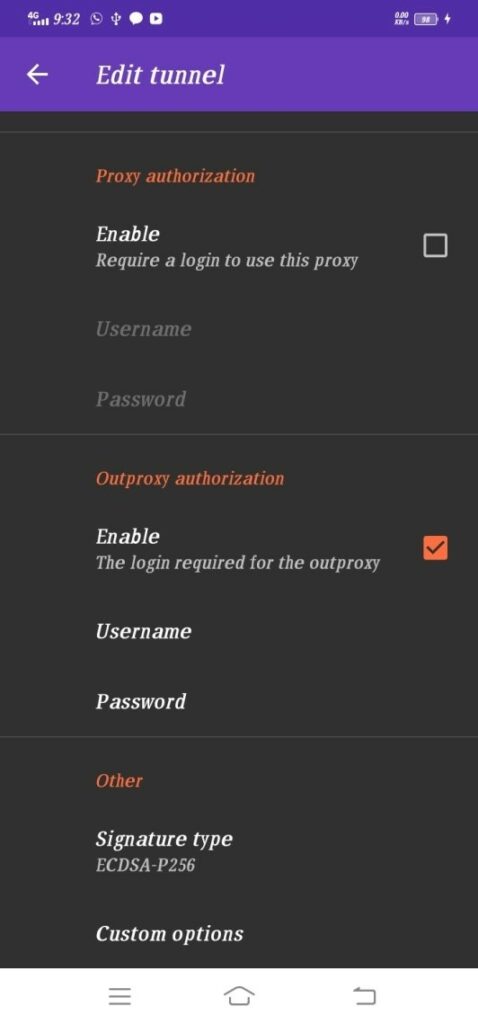
Now scroll down and find the outproxy authorization option and enable it. Then set credentials as shown below
Now press the back button and restart the tunnel or may restart I2P
I2P Web browsing
I2P needs some application that defines required proxy setting. In normal web browser available in Android couldn’t find proxy setting option.
So Mozilla Firefox we used here for testing purpose. It has FoxyProxy Add-on Which fulfill the requirements to define proxy options:
Download Firefox and Go to the Add-on options. Then search and add the Foxyproxy Add-on. Following is the Firefox Add-on Screen:

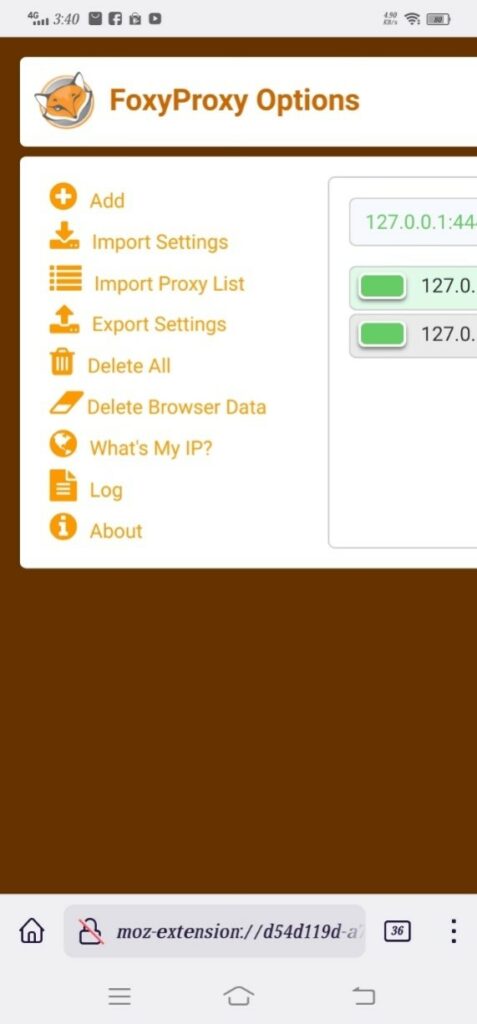
After adding Foxyproxy, click on it. Then Enabled and go to the settings

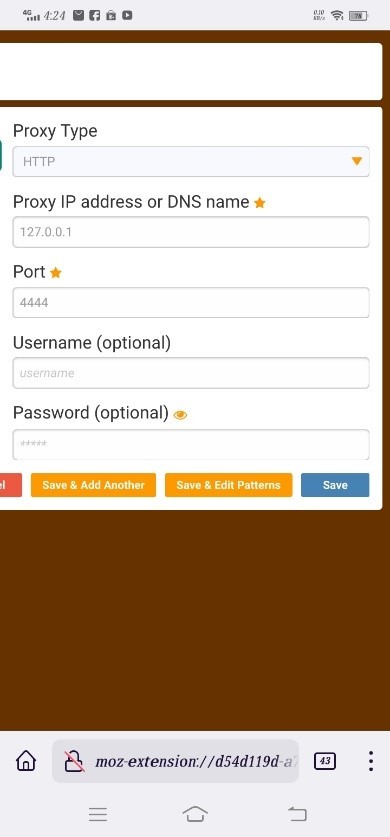
In settings, click on Add
Do the following configuration and save it (Proxy type: HTTP, Proxy IP: 127.0.0.1, Port: 4444)
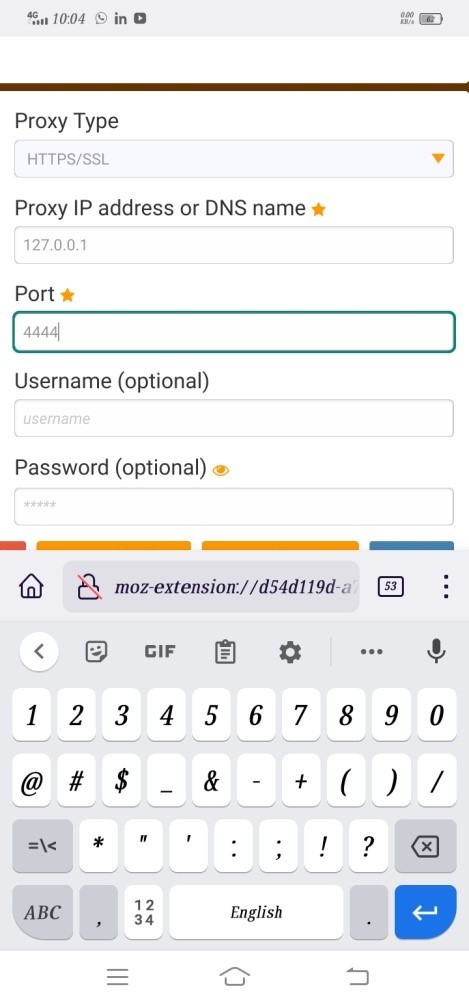
Click on Add Again
Do the following configuration and save it (Proxy type: HTTPS/SSL, Proxy IP: 127.0.0.1, Port: 4444)
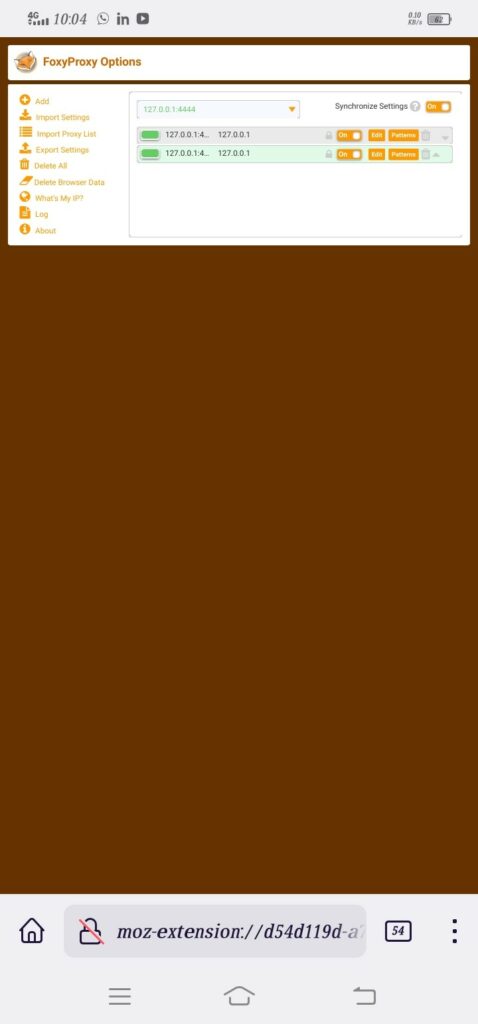
After Saving, Turn this proxy on as shown below
Now try to browse:
If face problem in browsing like time out or proxy refuse connection then make sure I2P Client is running or restart it
I2P CONFIGURATION FOR WINDOWS CLIENT
Download I2P for windows from here (Latest version of Java would be required. Make sure it is already installed in windows PC)
https://geti2p.net/en/download

After Download I2P run the setup
Just Click ok
Then, you have to Click on Next
Select the destination folder or leave default. So, Click on next
Click on next
Finally, Click on Next and finish the setup
To Start I2p Service double click on I2P icon named Start I2P (restartable)
Below screen will appear when I2P initialize service (wait 2 to 3 minutes to initialize the tunnels)
Open Mozilla Firefox and configure its proxy setting as shown below
Access I2P console http://127.0.0.1:7657/home
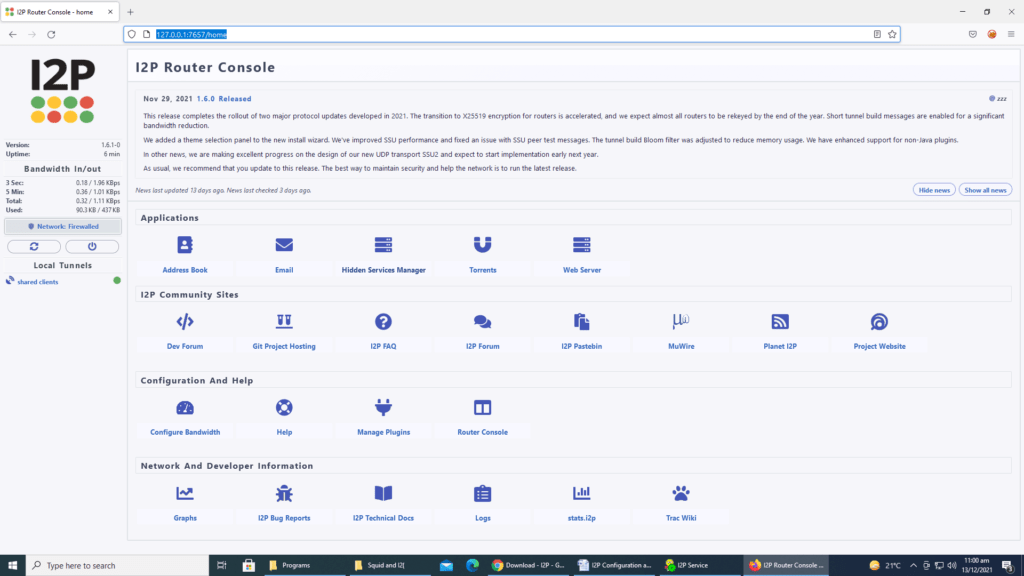
Click on Hidden Service Manager
Click on I2P HTTP Proxy and paste the outproxy address in outproxies and SSL outproxies section.
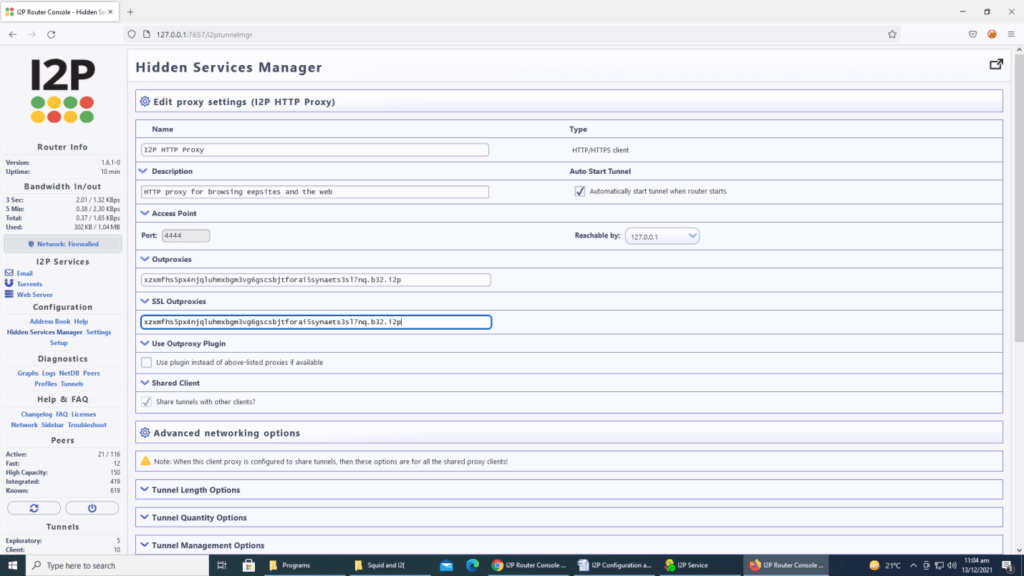
Now scroll down and enable outproxy authorization and set the credentials and save the tunnel
Then stop and start the tunnel “I2P HTTP Proxy” again