
Hello, friends. In this post, you will learn how to set up a DHCP server on Debian 11. The process is simple; however, many options depend on the needs of the network.
DHCP server
Briefly, we can say that DHCP is a TCP/IP standard designed to simplify the management of the IP configuration of the computers in our network.
If you have a DHCP server on your network, the process of assigning IP addresses becomes automatic as it will take care of setting them according to certain parameters.
The server will provide the client with at least the following parameters:
- IP address
- Subnet mask
Optionally, the DHCP server may provide other configuration parameters, such as:
- Gateway
- DNS servers
- Many more parameters
So, often, a DHCP server becomes essential for network operation.
Configuring a DHCP server on Debian 11
By default, Debian 11 includes in its official repositories a package that provides DHCP functionality.
So connect via SSH to your server and make sure it is up-to-date.
apt update
apt upgrade
If you don’t have root access, then you can use your regular user and sudo.
Next, install the DHCP package on Debian with the following command
apt install isc-dhcp-server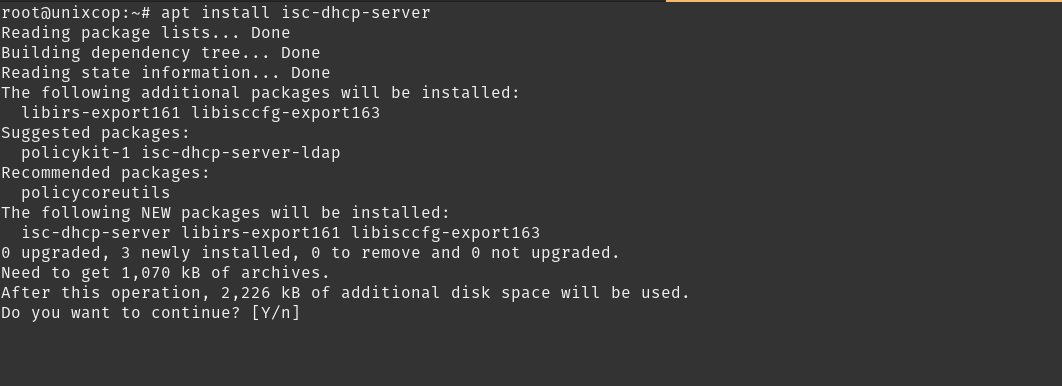
Now it is time to configure it.
Configure DHCP on Debian
The DHCP configuration resides in the /etc/default/isc-dhcp-server file, which I suggest backing up before editing it.
cp /etc/default/isc-dhcp-server /etc/default/isc-dhcp-server.bakNow, edit it with the editor of your choice
nano /etc/default/isc-dhcp-serverThe first thing you have to do is to set the network interface that will configure DHCP for both IPv4 and IPv6
INTERFACESv4="eth0"
INTERFACESv6="eth0"
You can add multiple interfaces separated by a blank space.
Setting DHCP configuration parameters
If you read the file carefully, you will know that there is another file where the DHCP subnet settings are located. It is the file /etc/dhcp/dhcpd.conf.
Again, back up the file.
cp /etc/dhcp/dhcpd.conf /etc/dhcp/dhcpd.conf.bakNow edit it
nano /etc/dhcp/dhcpd.confThe file is very documented in the form of comments, so it won’t take you long to understand it.
The first thing you can do is to modify the lines:
option domain-name
option domain-name-servers
To adapt them to the domain name of the server and the others of the networks. These will be used on the local network.
If you want to “force” the network to be the only DHCP server, then uncomment the line
authoritative;At the bottom of the file, you will be able to set up configurations for each subnetwork there is. A common example configuration is as follows:
subnet 192.168.5.0 netmask 255.255.255.0 {
   range 192.168.5.10 192.168.5.100;
   option routers 192.168.5.1;
   option subnet-mask 255.255.255.0;
   option domain-search "local.unixcop.com";
   option domain-name-servers dn.local.unixcop.com;
   option broadcast-address 192.168.5.255;
   default-lease-time 900;
   max-lease-time 7200;
}
The options are explanatory…, however, let’s detail them.
- Range: Sets the range of addresses to assign.
- Routers: sets the router or gateway outbound
- subnet-mask: The network mask
- Domain-search: The domain name to use
- Domain-name-servers: the DNS to use.
- Broadcast-address: The address to assign to the broadcast
- Default-lease-time: The default address allocation time.
- Max-lease-time: Maximum time a host will use an IP address.
This configuration is one of the most common.
You can also deny assignment to a specific host.
host sample {
      hardware ethernet 00:00:00:00:00:00:00;
      deny booting;
}
The previous host named with MAC address 00:00:00:00:00:00:00:00 will not be able to access the network.
Finally, you can assign an IP address to a specific host
host sample2 {
   option host-name "sample2.unixcop.com";
   hardware ethernet 00:12:32:00:00:FF;
   fixed-address 192.168.5.96;
}
In this case, the host named sample2.unixcop.com will be assigned the address 192.168.5.96.
Save the changes and close the editor.
Finally, apply the changes by restarting the service.
sudo systemctl restart isc-dhcp-server.serviceAnd that’s it! The server is ready.
Conclusion
A DHCP server is important in the network. Now you know how to configure it, it’s your turn to do it.