
Everything Linux, A.I, IT News, DataOps, Open Source and more delivered right to you.
"The best Linux newsletter on the web"
Uptime-Kuma is a self-hosted monitoring tool similar to “Uptime Robot”. It’s a great open-source alternative to uptime robot. It’s very lightweight and fast, the UI is nice and modern.
Benefits of Using a Self-Hosted Monitoring Tool
- Complete control of your data.
- Customize the way you want to get notified.
- More features for potentially less investment.
- Helps you gain some skills while you learn managing it yourself.
- Monitor internal services without exposing them to the Internet.
In this article, We will show you how to run Kuma Uptime Robot Using PM2.
Download and Install Kuma Uptime Robot
Follow the steps below to get started with Inkscape :
- Update your system packages with running the below command:
sudo dnf update -y && sudo dnf upgrade -y- Install Node.js with all necessary dependencies as shown below:
curl -sL https://rpm.nodesource.com/setup_16.x | sudo bash -
sudo yum install nodejs -y- Verify your installation with getting the node version as follows:
node -v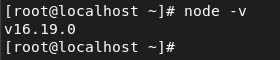
- Install node.js using NVM by running the commands below:
curl  -o- https://raw.githubusercontent.com/nvm-sh/nvm/master/install.sh | bash


export NVM_DIR="$HOME/.nvm"
[ -s "$NVM_DIR/nvm.sh" ] && \. "$NVM_DIR/nvm.sh"  # This loads nvm
[ -s "$NVM_DIR/bash_completion" ] && \. "$NVM_DIR/bash_completion" # This loads nvm bash_completion- Install v16.x.y using nvm. The Uptime Kuma requires v14 and above so we will install v16 as shown below:
nvm install v16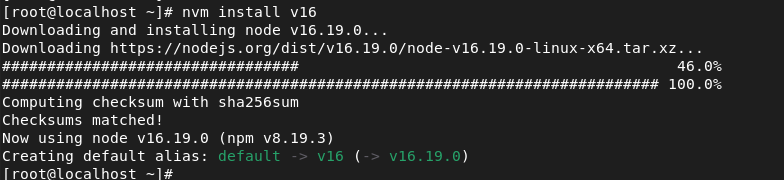
- After that we have to install a version control, in our article we will use GIT, so install git as shown below:
sudo yum install git -y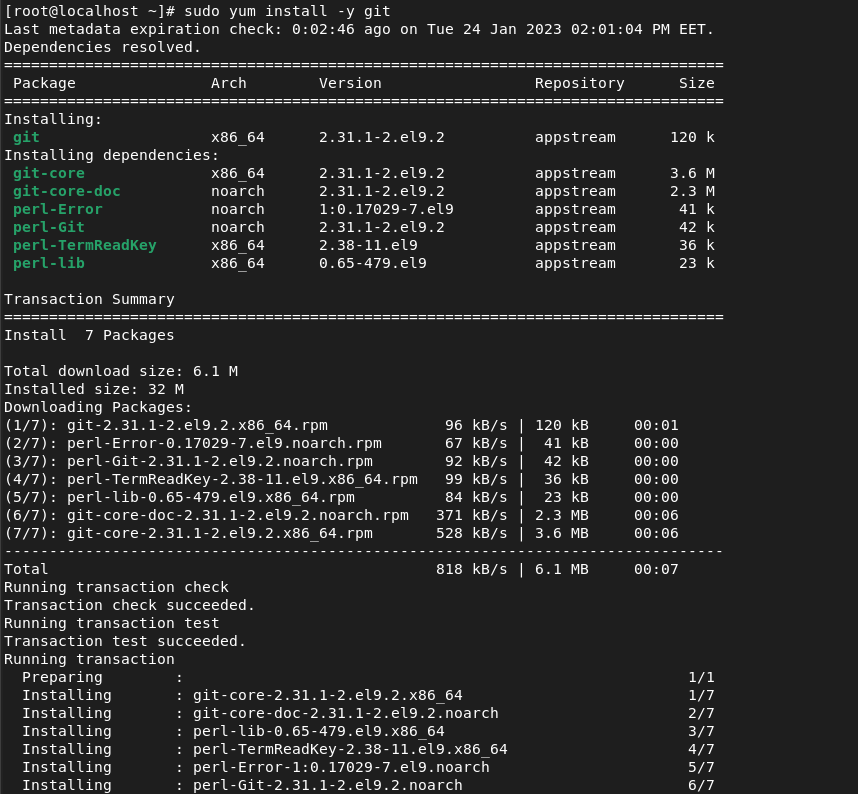
- Clone Uptime Kuma repository from github by running the command below:
git clone https://github.com/louislam/uptime-kuma.git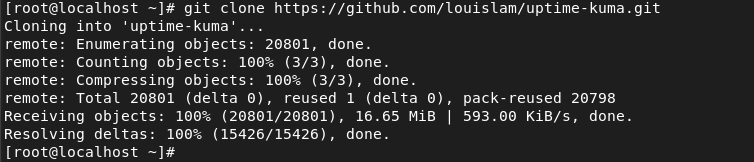
- Change directory to uptime kuma then start the setup using npm as follows:
cd uptime-kuma/
npm run setup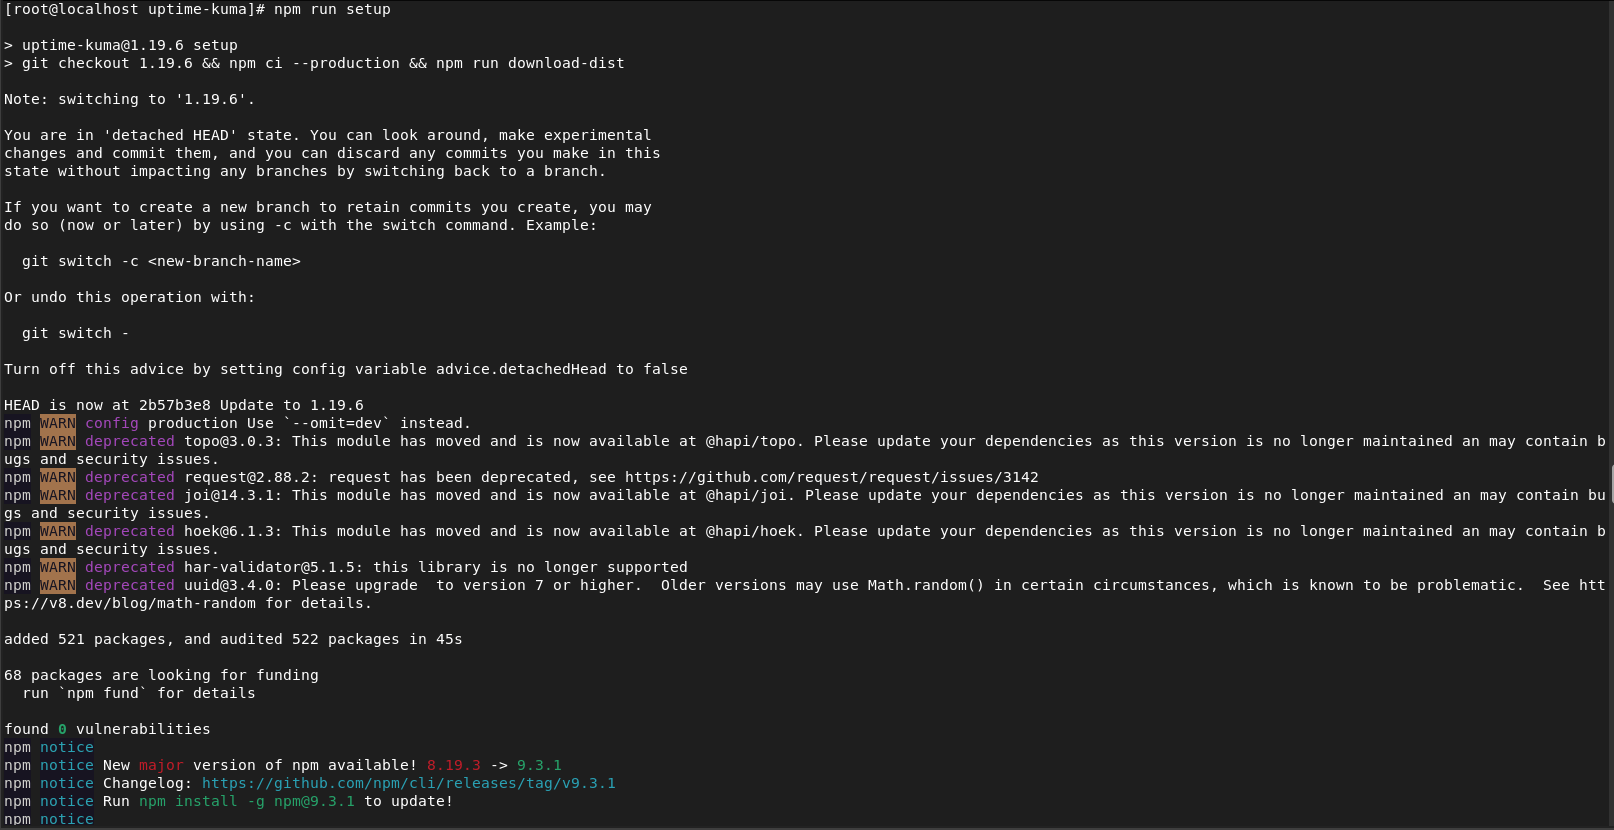
- Final step in staging environment is to test the success of uptime setup by running:
node server/server.js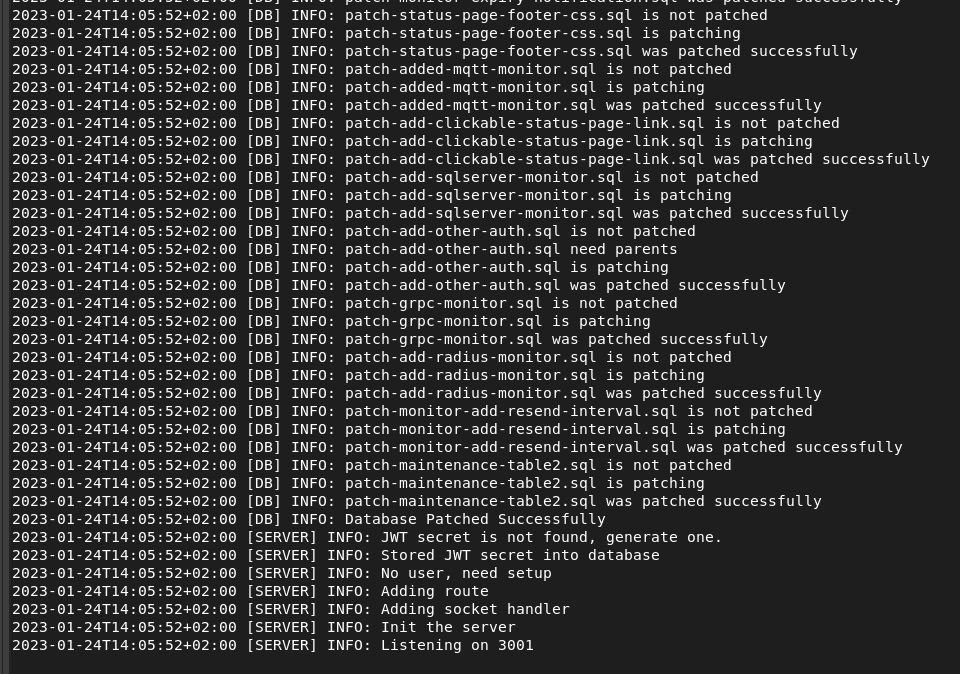
- Then go to the web browser and try to access the web app by entering http://localhost:3001
Here we go, the test was successful, so let us to deploy it on production
- The next step is to setup the application on production env using PM2
PM2 is a daemon process manager for managing and keeping your application online.
So install PM2 manager with the command below:
cd uptime-kuma/
npm install pm2@latest -g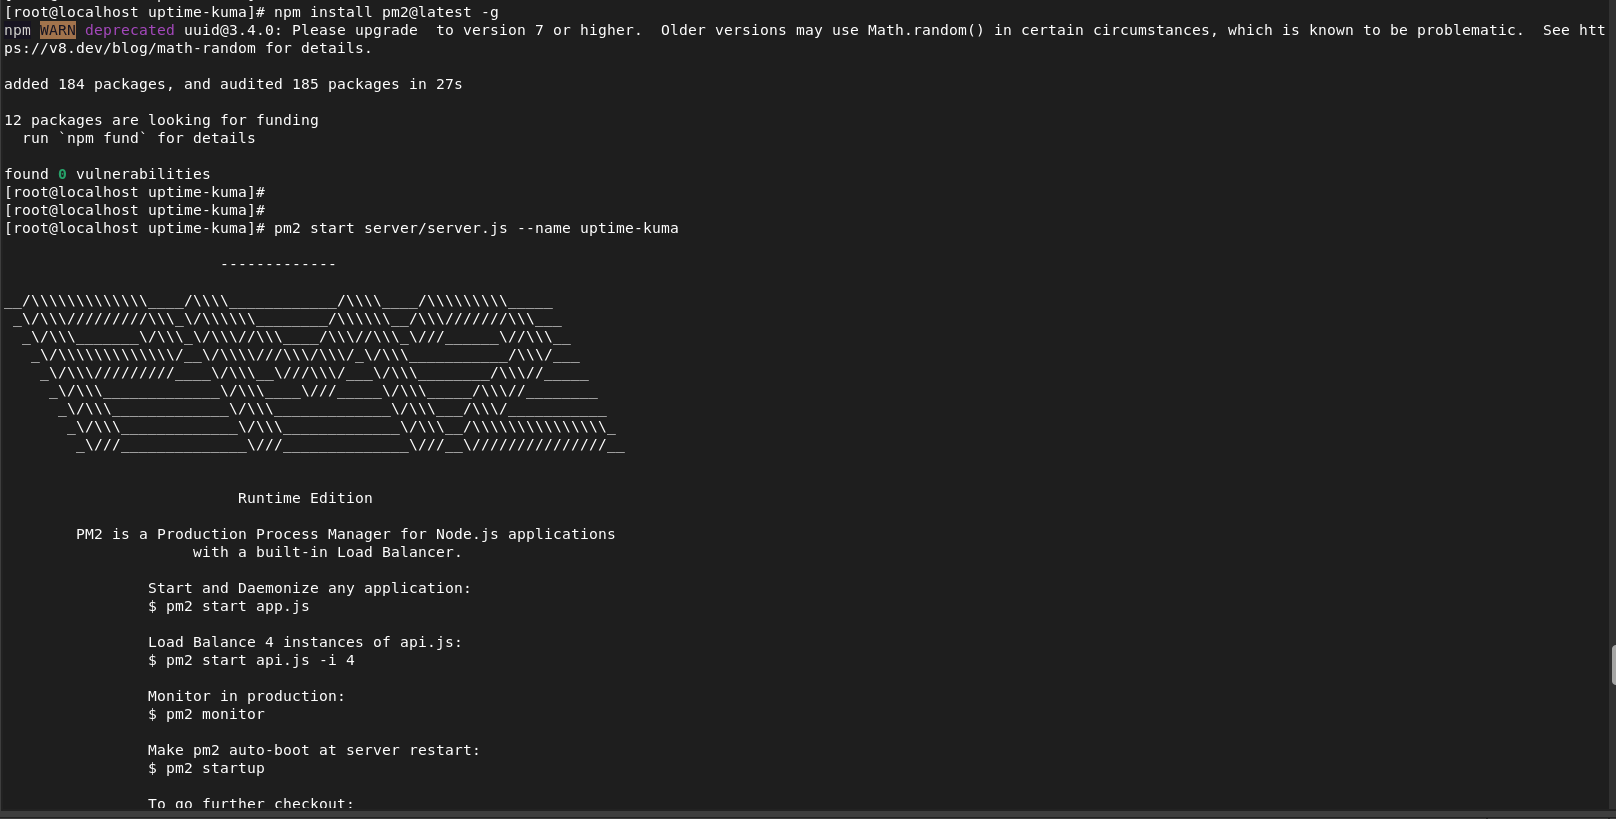
- Start Uptime Kuma Server using pm2
pm2 start server/server.js --name uptime-kuma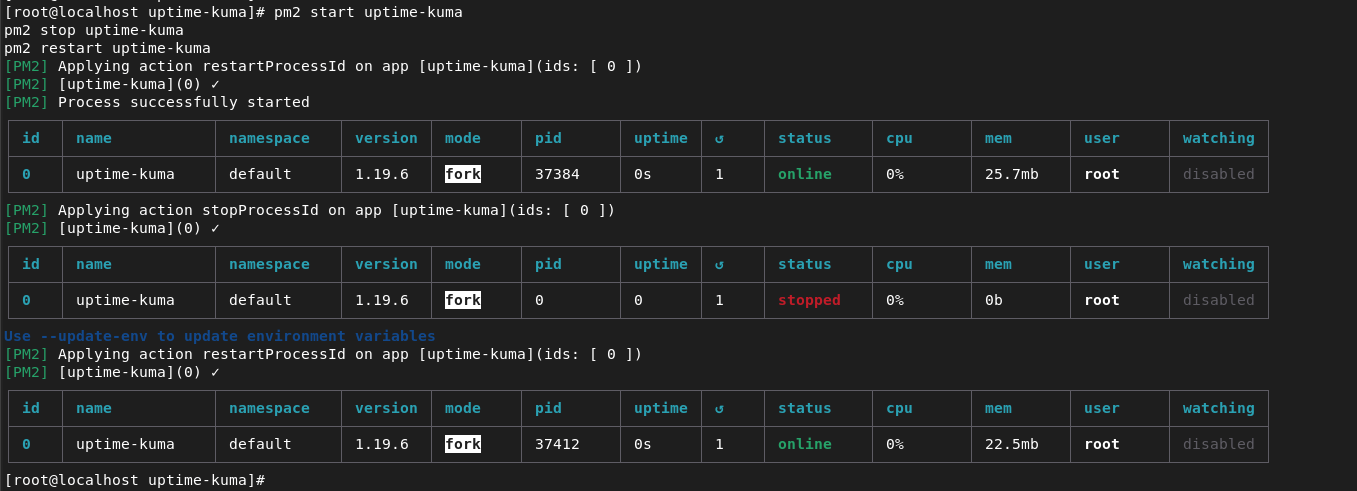
- NOTE:
- You can use these commands to run them to start, stop and restart Uptime Kuma.
pm2 start uptime-kuma
pm2 stop uptime-kuma
pm2 restart uptime-kuma- Also to update the environment variables, you can use the below command:
pm2 restart uptime-kuma --update-env
Access the Uptime-Kuma Web interface
You can access Uptime Kuma by opening your fav browser then go to
URL: http://Your_server_IP:3001 or http://localhost:3001
as shown below
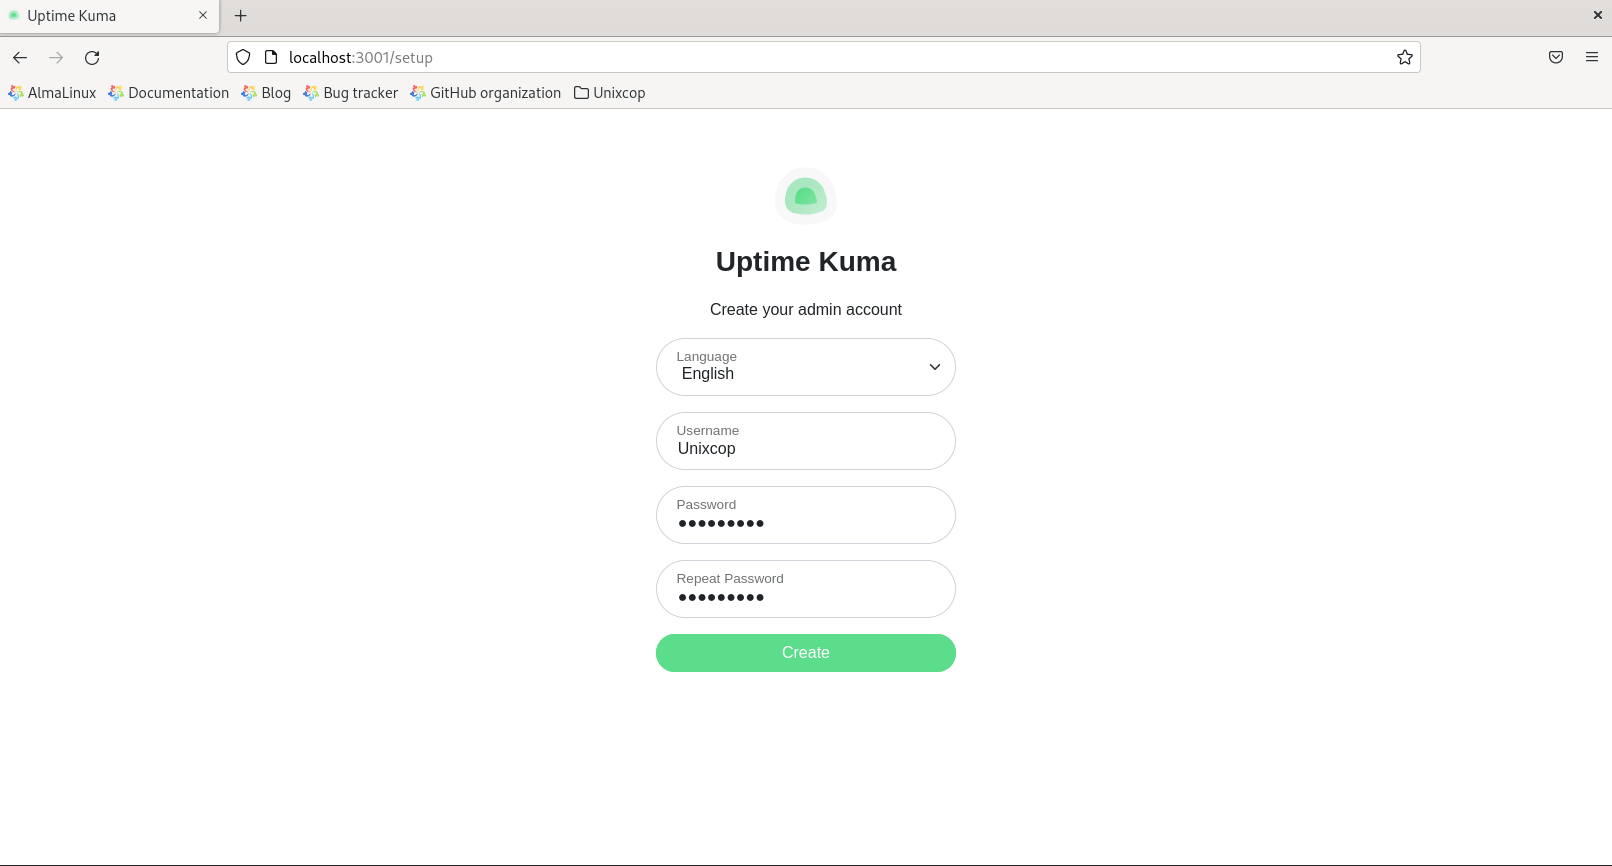
- Now you can create your admin account then click create will be directed to:
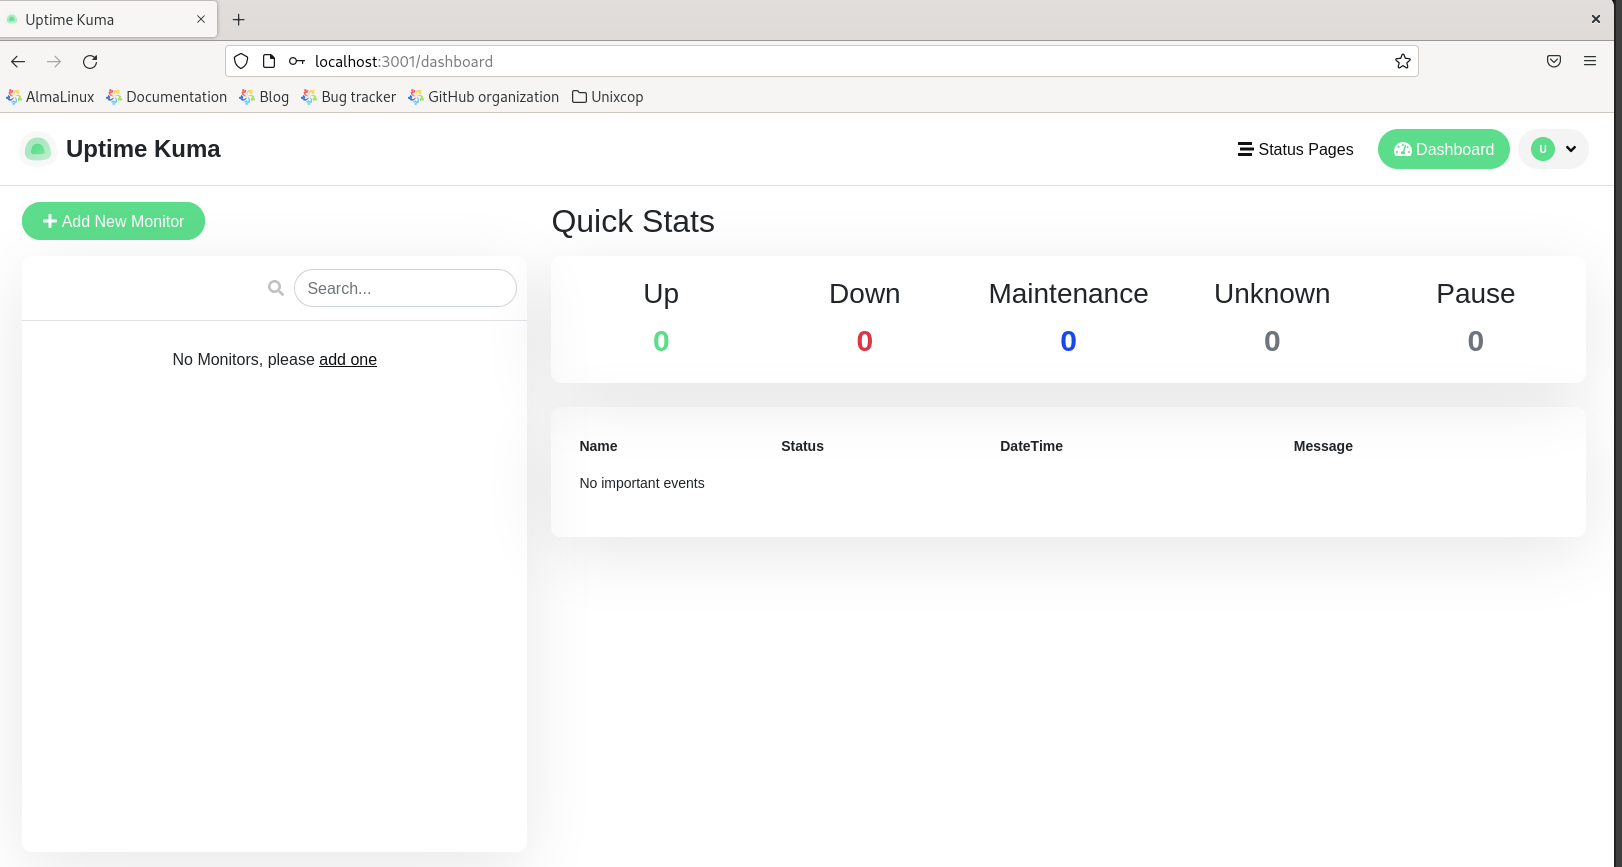
Install Uptime-Kuma -Conclusion
That’s it
Thanks.
Everything Linux, A.I, IT News, DataOps, Open Source and more delivered right to you.
"The best Linux newsletter on the web"