
Today you will learn How to install Zabbix on Ubuntu/Debian Servers
Zabbix is a free, open-source and powerful, High-Performance monitoring tool for servers. It can be used to monitor servers, applications , network and devices. It usually uses agents to collect data metrics. It can be also used to monitor services like ICMP Response, HTTP Servers, SMTP Services. It uses MariaDB/MySQL Database Backend to store its content. It is developed on C and JAVA and the frontend is written in PHP. The interface makes it easier to make use of the collected data metrics and show it in graphs, screens, maps etc.
Requirements :
- PHP 7.2 or greater!
- 1-2GB or RAM on the host server (The more the better)
- 1-2vCore CPU (The more the lesser hiccups)
- 5-10GB of Disk Space (To store the metrics)
Step 1 : Updating your server
The first step is to update your server to look for any newer packages and security releases for your distribution
apt-get update -y
apt-get upgrade -y
Step 2 : Configuring LAMP Stack
Since, Zabbix uses PHP, MySQL/MariaDB. We will be quickly configuring LAMP Stack in this step. Run the following commands to configure :
To install PHP7.4 on your server run the following commands :
To install PHP7 or greater :
–– Do the following for Debian Servers
apt install apt-transport-https lsb-release ca-certificates
wget -O /etc/apt/trusted.gpg.d/php.gpg https://packages.sury.org/php/apt.gpg
echo “deb https://packages.sury.org/php/ $(lsb_release -sc) main” > /etc/apt/sources.list.d/php.list
apt update
–– Do the following for Ubuntu Servers
apt -y install software-properties-common
add-apt-repository ppa:ondrej/php
apt-get update
Run the following command to install :
apt-get install php7.4 php7.4-mbstring php7.4-gd php7.4-xml php7.4-bcmath php7.4-ldap php7.4-mysql
apt-get install mariadb-server mariadb-client
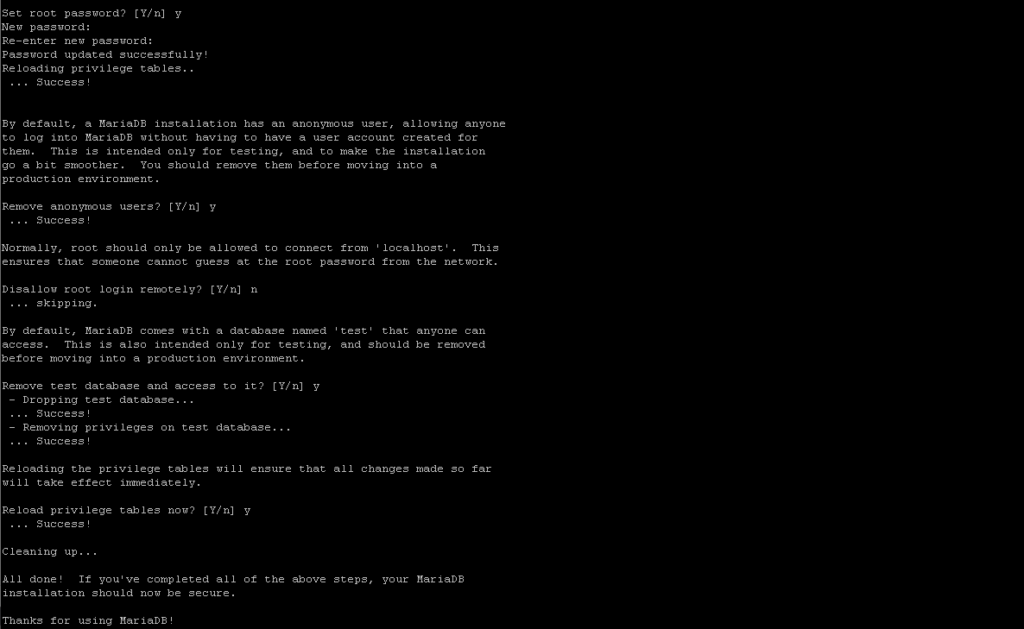
mysql_secure_installation
Copy the steps as shown in the picture or the text :
Set root password? [Y/n] Y
Remove anonymous users? [Y/n] Y
Disallow root login remotely? [Y/n] n
Remove test database and access to it? [Y/n] Y
Reload privilege tables now? [Y/n] Y
mysql -u root -p
CREATE DATABASE zabbixdb character set utf8mb4 collate utf8mb4_bin;
CREATE USER zabbixuser@localhost IDENTIFIED by ‘zabbixpassword’;
GRANT ALL PRIVILEGES ON zabbixdb.* TO zabbixuser@localhost;
FLUSH PRIVILEGES;
QUIT
Step 3 : Install Zabbix
By default, Zabbix is not available in Ubuntu or Debian. So we can directly download the repository file from the official link
For Ubuntu 20.04 :
wget http://repo.zabbix.com/zabbix/6.0/ubuntu/pool/main/z/zabbix-release/zabbix-release_6.0-1%2Bubuntu20.04_all.deb
To enable the repository file run the following command :
dpkg -i zabbix-release_6.0-1+ubuntu20.04_all.deb
For Debian 11 :
wget https://repo.zabbix.com/zabbix/6.0/debian/pool/main/z/zabbix-release/zabbix-release_6.0-1%2Bdebian11_all.deb
dpkg -i zabbix-release_6.0-1+debian11_all.deb
apt update
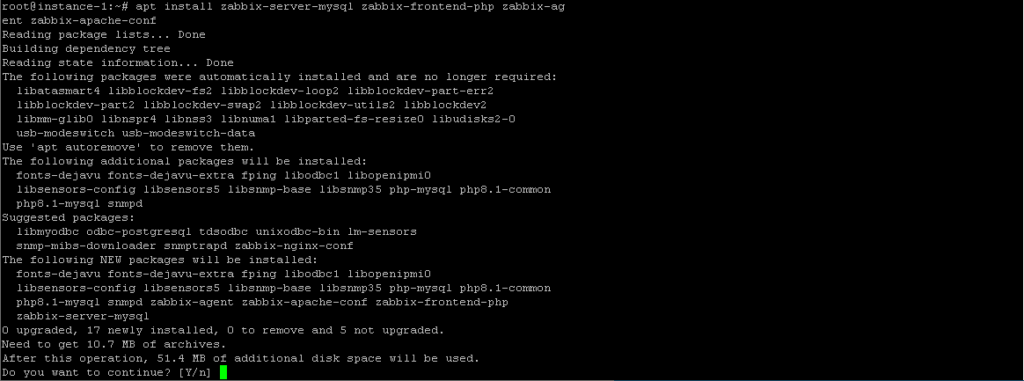
apt install zabbix-server-mysql zabbix-frontend-php zabbix-agent zabbix-apache-conf
nano /etc/zabbix/zabbix_server.conf
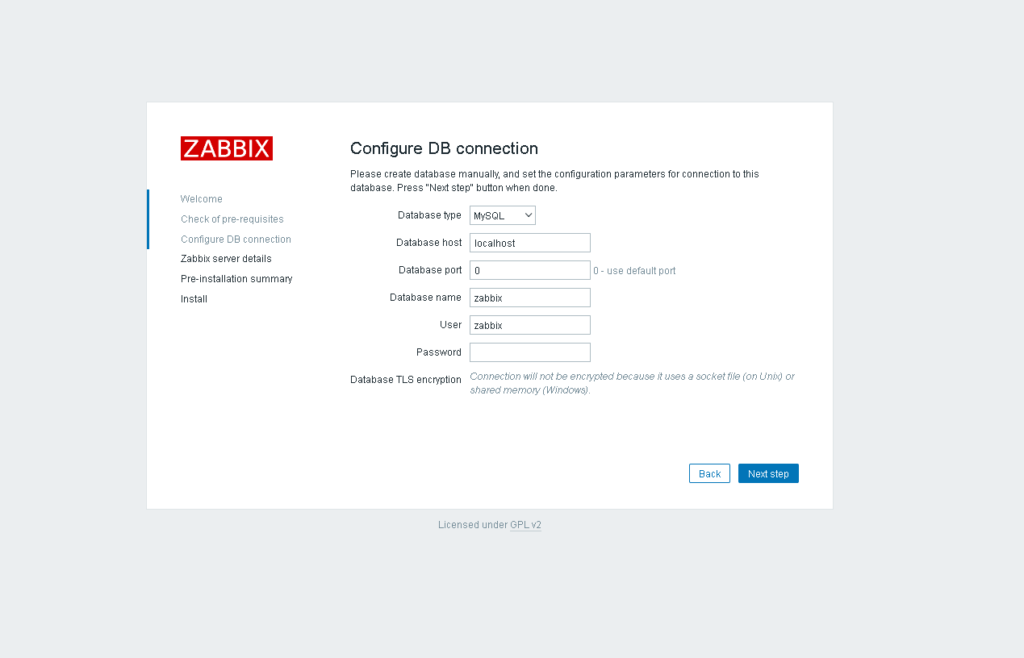
Change the following lines according to the database created above :
DBHost=localhost
DBName=zabbixdb
DBUser=zabbixuser
DBPassword=zabbixpassword
Import the default Database Schema into the created Database
zcat /usr/share/doc/zabbix-sql-scripts/mysql/server.sql.gz | mysql -uzabbixuser -p zabbixdb
Restart Zabbix Server and Apache2
systemctl restart zabbix-server
systemctl restart apache2
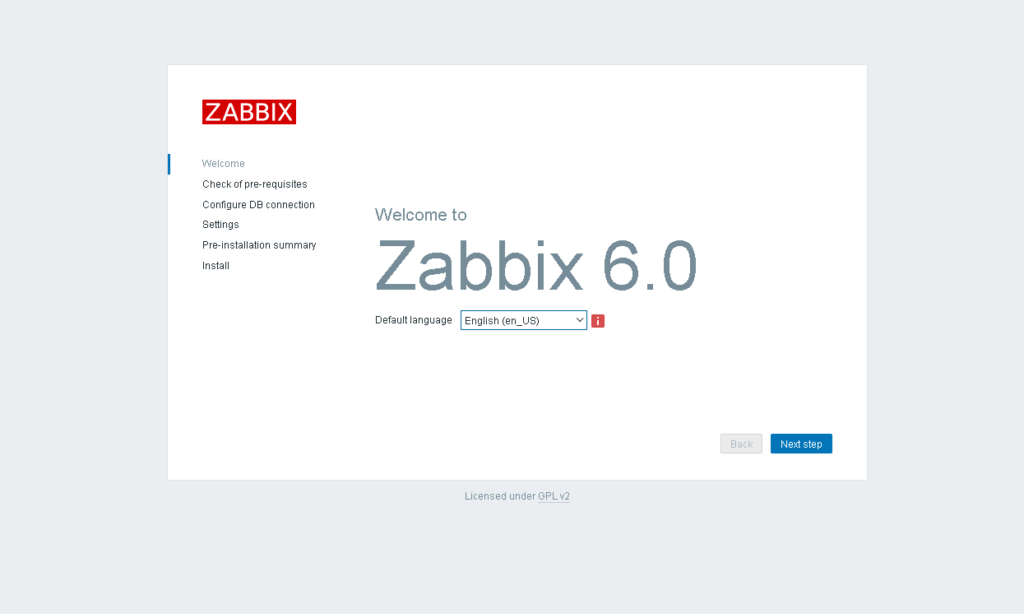
You can now access the Zabbix Installation Page at http://localhost/zabbix
1. You will see the following screen :
2. You can now enter the Database Details :
3. You can enter the details as you like in this step :

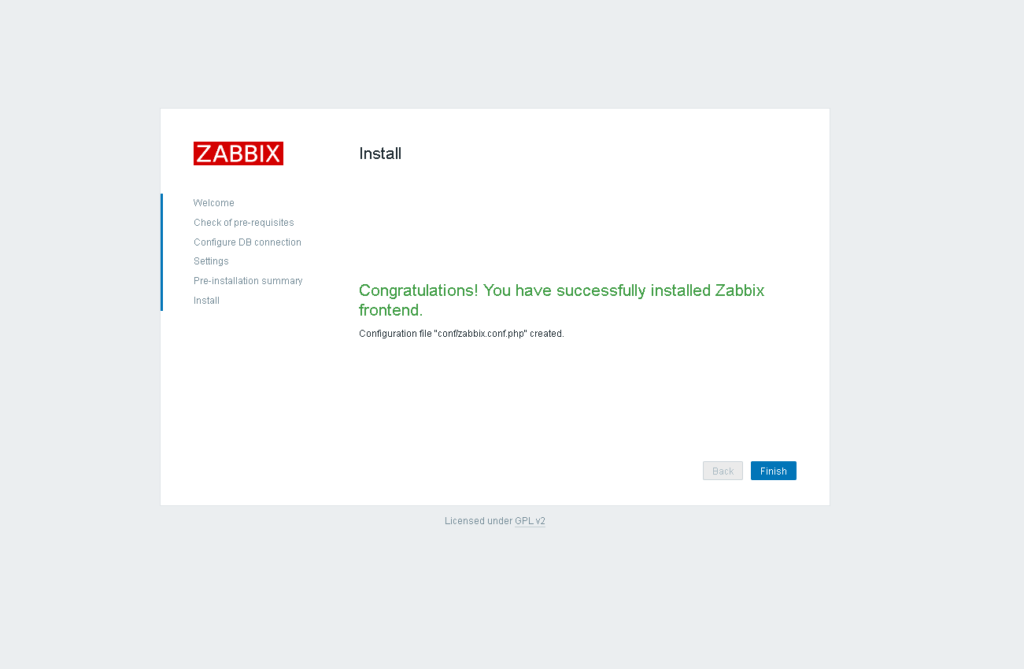
4. When you see this screen it means that installation has completed
Login with details :
User : Admin
Password : zabbix

Conclusion:
You have installed Zabbix on your Ubuntu/Debian Machine. This tutorial was tested on Debian 11/Ubuntu 20.04. It’s recommended to use Ubuntu 20.04 or Debian 11 not any lower than that for Zabbix 6. This tutorial assumes that you are root!