
In this article we will learn about how to install xfce in FreeBSD 13, FreeBSD is a great Operating System as a server, but it is also great when we use it as Desktop personal usage. As a server, usually we use the Operating System in the command line interface (CLI) mode only. As a Desktop personal usage, we need to use it for browsing, typing a report, checking email, hence we need a Graphical User Interface (GUI). The default installation of FreeBSD does not include the GUI or Desktop Environment (DE).
There are several types of DE like KDE, GNOME and XFCE. In this tutorial, we will learn how to install XFCE on FreeBSD 13.
XFCE
According to https://www.xfce.org , Xfce is a lightweight desktop environment for UNIX-like operating systems. It aims to be fast and low on system resources, while still being visually appealing and user friendly.
Applying Security Patches
We need to maintain the system fully patched. Hence, we can download the FreeBSD Security Patches and then install it using following commands:
$ freebsd-update fetch
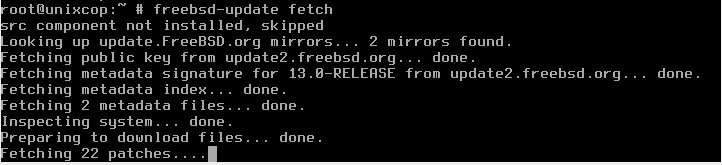
$freebsd-update install

Install xorg
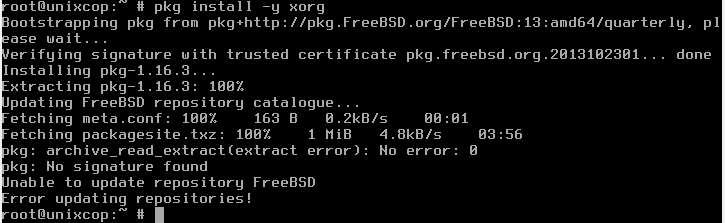
As prerequisite we need to install xorg. Xorg is a full-featured X server that was originally designed for Unix and Unix-like operating systems, such as Linux and FreeBSD. To instal the Xorg we can run the command below:
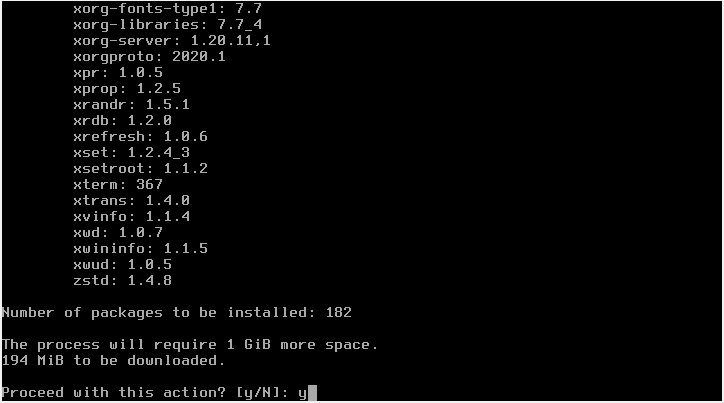
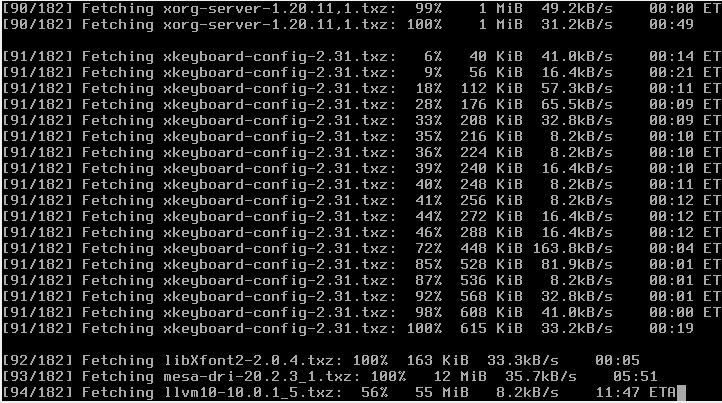
$pkg install -y xorg
Type y to proceed with dowload and install.
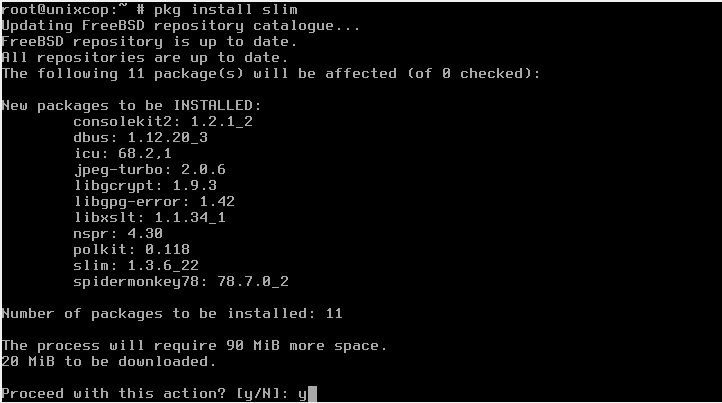
SLIM is acronym of Simple Login Manager, we need to install slim, so it will start XFCE session after we login. To install the SLIM, we need to run the command below:
$pkg install slim
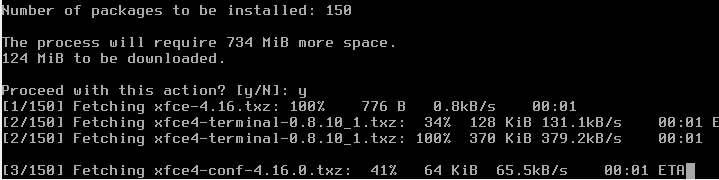
Now it is time for us to install the xfce, we can use this command below:
$pkg install xfce

Please sit back, relax and take your coffee, since it will need some times to finish.
Configure XCFE Desktop
Once the installation finished, we can start configuring the rc.conf file. We can use vi to edit it.
$vi /etc/rc.conf

Add below lines to that text file.
moused_enable="YES"
dbus_enable="YES"
hald_enable="YES"
slim_enable="YES"
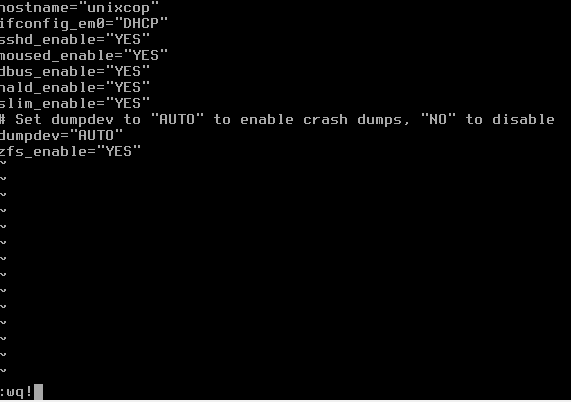
Do not forget to save and exit using :wq!.
Make a new file named .xinitrc in the home directory of root.

Add this single line into that file. This command will execue xfce4-session.
exec xfce4-session
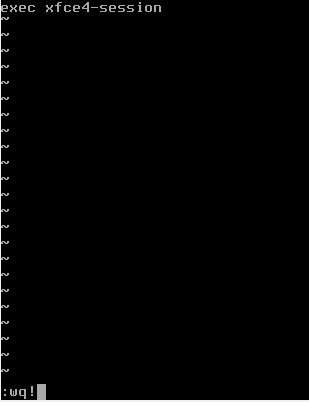
Do not forget to save and exit using :wq!.
Reboot
Reboot the server.
$init 6

Login
Login as root and fill the password.

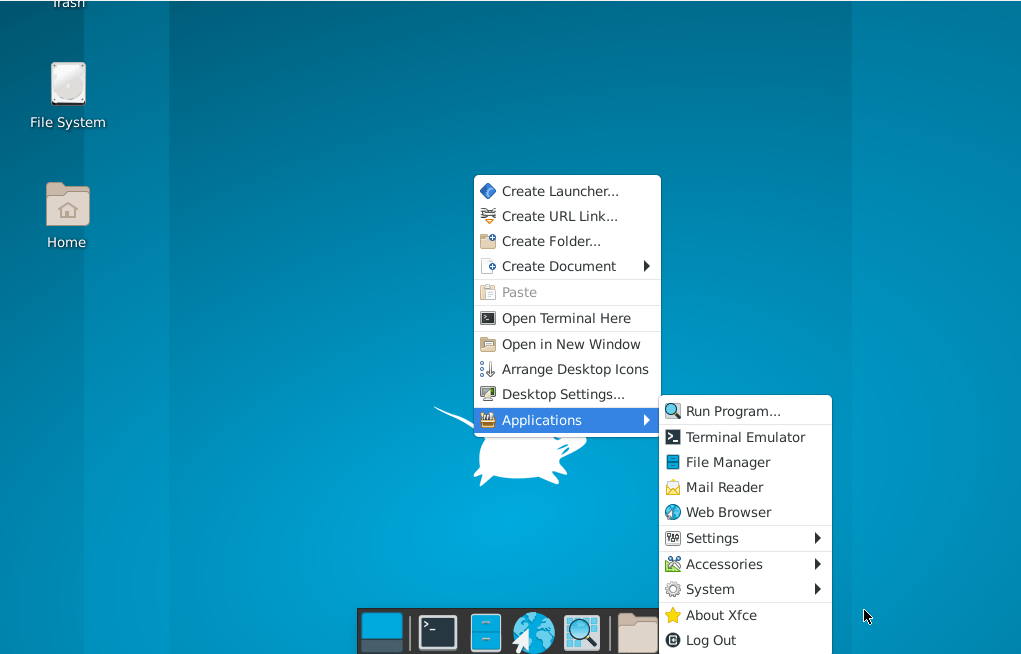
Now, we had completed the installation of XFCE on the FreeBSD 13. You can explore it by running the provided application.
We already now the step by step how to install xfce on freebsd 13. If you are interested to install another Desktop Environment, please check this link to know how to install GNOME.
A very simple and easily read. My system chokes on the final step. It errrors out with “cannot run login command”. I changed the permission on .xinitrc to allow execution. Still same error… Help!?
You need to create .xinitrc file in the home directory of every user which will login to xfce, not only root.
works well for me. Thanks
@Fox – ahhh!!
I knew I was missing an .xinitrc…
thx!!
works thx
Didn’t work for me when I only get: FAILED TO EXEQUTE LOGIN COMAND.
> hald_enable=”YES”
I can’t tell when this article was published (there’s no date), but that’s redundant.
HAL was retired on 8th February 2021. Git commit:
1772fa1a6d3cb39d9844fcb434ef4ce60728864a
Xfce is indeed a very good choice for a FreeBSD system! But if I may make some suggestions to make things easier and better:
– First of all, one of the most basic things that make life easier with FreeBSD is the “easy editor” (ee) in the base system, so no need to bother with vi, which is an absolute no-go for a beginner (and for myself, too). In order to edit configuration files, just do a
# ee /etc/rc.conf for example. Then easily use arrow, esc and enter keys to edit, save and exit.
– As Graham Perrin already stated, HAL is redundant, so no need for ‘hald_enable=”YES”‘. However, you DO need ‘dbus_enable=”YES”‘. Xfce these days automatically uses bsdisks for automounting removable media, without need of further configuration / entries.
– Slim as a login manager is completely outdated and out of the box it does not offer booting into several installed window managers. Xfce pairs great with lightdm, so that should be your choice if you want a login manager. So instead of slim, do a
# pkg install lightdm lightdm-gtk-greeter. No need for an .xinit file here either. Other installed window managers / DE’s are automatically listed. Another good thing here: If you have kodi installed, you can select it directly in lightdm to start it as kodi-standalone without window manager.
– If you use lightdm, the installation of xorg-minimal instead of the whole xorg is enough if you want to save quite some packages. But then you should install xterm at least.
+1 to Werner’s comments! This is what I found recently when I ran through the procedure: https://gist.github.com/tehpeh/5459642e2987defa452f62b45741fea5