
The initial setup of FreeBSD does not provide the Desktop Environment. It is command line mode only. If you want to use this FreeBSD 13 as your laptop or personal computer operating system, then you will need to install a Desktop Environment.
There are some version of Desktop Environments available. They are Gnome, KDE and Xcfe. In this tutorial we will install the Gnome.
How to install Gnome on FreeBSD 13
Introduction of Gnome
Gnome is a free and open-source desktop environment for Unix-like operating systems. In this setup, we will install Gnome version 3.
Update local catalogs
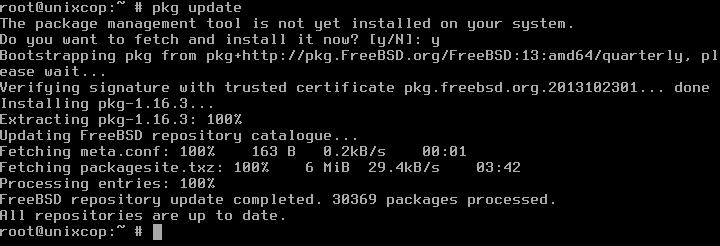
Before installing the Gnome, we need to do an update to the local catalogues of the enabled package repositories.
$ pkg update
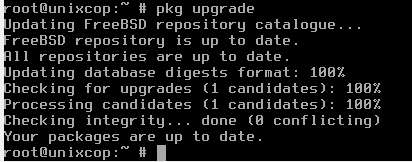
Next, we need to upgrade the packaged software distributions.
$ pkg upgrade
Gnome Installation
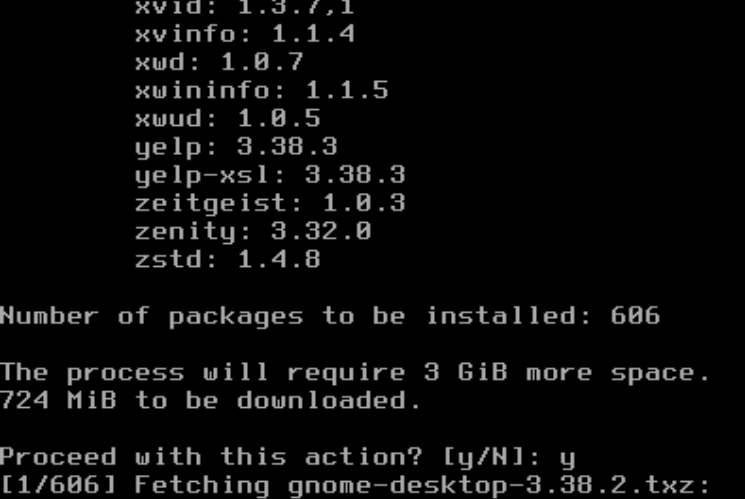
In this step, we will install some packages. One of the package is xorg. Xorg is the X Window server that allows users to use GUI environment. Also we will install gdm or The GNOME Display Manager which is a program that manages graphical display servers and handles graphical user logins. Then we will install the gnome-desktop and gnome3 packages.
Please sit back and relax, since this process will take some times to finish. It will fetch around 600 files from the Internet. Ensure you have a fast and reliable internet connection.
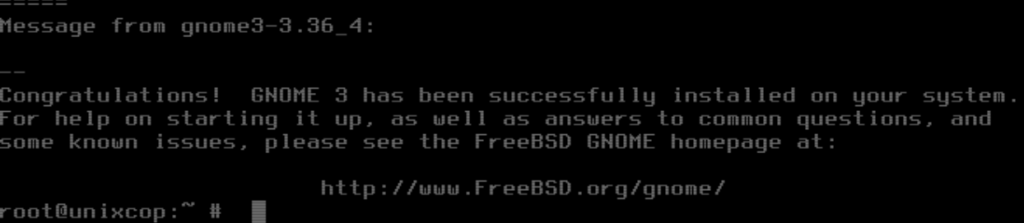
$ pkg install gnome-desktop gdm xorg gnome3

Enable the required daemon.
There are some daemons which need to be enable to run Gnome. First daemon is Dbus, Dbus is a message bus system: a simple way for applications to talk to one another. D-Bus also helps coordinate process lifecycle.
Second daemon is Hald, Hald is a daemon that maintains a database of the devices connected to the system system in real-time. The daemon connects to the D-Bus system message bus to provide an API that applications can use to discover, monitor and invoke operations on devices.
The third Daemon is Moused. Moused is to enable the mouse. Then we need to set the parameter gnome_enable and the gdm_enable to “YES”.
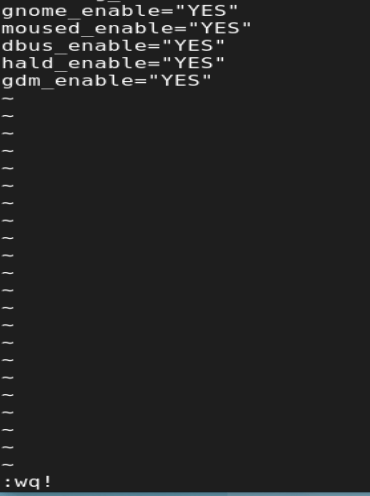
To do this, edit file /etc/rc.conf using vi, and add these lines below, and do not forget to save using Esc :wq!:
gnome_enable="YES"
moused_enable="YES"
dbus_enable="YES"
hald_enable="YES"
gdm_enable="YES"
$ vi /etc/rc.conf
Mount the /proc
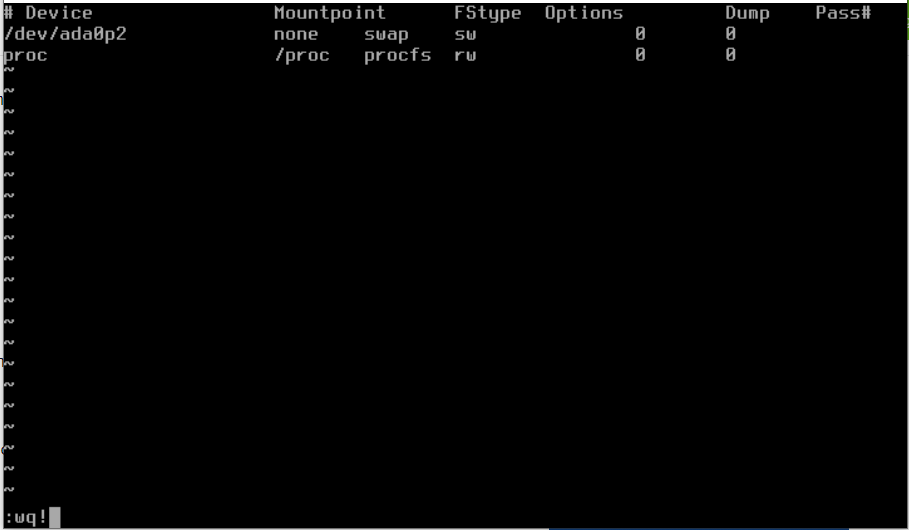
Since Gnome requires /proc file system to be mounted automatically during system startup, so we need to add this line below the file /etc/fstab.
proc /proc procfs rw 0 0
Open file /etc/fstab using vi. Do not forget to save using Esc : wq!.
$ vi /etc/fstab
Now, please reboot the server to apply the configuration.
$ reboot

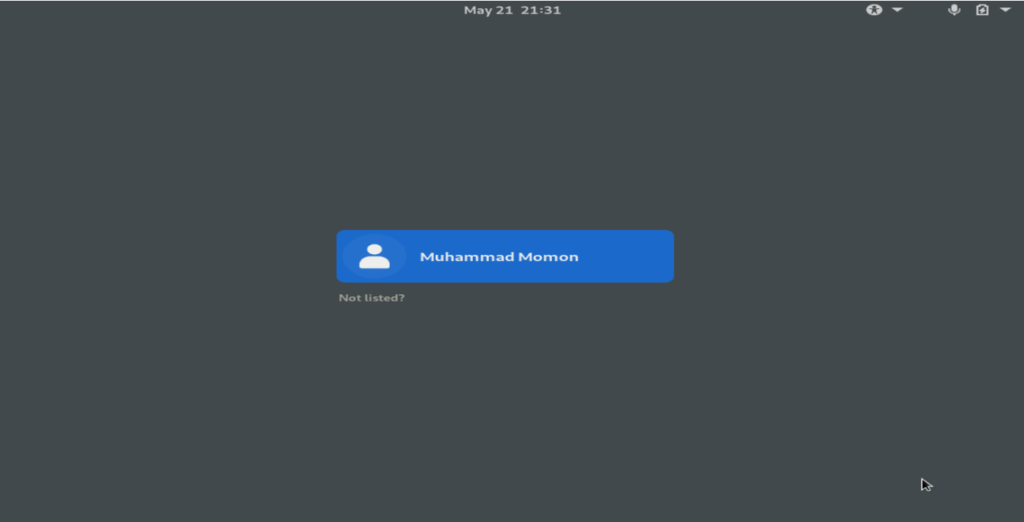
Login to the Gnome using regular user.
Gnome offer many applications to use. For example, Web as the Internet Browser, Files as the File Manager, and Photos as the Image viewer.

You can check the Gnome version by typing About in the Search column, and click the About application.
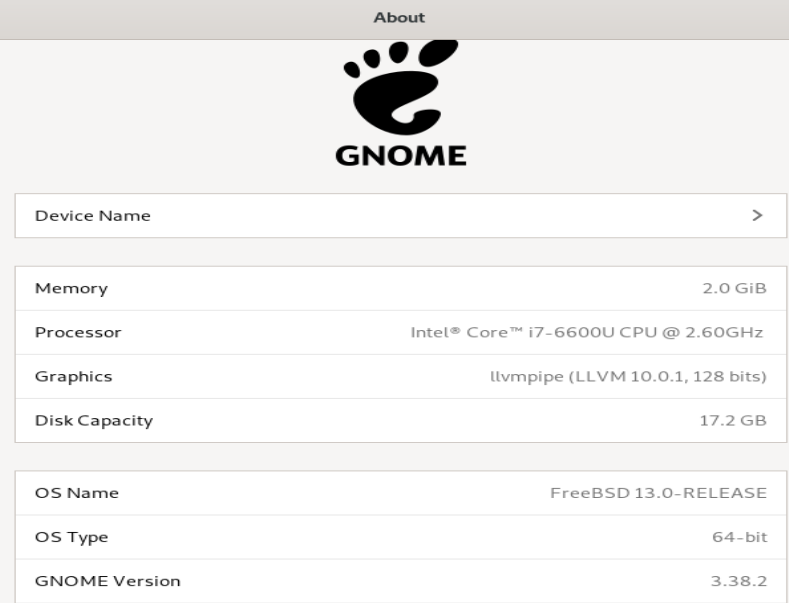
Congratulation, now your FreeBSD had been equipped with Gnome 3, an user friendly desktop environment, especially for Desktop user. Since most server user choose to use command line mode only.
You can also check how to upgrade to FreeBSD 13 : https://unixcop.com/how-to-upgrade-freebsd-12-to-13/
I have FreeBSD13 installed as a vm (virtualbox). I just followed your tutorial (thank you), but cannot login with my user account. It goes to a black screen and locks up, however I can change to root and log right in. I assume this is a permissions issue, since the software was installed as root. I can’t find anything to tell me which files I need to chmod to allow me to login as my user account. Help?
Not quite sure, but could it be due to missing drivers?
Have you installed and enabled virtualbox guest additions in /etc/rc.conf ?
You can find the appropriate version using pkg search virtualbox or pkg search additions and after the pkg install, you should add these lines to your rc.conf…
vboxguest_enable=”YES”
vboxservice_enable=”YES”
файл ixinit