
Today, you will learn how to install Virtualmin on CentOS 8
Virtualmin is a domain hosting and website control panel which gives the ability to create and manage many domains, as well as simplify both automation and tasks. It is based on Webmin. Virtualmin is an alternative to cPanel and Plesk
Virtualmin is available in two versions. Virtualmin GPL and Virtualmin Professional. The Virtualmin GPL version is fully free and open-source software and does not require monthly fee, compared to the Virtualmin Professional version which requires a monthly or annual fee.
Both Virtualmin versions are able to create virtual servers with fully independent users, mailboxes, web application development environments, websites, web applications, quotas, account rules, and instances of web server, database server, and create other needed software. Supported web servers include, but are not limited to, Apache or httpd.
Installation
Just follow the steps below
- Update your system
sudo dnf update -y- Download Virtualmin install script
wget http://software.virtualmin.com/gpl/scripts/install.sh- Make the script executable then Install Virtualmin
chmod a+x install.sh
sudo ./install.sh- As shown below, enter a fully qualified hostname then start the installation
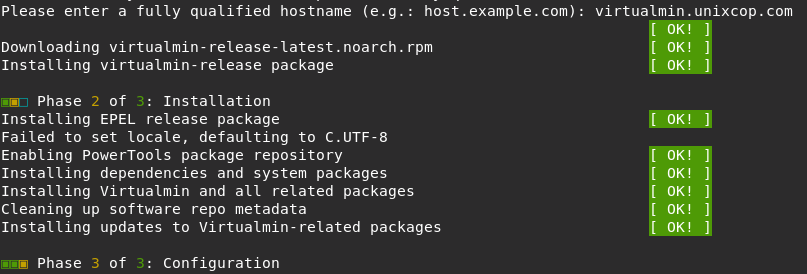
- This will launch downloading of the necessary packages and installation of the application.
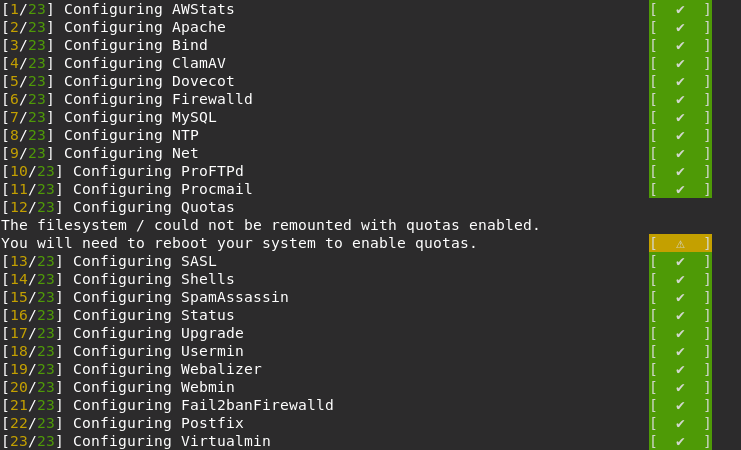
- The installation should complete and exit shell with the message indicating that the installation was successful as shown below

- Configure Firewall for Virtualmin , open port 10000 as shown below
sudo firewall-cmd --zone=public --add-port=10000/tcp --permanent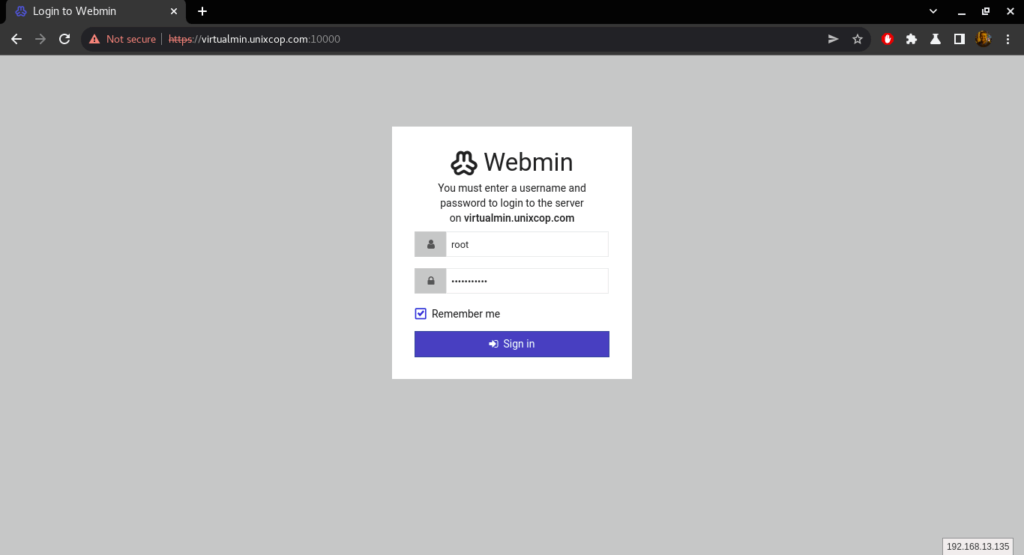
sudo firewall-cmd --reload- Access Virtulamin via opening your browser then type: http://IP_address:10000 OR http://fully_qualified_hostname:10000 which we entered before.
- Provide the username as root and the password is your root user password for the host then click Sign in
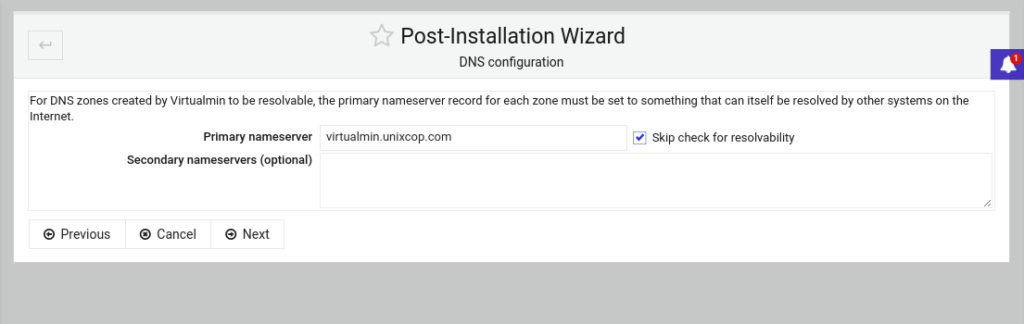

- You can also enable ClamAV Virus scanning.

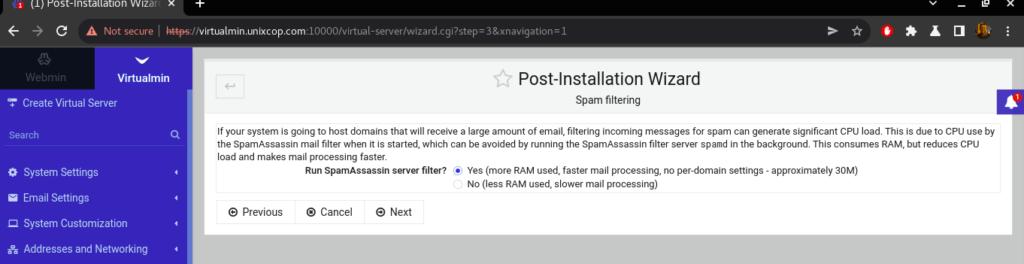
- SpamAssasin is a great tool for spamming activities if you will be hosting many email domains when using Virtualmin.
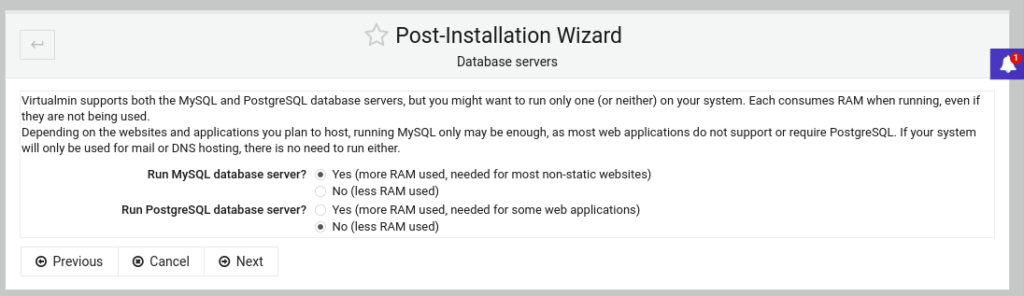
- You will also be required to choose which database you want to use in your hosting environment.
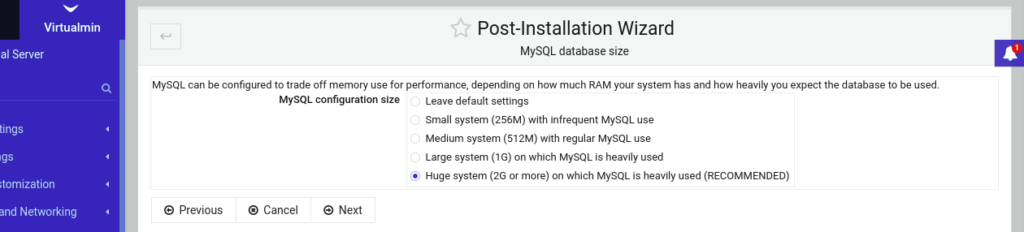
- Choose the size of your database depending on the size of your server.
- Create a default virtual server as follows:
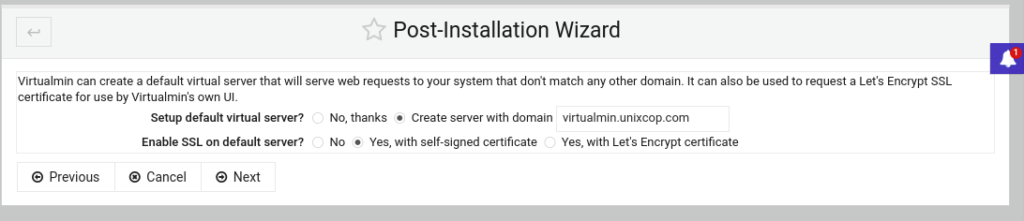
- Click Next to finish the Installation

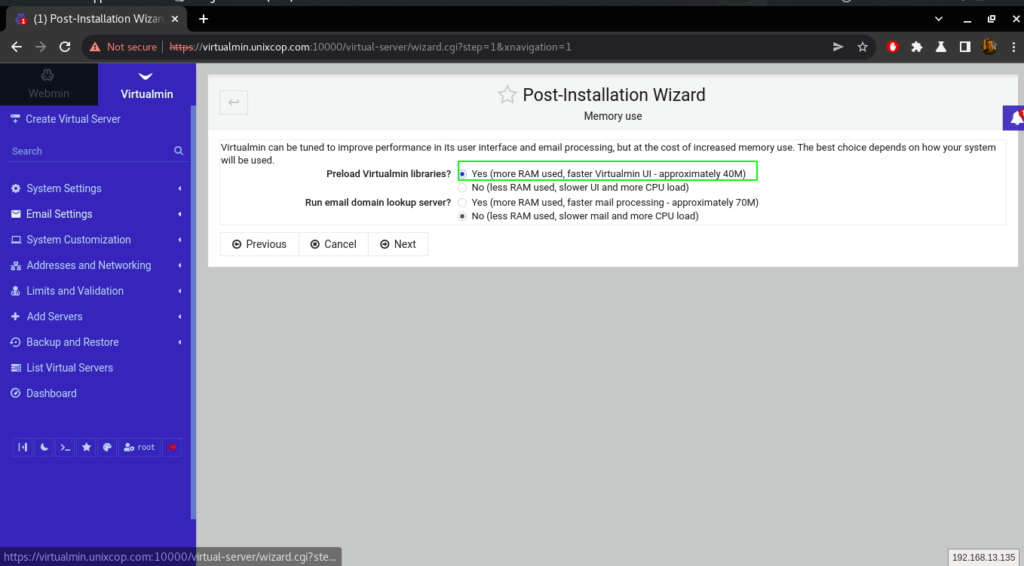
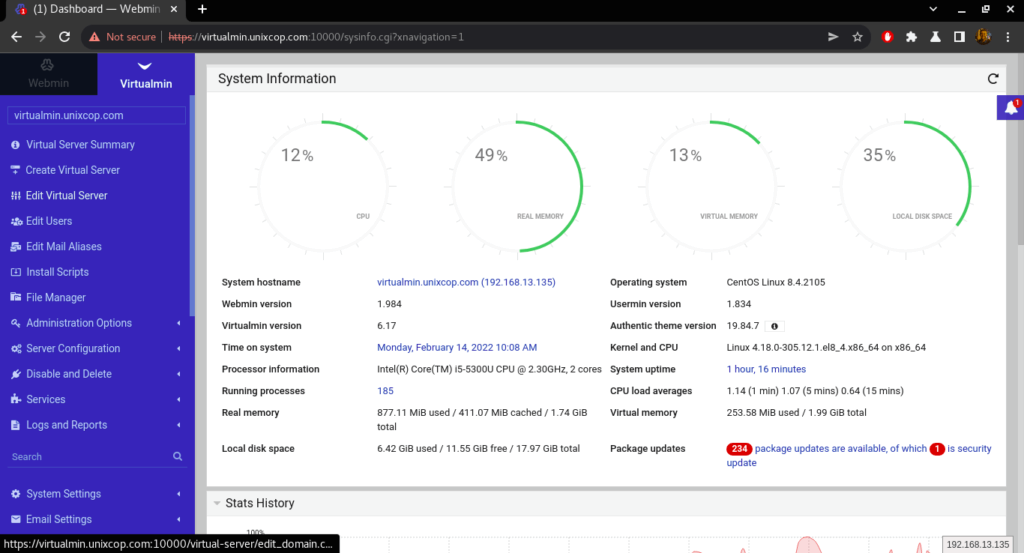
- You can access the dashboard which has many tools to manage your hosting platform.
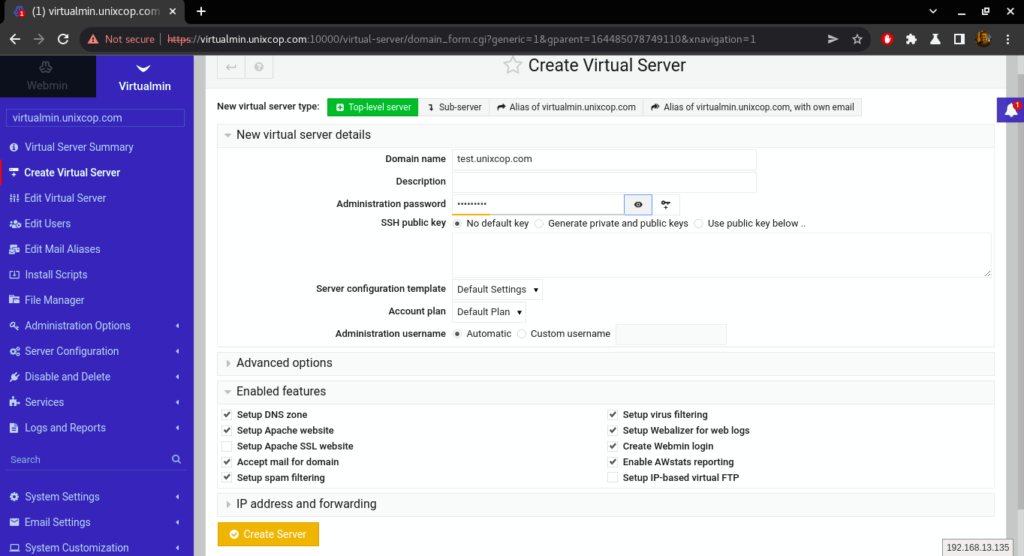
Create a Domain on Virtualmin
Domains here are defined as Virtual Servers
- Click on ‘Create Virtual Server’. You will then be required to provide the domain name and the admin password then click Create Server as shown below.
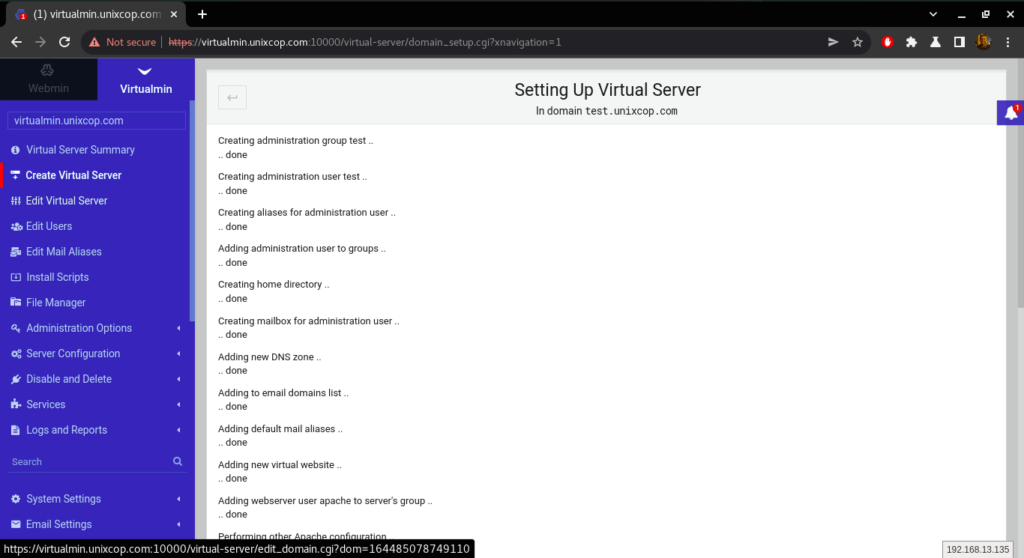
- Setting Up Virtual Server in progress…..
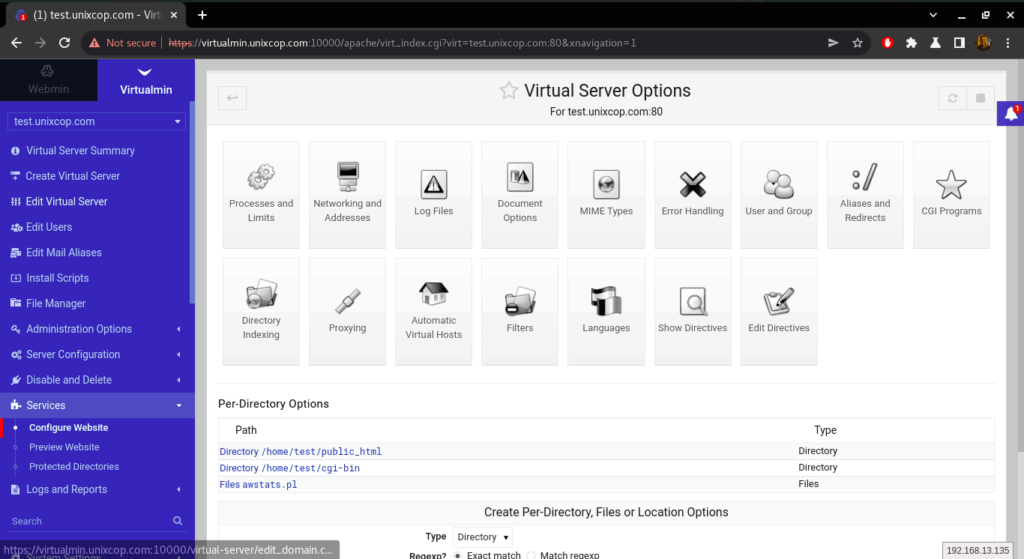
- From the ‘Services’ section then clicking on Configure Website, you can configure your website with many virtual server options.
Conclusion
In this installation guide, we illustrated how to install virtualmin and how to configure it, in addition to how to use it and create a virtual server.
thanks