
In this article we will learn How to Install Apache ServiceMix on CentOS 8. Apache ServiceMix is a runtime container for service-oriented architecture components, web services or legacy system connectivity services. Apache ServiceMix is an enterprise open-source distributed enterprise service bus (ESB) based on the SOA model released under the Apache license. It is one of the most mature, open-source implementations of an enterprise service bus and an Apache top-level project. Apache ServiceMix provides an OSGi container in which we can run, configure and manage Camel and ActiveMQ instances and you can explore the other services that it can provide.
First, Update your OS by using the following command:
dnf -y update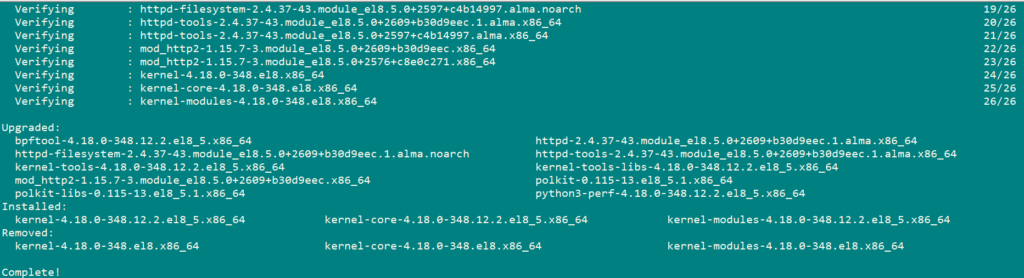
Apache ServerMix needs Java to run itself. We need to install Java 1.6 or greater.
Run the following command to install Java.
dnf install java-11-openjdk -y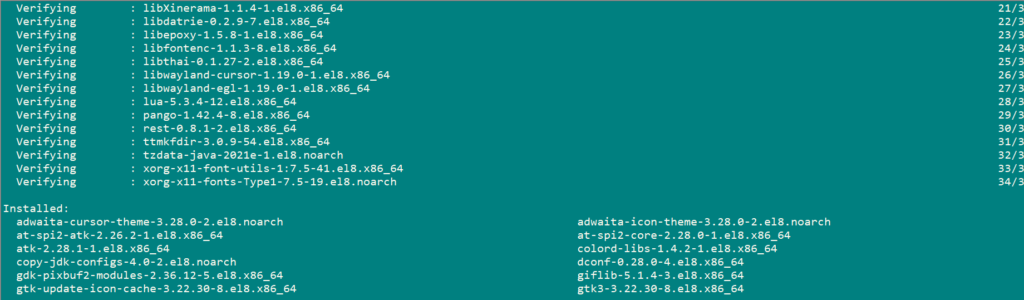
java -version
Now we will install Apache maven. Apache Maven is a software project management and comprehension tool. Based on the concept of a project object model (POM), Maven can manage a project’s build, reporting and documentation from a central piece of information.
Install Apache Maven using the following command:
wget https://downloads.apache.org/maven/maven-3/3.8.4/binaries/apache-maven-3.8.4-bin.tar.gz
Now we will extract maven to /usr/local/ directory.
tar -zxvf apache-maven-3.8.4-bin.tar.gz -C /usr/local/
cd /usr/local/
mv mv apache-maven-3.8.4 maven
Now we will configure Apache Maven Environment so it can be used by all users on the server.
create maven.sh file using below commands.
nano /etc/profile.d/maven.shAdd the following lines:
# Configuration of Apache Maven Environment Variables
export M2_HOME=/usr/local/maven
export PATH=${M2_HOME}/bin:${PATH}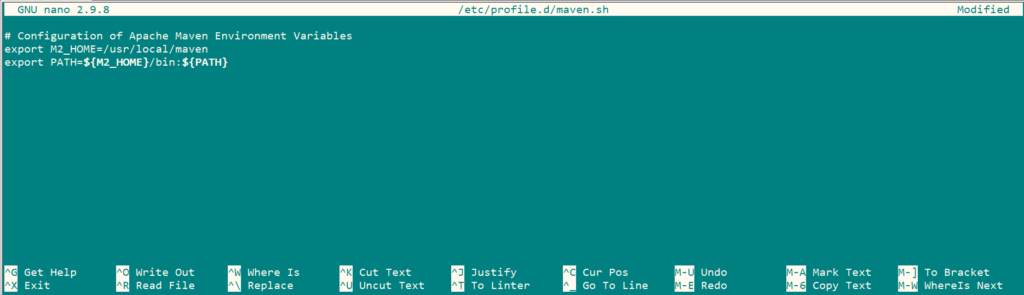
Now, we will make the script file executable and load the environment variables by using following commands:
chmod +x /etc/profile.d/maven.sh
source /etc/profile.d/maven.sh
Verify Apache Maven Installation.
mvn -version
Download and install Apache ServiceMix:
Download Apache ServiceMix using the following:
wget http://archive.apache.org/dist/servicemix/servicemix-4/4.5.3/apache-servicemix-4.5.3.tar.gz
Use below command to extract the package.
tar -zxvf apache-servicemix-4.5.3.tar.gz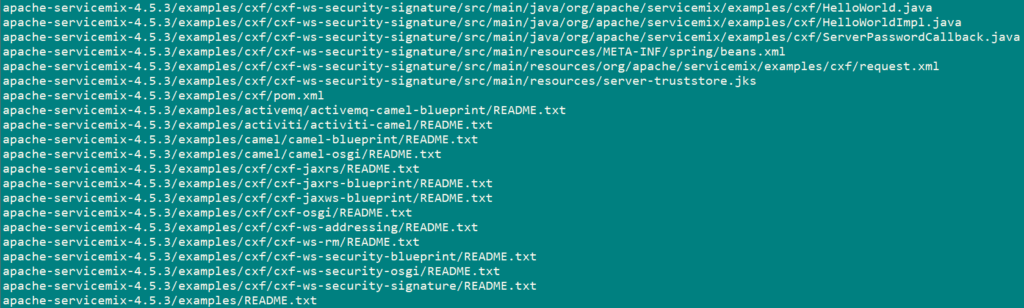
Change your directory to the ‘bin’ directory of your extracted package and execute the the following command to start installation of ServiceMix as shown below.
cd apache-servicemix-4.5.3/bin/
./servicemix
We have successfully installed and started Apache ServiceMix. Now we will manage ServiceMix instance, add and remove bundles and install optional features.
Run the following command to get a list of all bundles currently installed on your server.
osgi:list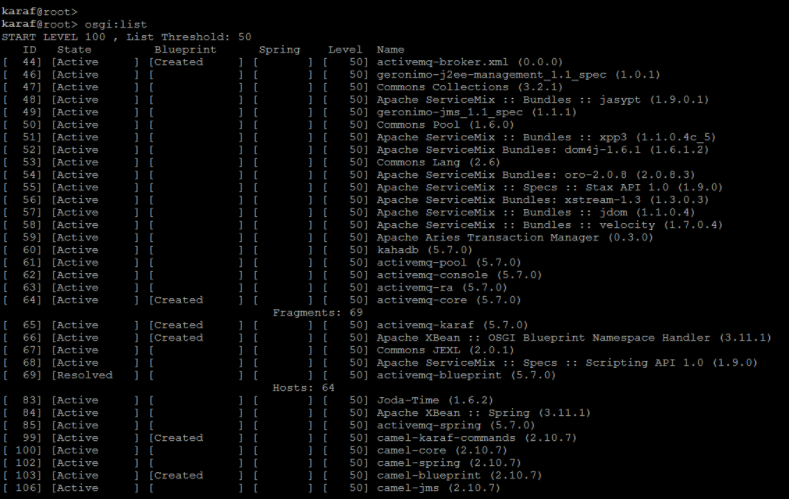
Some applications you write will have some form of log output. To look at the message in the log file, you can use the log:diplay command.
log:display
log:display-exception
You can also list features using the following command:
features:list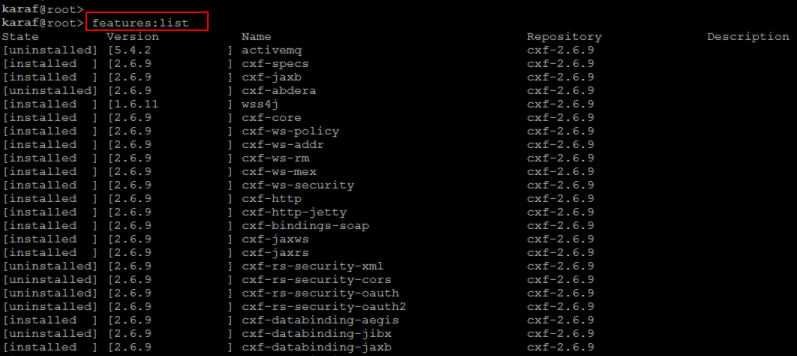
Now, we will install Web console of Apache ServerMix using the following command:
features:install webconsoleVerify the web console installation using teh following command:
features:list | grep webconsole
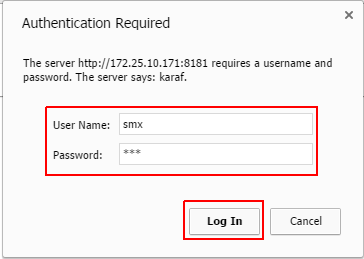
Now open your browser and type http://yourIPaddress:8181/system/console. you will be directed towards the Apache ServerMix Web Console. Username and password is “smx”.
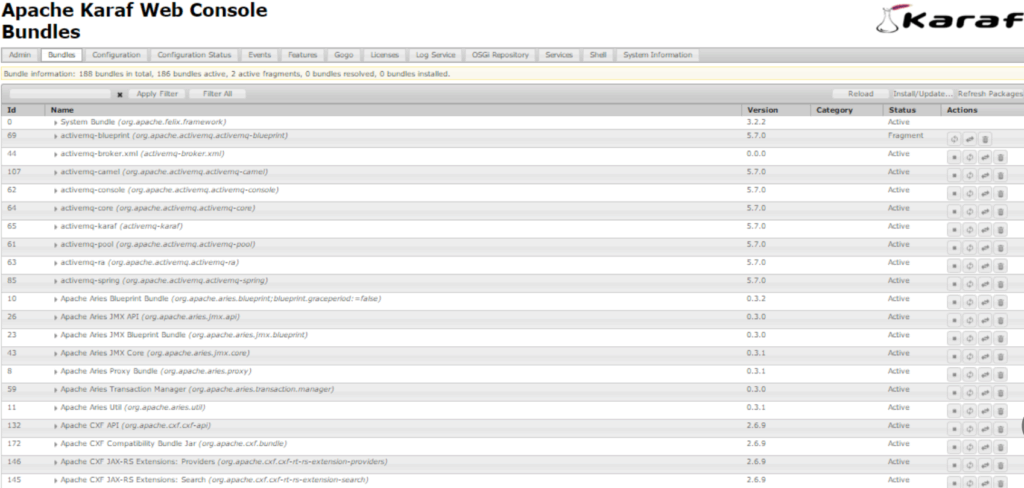
From webconsole, now you can start and stop bundles, configure settings, install optional features or view system information all from your web console as shown below.
Now you can use Apache ServiceMix as per your need.