
Introduction
There are many ways to install ubuntu on your PC or laptop. You can either have a clean install on your system or dual boot with any other operating system (OS). But in this article, I am going to show how to install Ubuntu in Windows 10 using Vmware workstation pro in 2021. But before that here’s the few things you should know.
What is Vmware Workstation?
VMware Workstation Pro is a hosted hypervisor that runs on x64 versions of Windows and Linux operating systems (an x86-32 version of earlier releases was available); it enables users to set up virtual machines (VMs) on a single physical machine and use them simultaneously along with the host machine. Each virtual machine can execute its own operating system, including versions of Microsoft Windows, Linux, BSD, and MS-DOS. VMware Workstation is developed and sold by VMware.
What is the system requirement for installing Ubuntu on Vmware Workstation in Windows 10?
- 2 GHz dual-core processor or better
- Windows system with 4 GB RAM
- Windows system with a minimum of 15 GB free storage
Can I install Ubuntu in Vmware Workstation on other Windows versions?
Yes, you can install Ubuntu in Vmware Workstation on Windows 8, 8.1, and 7.In the past, I have not only installed Ubuntu but also Windows XP, 7, and Fedora on my Windows system.
How to Install Ubuntu on Vmware Workstation in Windows 10 (2021)
- Download VMware Workstation Pro
- Download Ubuntu OS ISO file
- Open Vmware Workstation
- Setup Vmware Workstation
- Insert the Ubuntu ISO file
- Select the Ubuntu OS file
- Setup Ubuntu OS
- Restart Ubuntu after Installation
- Remove Ubuntu ISO file
- Welcome to Ubuntu
Step 1: Download Vmware Workstation
Download Vmware Workstation Pro from their official website and install it on your Windows 10 PC/Laptop.
Step 2: Download Ubuntu OS ISO file
Download Ubuntu 21.04 OS ISO file from its official website.
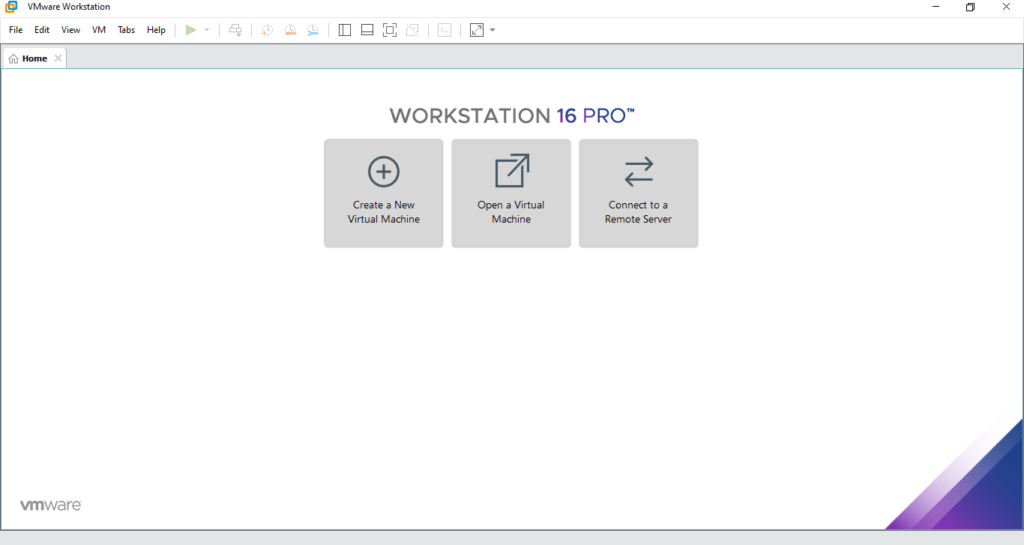
Step 3: Open Vmware Workstation
Now open Vmware Workstation and Click on Create a new Virtual Machine.
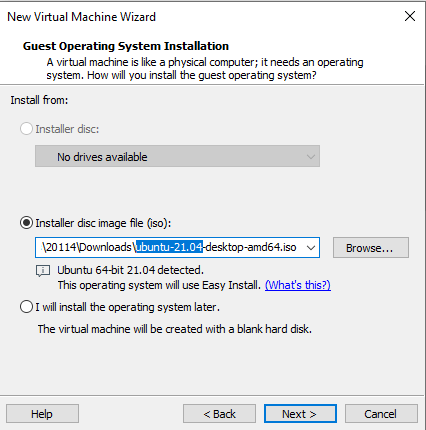
Step 4: Setup OS settings on Vmware Workstation
choose Installer disc image file (iso): to make the workstation to detect that the iso file is appropriate or not.
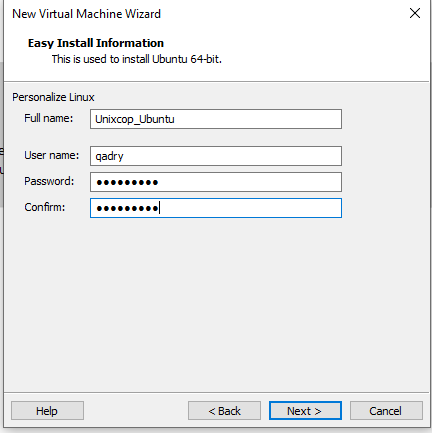
Here is the information about your OS such a full name, user name and password.
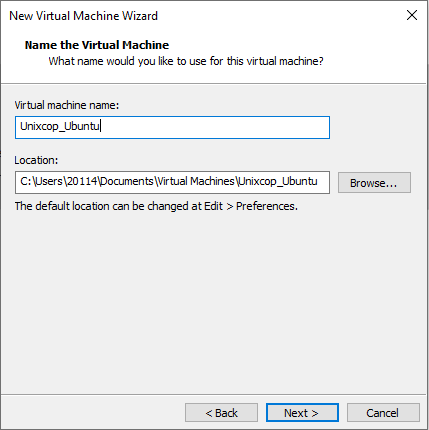
Then click next and give your virtual Machine a relevant name.In my case, I am naming it Unixcop_Ubuntu like the name i gave it to my Ubuntu OS.
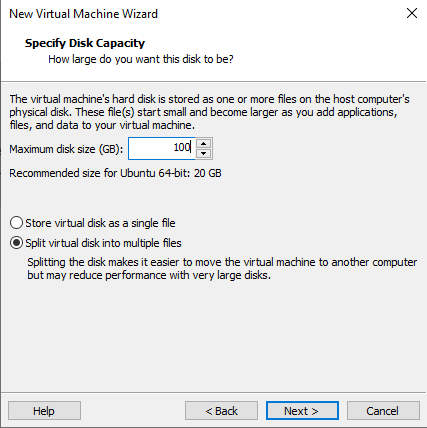
Step 5: Allocate size of Hard Disk
Now you have to select the size of the virtual hard disk.I will allocate 100 GB but you can choose whatever size you want, just make sure it’s more than 20 GB as recommended.
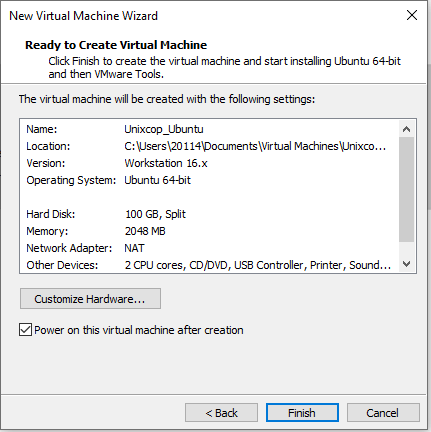
Now we finished the simple installation as shown:
Step 6: customize your hardware and your resources
just click on customize hardware
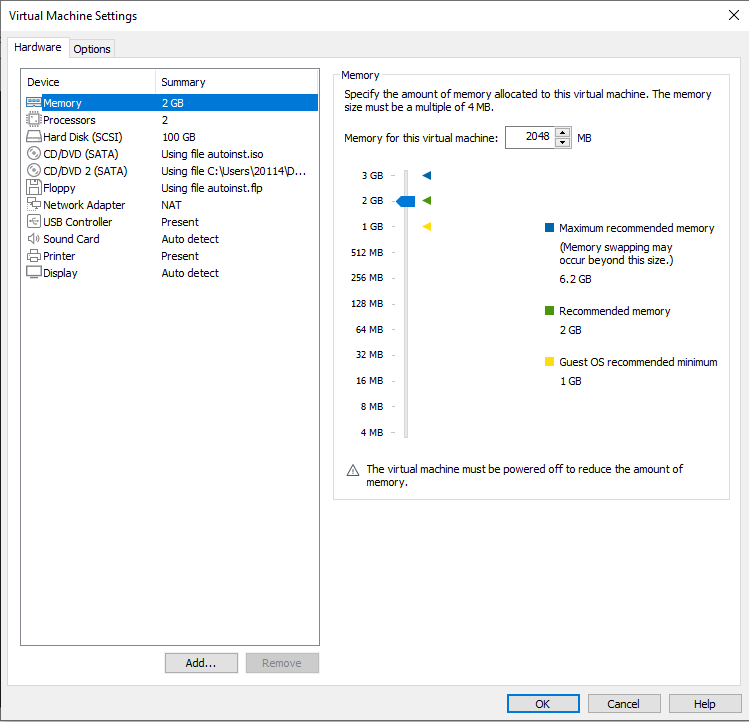
As you see, by default, the RAM size is allocated and you can increase the RAM size as per your requirement.
Next …
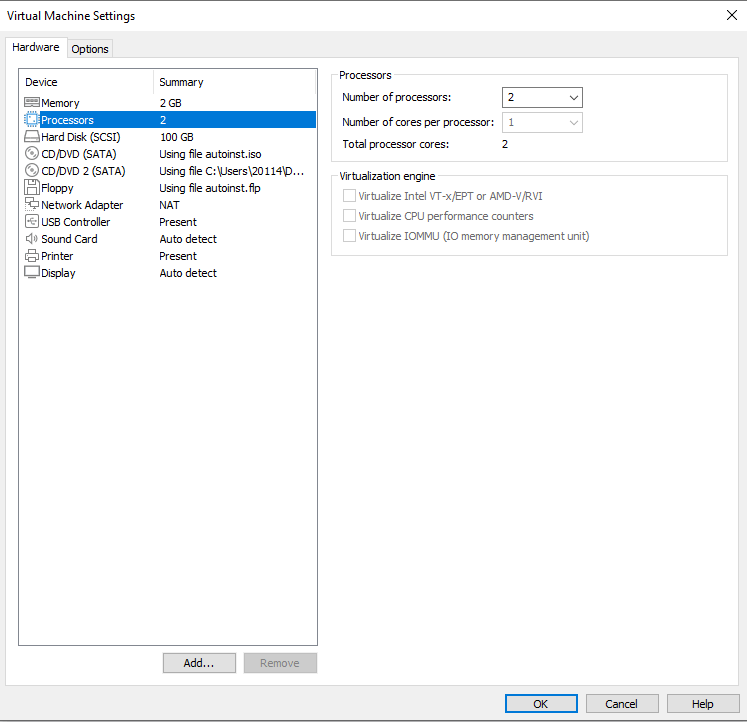
Number of processors is 2 and the cores per processors is 1 as shown .
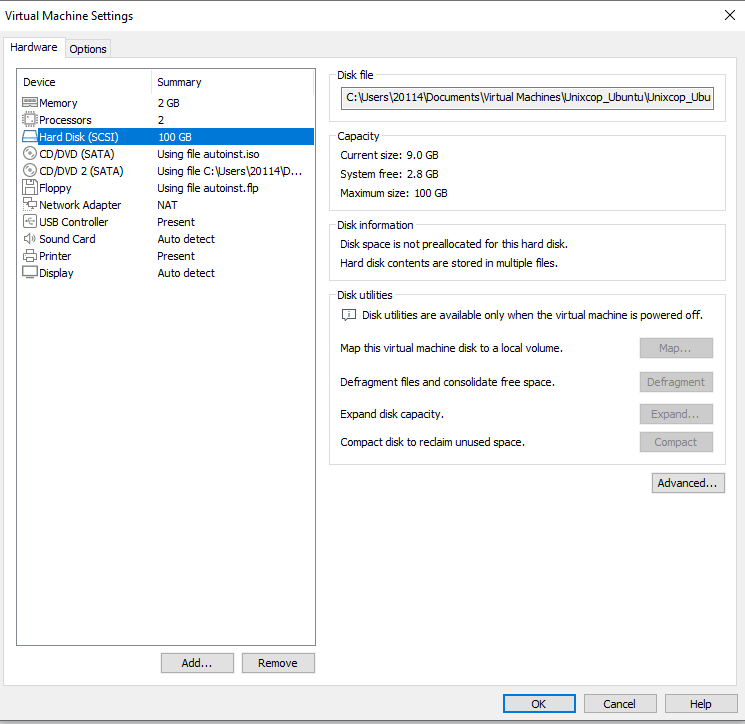
the Hard disk is allocated with 100 GB as we did.
Also you can view and change this settings after you finished the complete installation
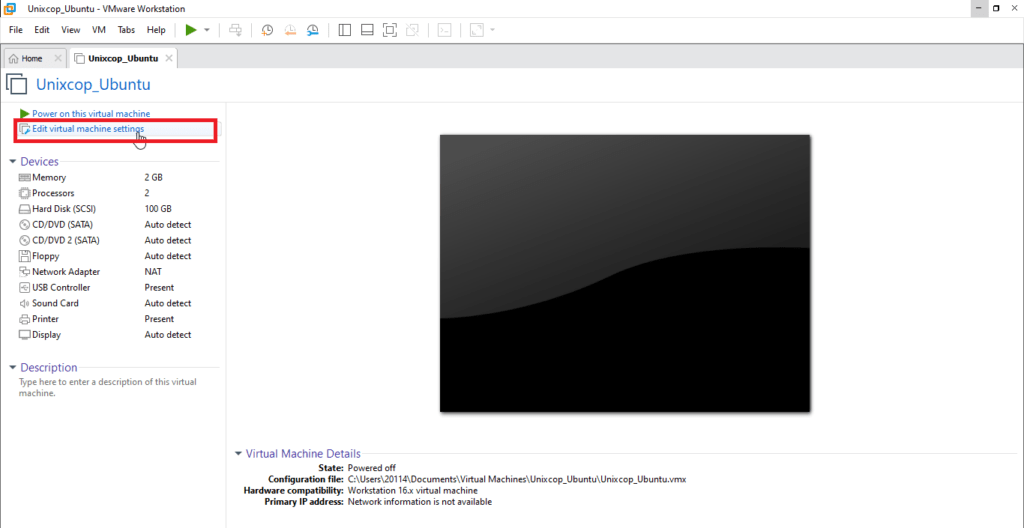
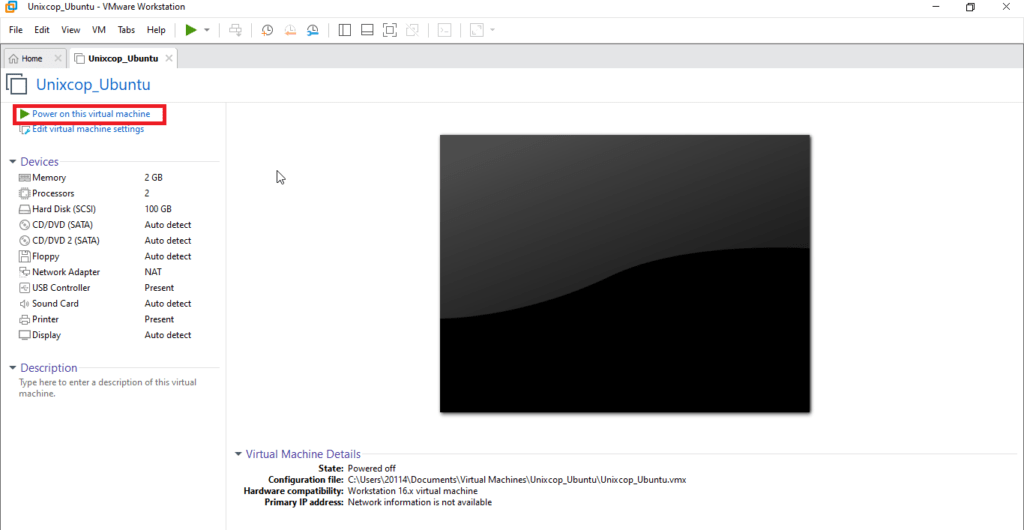
Step 7: Run Ubuntu
Click ‘Power on this virtual machine’ to start the installation.
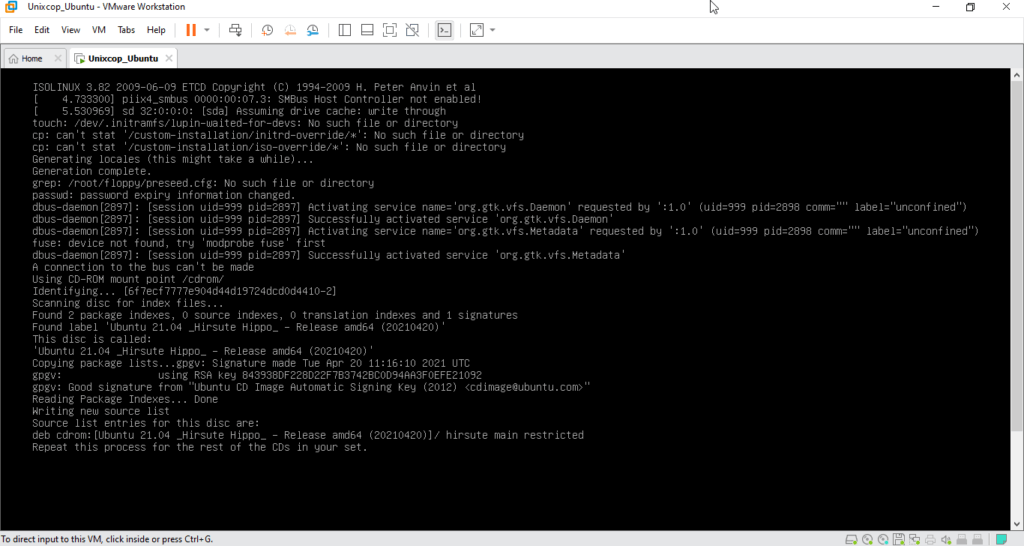
Step 8: Install Ubuntu 21.04 LTS Desktop
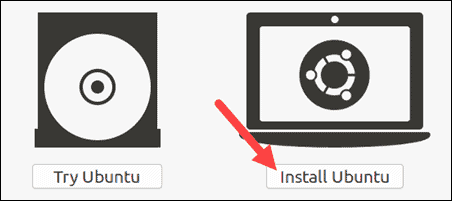
You can test Ubuntu 21.04 before you commit to installing it.The .Iso includes a live mode that only runs in memory.
Launch this mode by clicking Try Ubuntu.
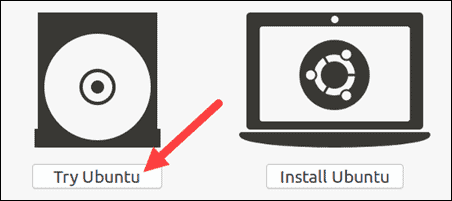
To begin the installation, click Install Ubuntu.
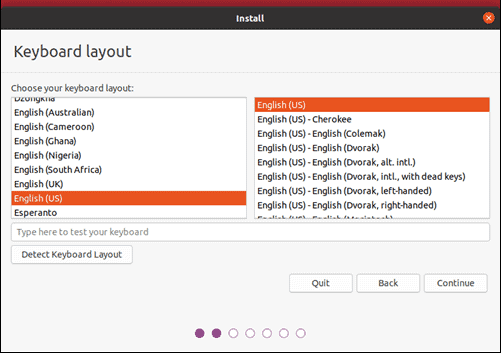
Step 9 : Choose Keyboard Layout
By default, the system will select English and English.
If you have a non-standard keyboard, you can select it in the list. Alternately, click Detect Keyboard Layout and the system will automatically choose your keyboard. If you need to test your keyboard, use the labeled field.
When you’re ready, click Continue.
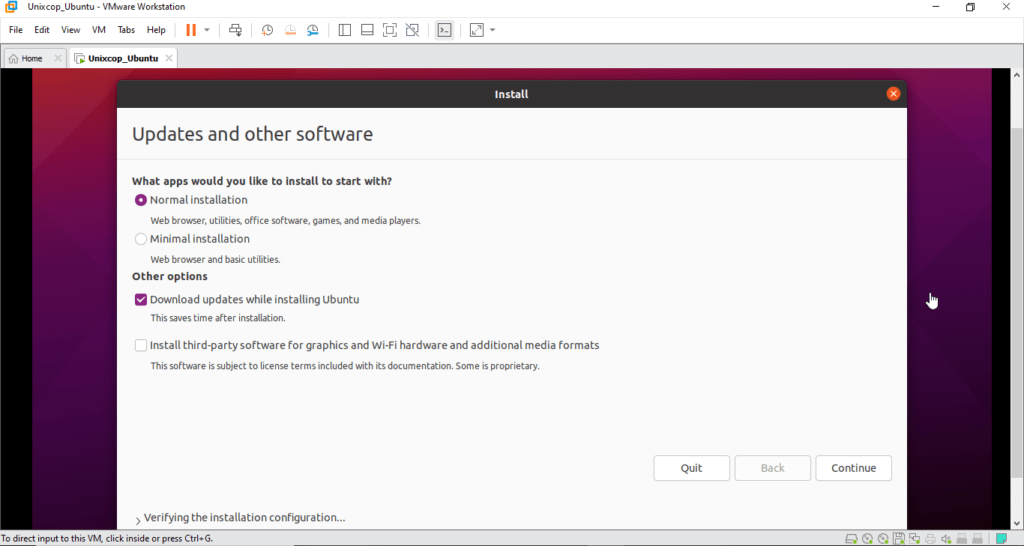
Step 10 : Choose Starting Applications
- Normal Installation – This is the full Ubuntu Desktop experience, with office software, games, and media players.
- Minimal Installation – Choose this to save disk space, especially if you won’t be using media players or productivity software.
You’ll also be asked to confirm other options:
- Download updates while installing Ubuntu – This does the work of downloading large package files during the installation. Once the installation finishes, the packages will be ready to apply as updates.
- Install third-party software for graphics and Wi-Fi hardware and additional media formats – Some hardware, like graphics cards and wi-fi cards, do not have open-source driver support.Also, some media formats, such as .wmv, do not fall under the GPL license.If you need support for these, you’ll need to agree to additional terms of use.
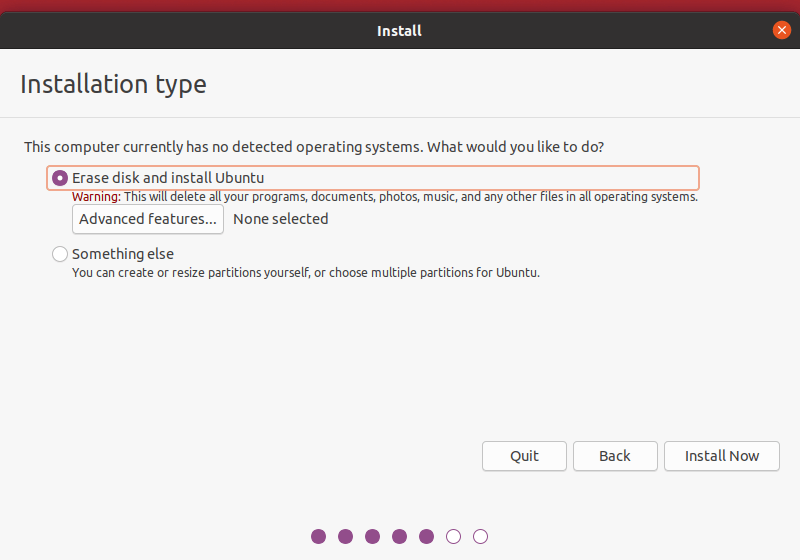
Step 11: Choose the installation type
Here in the installation type window,
If your system currently has no operating systems, the installer will provide the following two options. You can choose any option that suits to you:
- Erase disk – Choosing this option will delete everything in your system.There is also additional option called “Advanced Features” that allows you to choose the following three options.
- Use LVM with the new Ubuntu installation – If you want to resize, add, modify, take snapshot partitions, choose this option.
- Encrypt the new installation for security – This option lets you to encrypt your Ubuntu system. You will need to choose a security key in the next wizard if you choose this option.
- EXPERIMENTAL – Erase disk and use ZFS.
- Something else – It allows you to manually partition the hard drive yourself. You can set the custom size for each partition. It is opt for dual boot with Windows and/or other OS.
I go with the first option – Erase disk. “keep the default setting as it is and click on Install Now”.
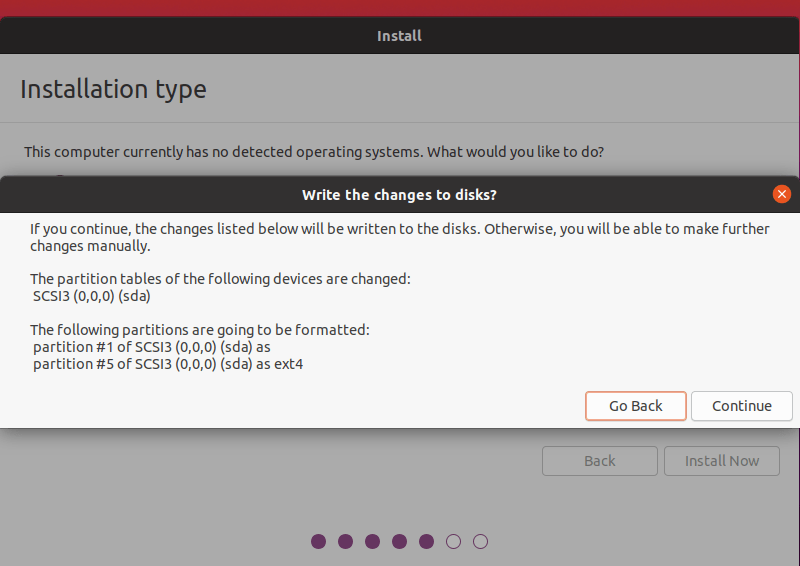
you will see the list of changes that will be made to the disks. If this is OK, click “Continue” or click “Go Back” to make further changes.
The next step, choose where you live i.e. timezone. If your system is connected with Internet, the installer will choose the timezone automatically. Otherwise you will have to manually choose it from the map.
Step 12 : Create User Account
The setup of who are you.
you’ll need to configure a user account. Fill in the following fields:
- Name: Your actual name.
- Computer name: This is the hostname or network name.
- Username: The user account name you want to use.
- Password: Enter and confirm a strong password – the installer will automatically evaluate your password strength.
- Log in automatically: This is not recommended for publicly accessible servers.
- Require my password to log in: This is recommended for publicly accessible servers.
Click Continue to install Ubuntu.
The Ubuntu 21.04 installation will start now.
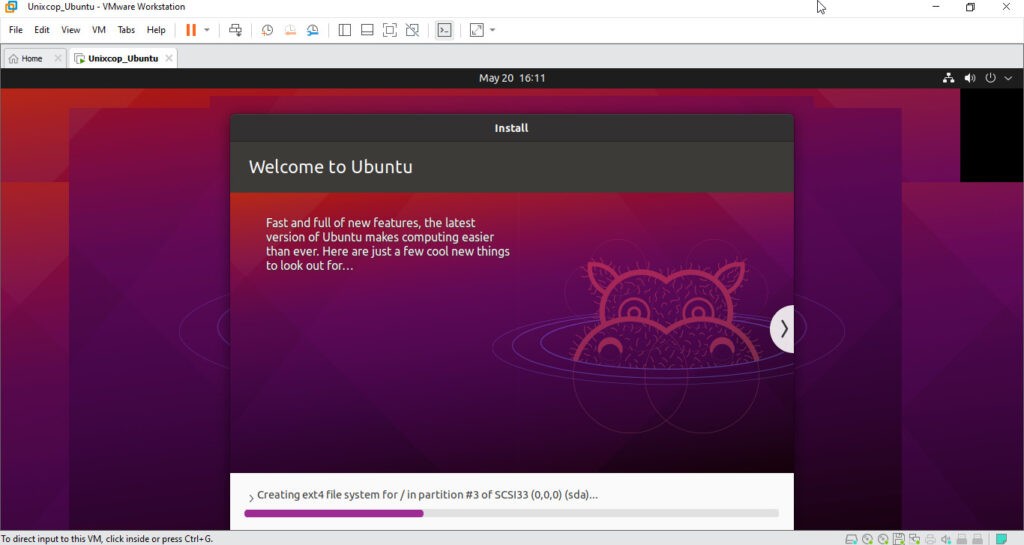
This will take a while to complete.
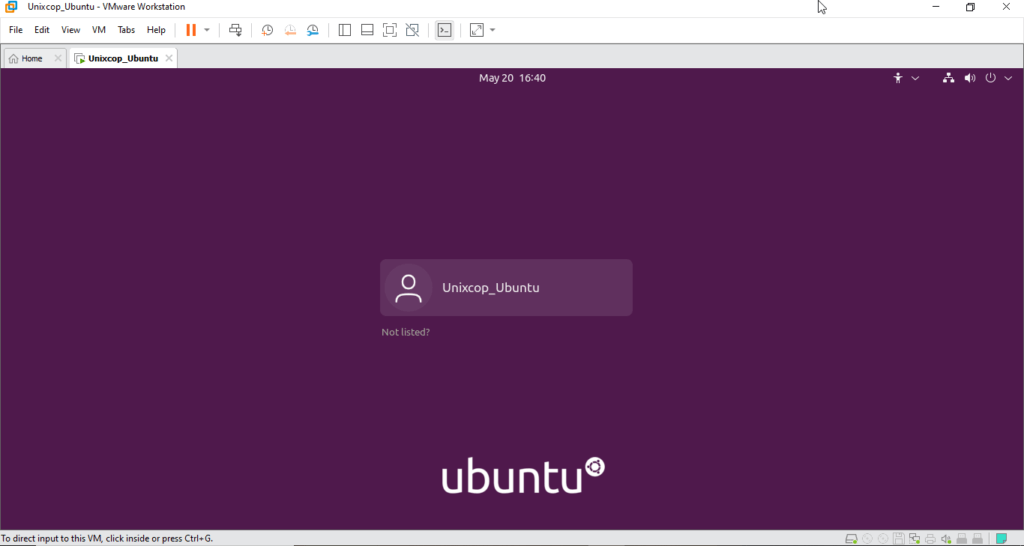
Once the installer finishes, Click on the username and enter the password to log in to the newly installed Ubuntu 21.04 LTS desktop.
Step 13: Restart Ubuntu
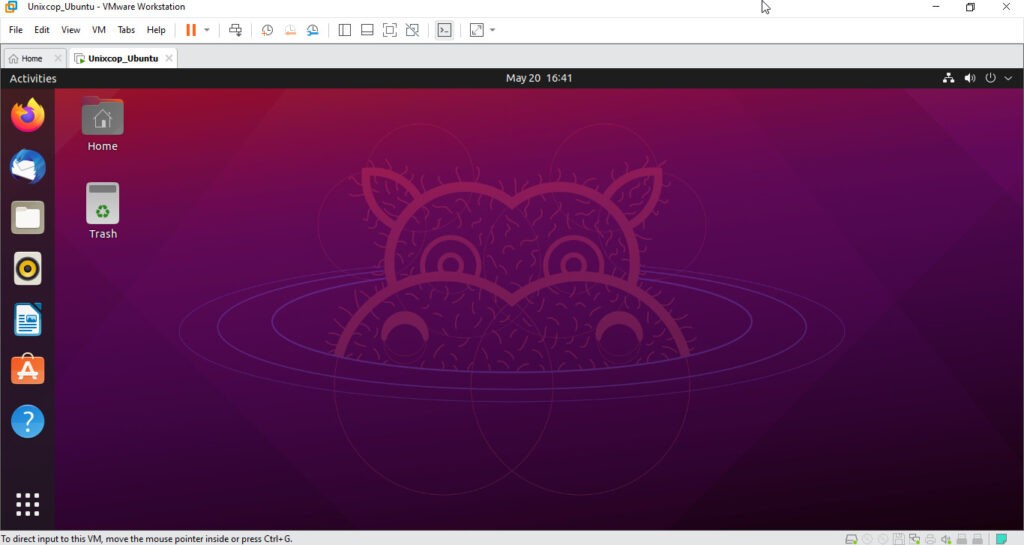
Now just restart the Ubuntu operating system and you can use the Ubuntu in maximize or fullscreen mode.
Here is how Ubuntu 20.04 LTS desktop looks like:
Well, that’s the end of our guide. I hope this article will help you install Ubuntu 21.04 on Vmware Workstation pro in Windows 10.
This guide is very useful, I appreciate you efforts, but I wanna ask one in step – 11 where you have shown installation type it gives us two options if I go with the first one would it remove all of my media from windows ??
plzz help me out with this…
thanks in advance