
Introduction
TeamSpeak is a voice-over IP chat software, it allows users to talk in a chat channel with other users, just like a traditional conference call. To do this, clients have to connect to a server. This is what we are going to do.
The main advantage is that you can manage the created instance yourself.
Install TeamSpeak Server
Before we start, the server must be up to date so that we don’t have problems during the process.
sudo apt update
sudo apt upgrade
After this, log in as the root user.
sudo -iNow we can get started.
The first thing we need to do is create a new system user which is where TeamSpeak will work. This new user can be called whatever you want and does not need to be logged into the system.
adduser --disabled-login teamspeakSo you willbe asked a few questions requesting information about the new user. Nothing complicated.
Now, log in to the newly created user.
su - teamspeakIn addition to with the help of the wget command, we can download TeamSpeak for Linux.
wget https://files.teamspeak-services.com/releases/server/3.13.6/teamspeak3-server_linux_amd64-3.13.6.tar.bz2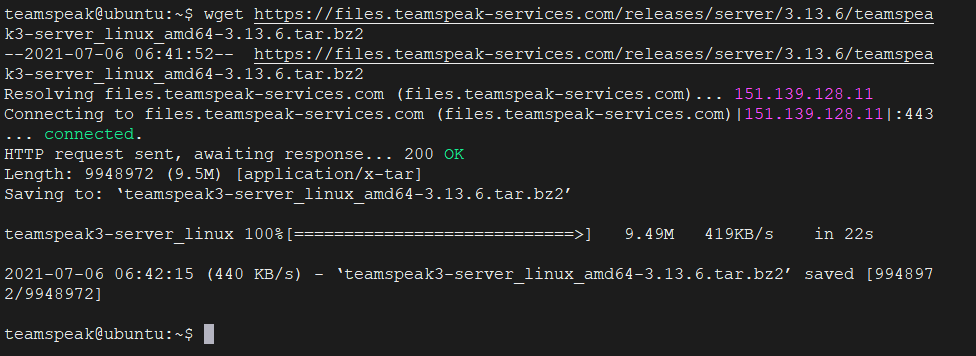
Once the download is complete, we can unzip it.
tar xvfj teamspeak3-server_linux_amd64-3.13.6.tar.bz2
Now it is a good idea to copy the generated files directly into the Home folder of the user-created for TeamSpeak.
cp teamspeak3-server_linux_amd64/* -R /home/teamspeak/Also, it is advisable to delete the downloaded file, as you will not need it.
rm -rf teamspeak3-server_linux_amd64 teamspeak3-server_linux_amd64-3.13.6.tar.bz2After this, create a new empty file corresponding to the license.
touch .ts3server_license_acceptedNow, TeamSpeak is installed, but we can’t use it yet.
Configuring TeamSpeak Server
With TeamSpeak installed, the process of preparing for the first use begins.
First, exit the TeamSpeak user and return it to the root user.
exitThe best way to manage TeamSpeak is to manage it as a systemd service. This can be done by creating a new entry in the system.
vim /lib/systemd/system/ts3server.serviceAnd add the following
[Unit]
Description=Teamspeak Service
Wants=network.target

[Service]
WorkingDirectory=/home/teamspeak
User=teamspeak
ExecStart=/home/teamspeak/ts3server_minimal_runscript.sh
ExecStop=/home/teamspeak/ts3server_startscript.sh stop
ExecReload=/home/teamspeak/ts3server_startscript.sh restart
Restart=always
RestartSec=20

[Install]
WantedBy=multi-user.target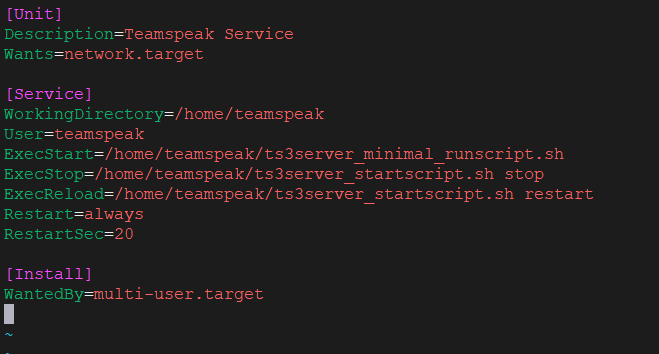
Save your changes and close the text editor.
Refresh the list of system services, by running the following command
systemctl daemon-reloadThen, start the application service.
systemctl start ts3serverIt is advisable to check the status of the service to see if it is active.
systemctl status ts3server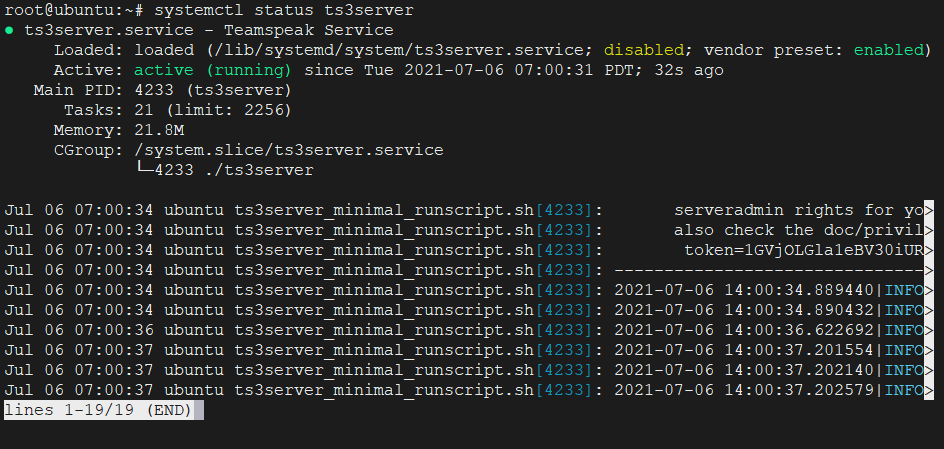
So, everything is working properly.
Create new access password
It is important to define a new password that takes care of adding an extra layer of security.
So, stop running the service
systemctl stop ts3serverLog the user teamspeak back in.
su - teamspeakTo set a password, just start the service manually and add the serveradmin_password parameter along with a strong password.
./ts3server_startscript.sh start serveradmin_password=unixcop
Replace unixcop with a stronger password.
Now stop it manually
./ts3server_startscript.sh stop
Change to root user again
exitAnd now start the TeamSpeak service.
systemctl start ts3serverEnabling the TeamSpeak web interface
Also, it is advisable to enable the TeamSpeak web interface so that you can manage TeamSpeak faster and more comfortably.
To do so, install Apache and PHP along with the unzip package.
apt-get install apache2 php libapache2-mod-php unzip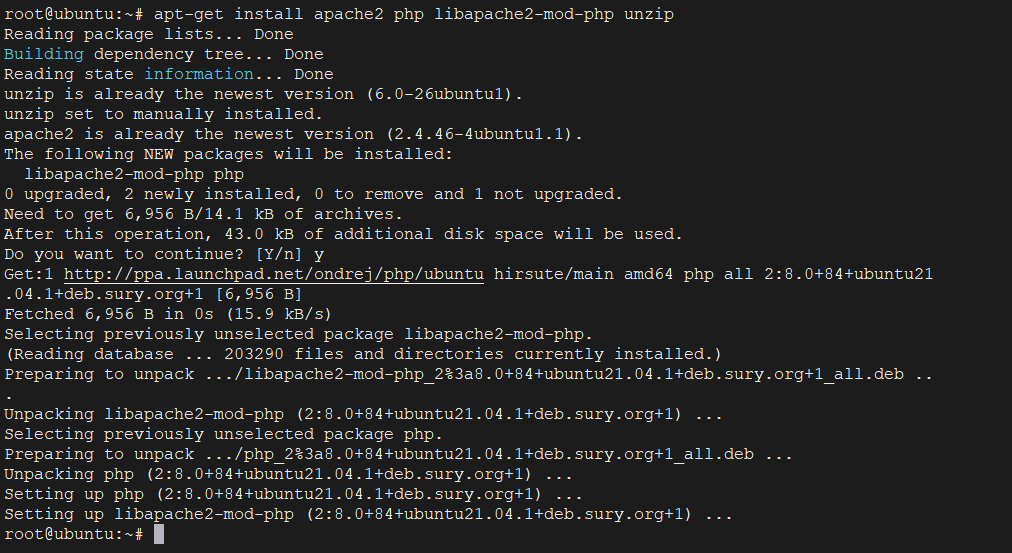
Then, access the Apache Root document folder.
cd /var/www/htmlAnd from there, proceed to download the web interface. Again, we will do it with the wget command.
wget https://www.bennetrichter.de/downloads/ts3wi.zip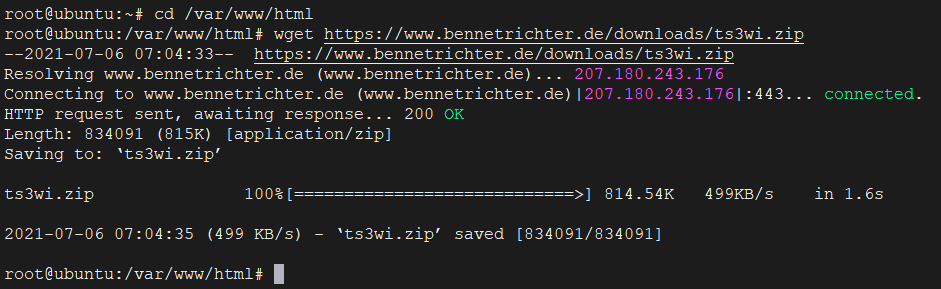
Since it’s lightweight, the download shouldn’t take long. When it is finished, you have to unzip it.
unzip ts3wi.zip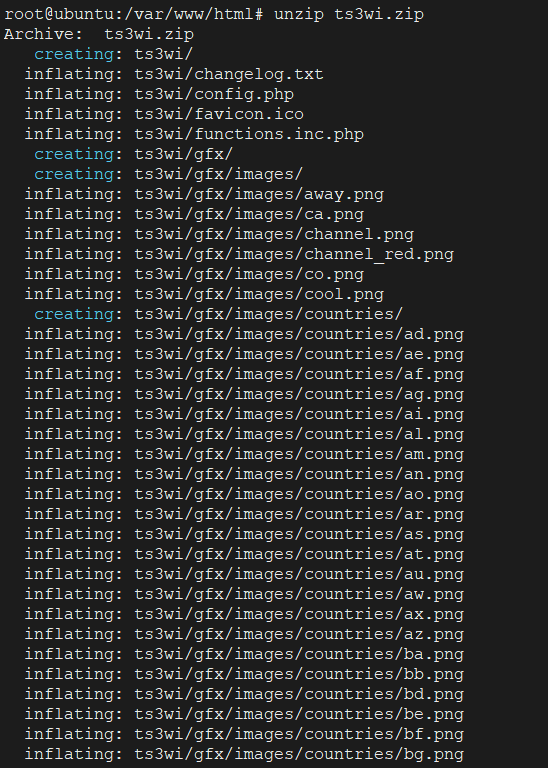
Then, to avoid problems with running on the web, make the folder belong to Apache.
chown -R www-data:www-data /var/www/html/ts3wiAnd now in a text file called query_ip_allowlist.txt inside the teamspeak user’s home folder add the IP of the server and the client that will be able to access it.
vim /home/teamspeak/query_ip_allowlist.txt
your ip server
ip client
Save your changes and close the editor.
To apply the changes, restart the Apache and TeamSpeak services.
systemctl restart apache2
systemctl restart ts3server
It is now accessible from a client and a web browser via the address http://your-server-ip/ts3wi where you will see the Login screen.
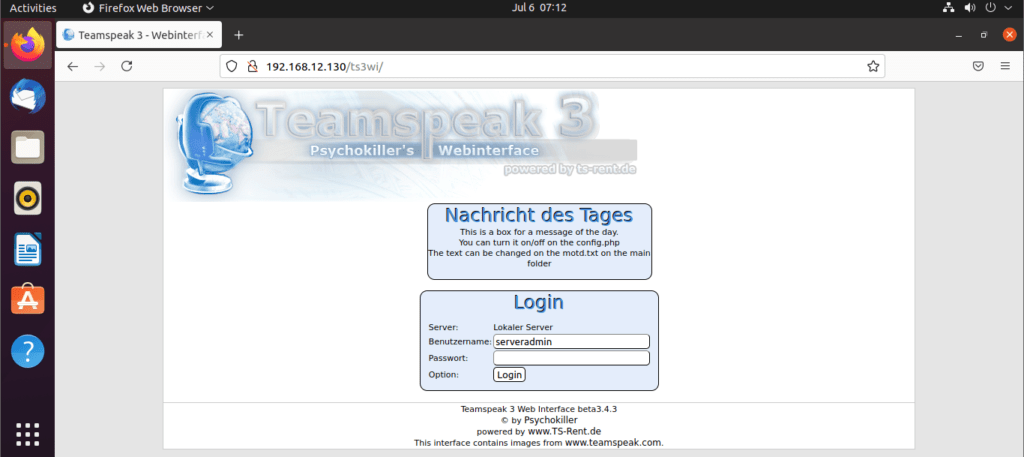
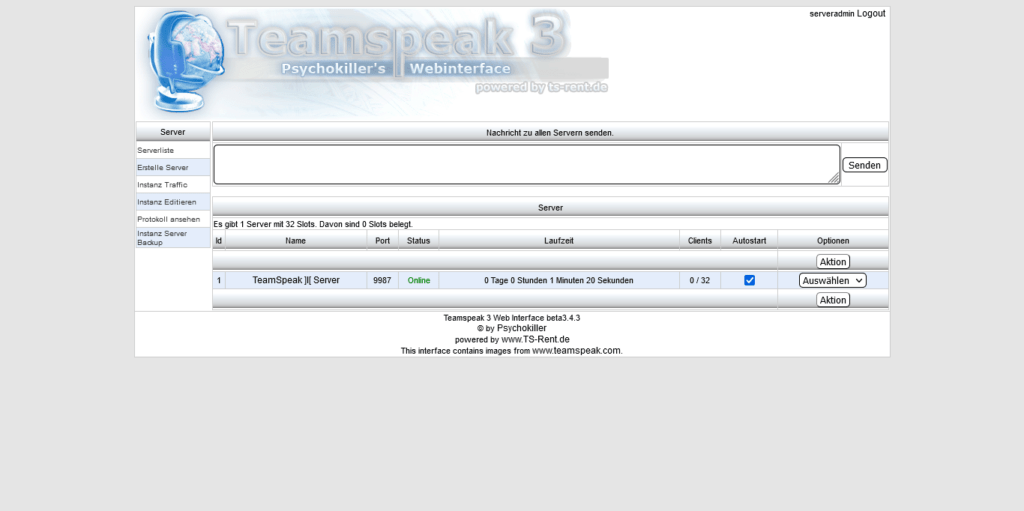
After logging in with the username serveradmin and the password you defined, you will see the administration panel.
Conclusion
You have learned how to install your own TeamSpeak instance on your server. This way, you will have full control over what happens and it is interesting for your internal use.