
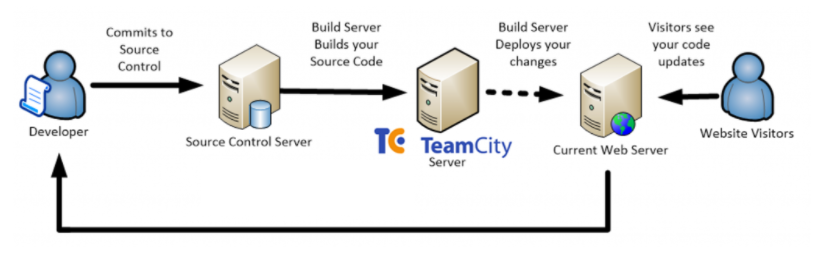
In this post, you will learn how to install TeamCity on Ubuntu.
TeamCity is a build management and modern Continuous Integration (CI) tool from JetBrains widely used by software development teams.
It is a commercial tool and licensed under a proprietary license, Freemium software license up to 100 build configurations and 3 free build agents are available.
Install TeamCity on Ubuntu
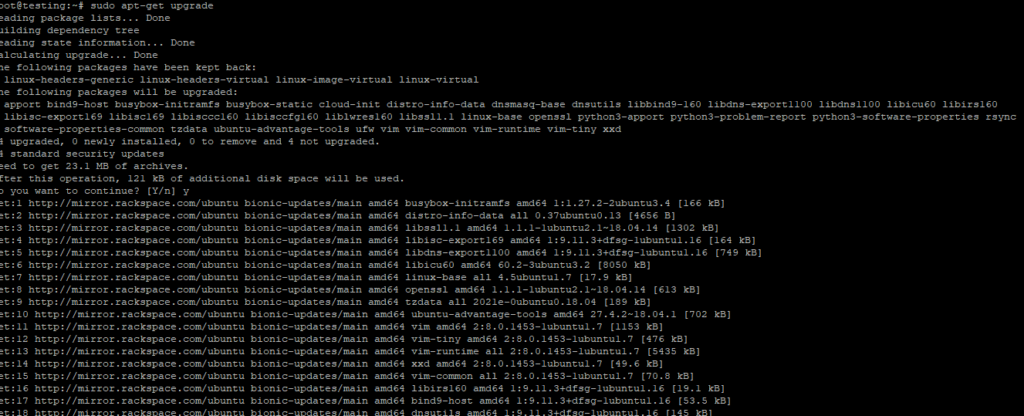
So, install new versions of software by executing following command.
#sudo apt-get update

Install available upgrades of all packages currently installed on the system from the sources configured via sources. list file.
#sudo apt-get upgrade
Now Reboot the machine…
Install and configure Database for TeamCity.
TeamCity need a Database in order to operate, it comes with an internal DB but only good enough for learning purpose. If you want to install teamcity for production capacity then you should have either MySQL, SQL Server, Oracle or PostgreSQL.
In order to install mysql server execute the following command:
#sudo apt-get install mysql-server

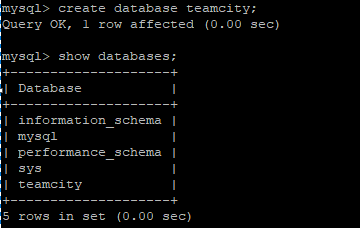
Create a database for TeamCity:
mysql> create database teamcity;
Create teamcityuser for this database (Please select your own password)
mysql> create user 'teamcity'@'localhost' identified by 'poC5~ytOZq%m[YJ[';
Grant all privileges to teamcityuser for teamcity db:
mysql> grant all privileges on teamcity.* to 'teamcity'@'localhost';

Installing Java JDK package and setting up environment.
Team City is a Java Based application and therefore needs the JRE & JDK installed with the JAVA_HOME environment variable pointing to the Java installation directory.
To install Java on your ubuntu server follow these steps
# sudo apt-get install openjdk-8-jdk

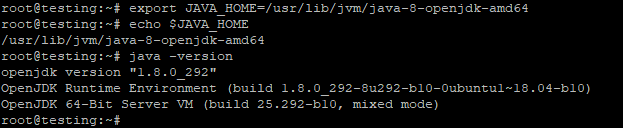
# export JAVA_HOME=/usr/lib/jvm/java-8-openjdk-amd64
# echo $JAVA_HOME
Check your Java Version
# java -version
The version information returned should be similar too:
Download the app
Navigate into the “Downloads” and pull up the latest version of TeamCity
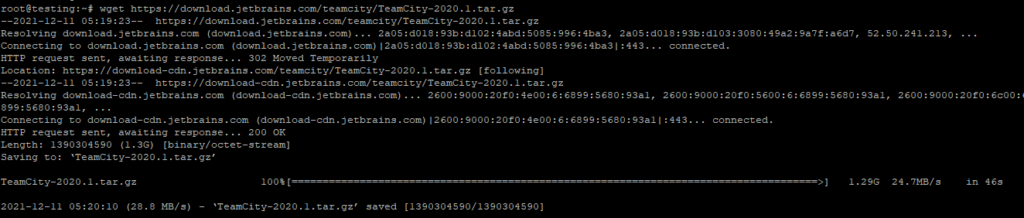
Extract content from downloaded archive .

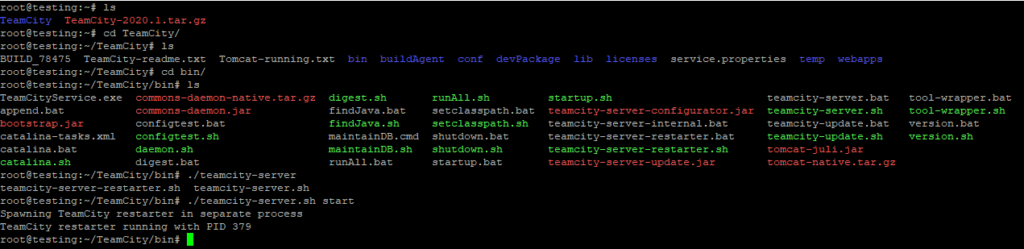
Now go to the TeamCity/bin directory and execute following command
./TeamCity/bin/teamcity-server.sh start
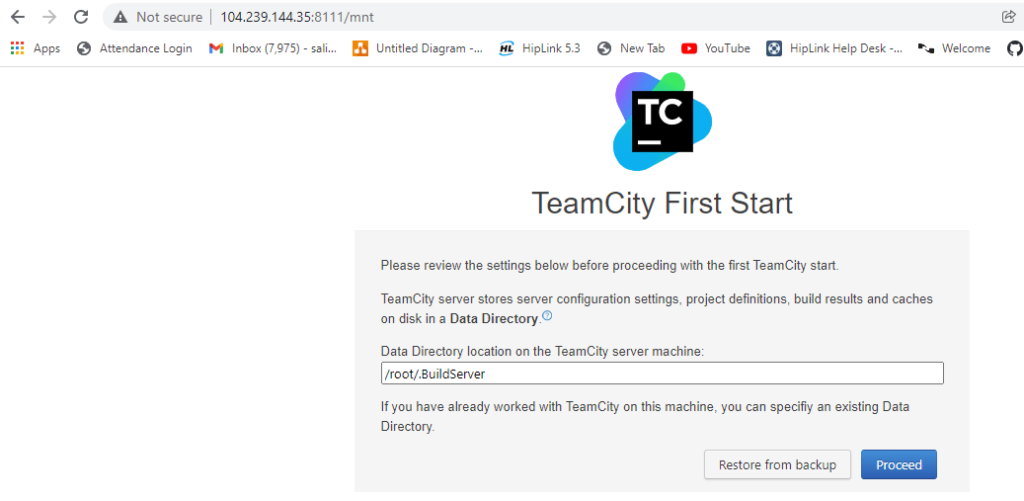
Then you can navigate to whichever URL your application is installed on, in my case we’ll simply be making use of an IP Address .i.e. http://104.239.144.35:8111/
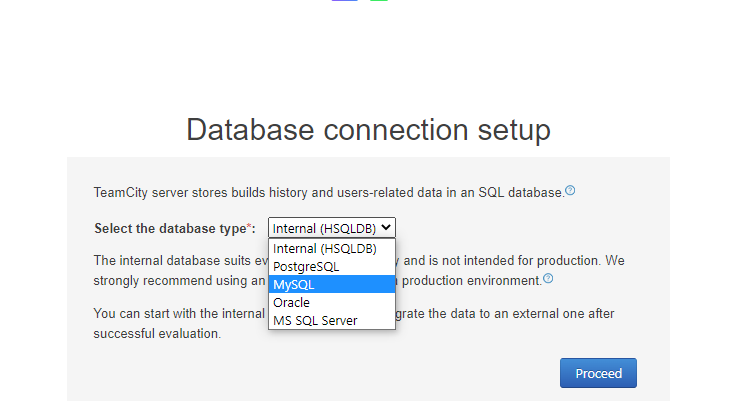
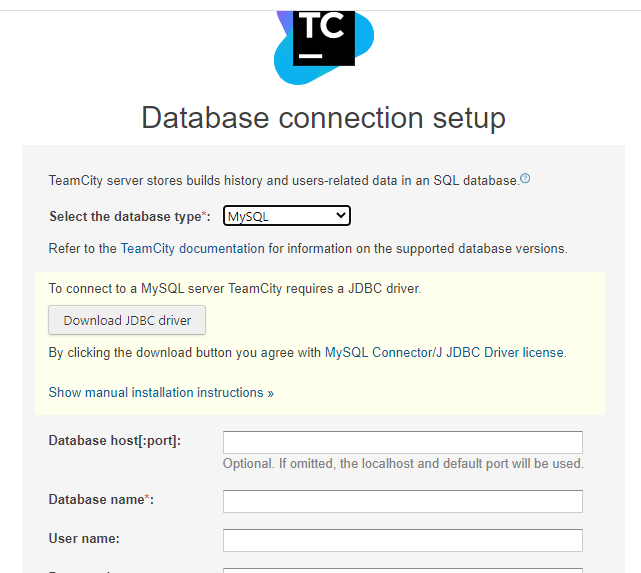
TeamCity comes with its own pre-configured database by default. However, it’s used for demonstration purposes. It’s a good idea to install and use a separate database. I’ll use MySQL. So, select MySQL from the “Select the database type” dropdown:
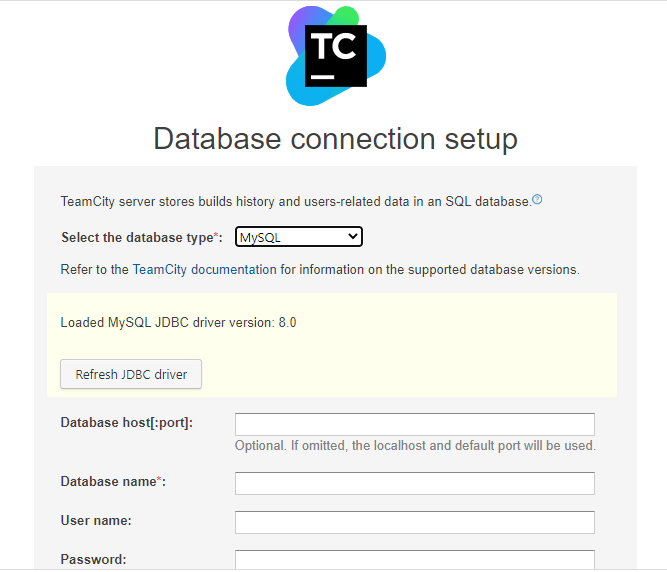
To connect to a MySQL server TeamCity requires a JDBC driver. Click on the “Download JDBC driver” button in order to install JDBC driver.
Now add database details which was created earlier.
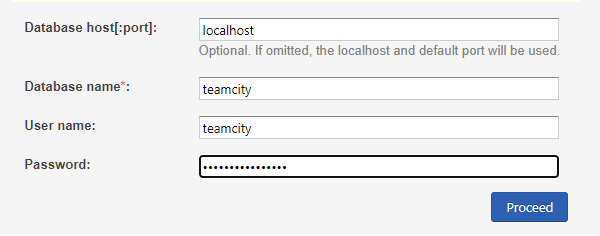
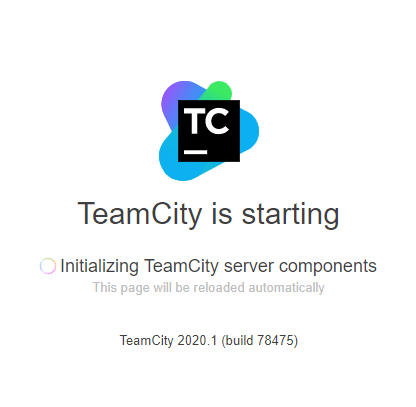
After that,click on Proceed. It will initializing teamcity server component.
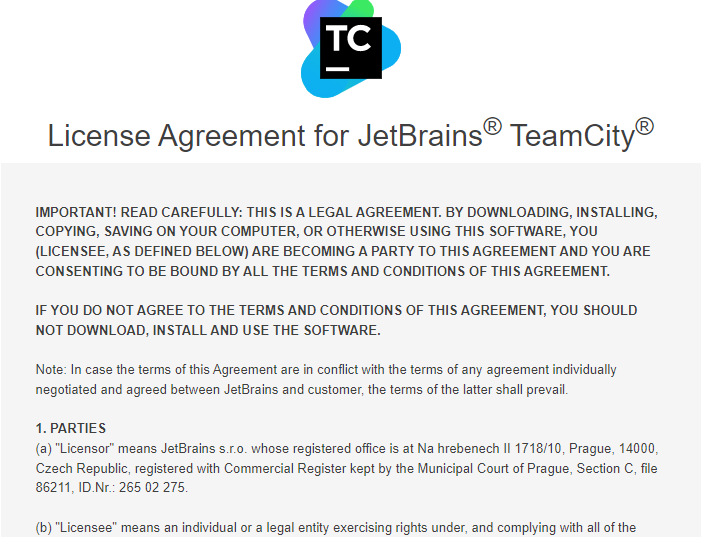
Read the license agreement from JetBrains, accept the agreement and proceed.
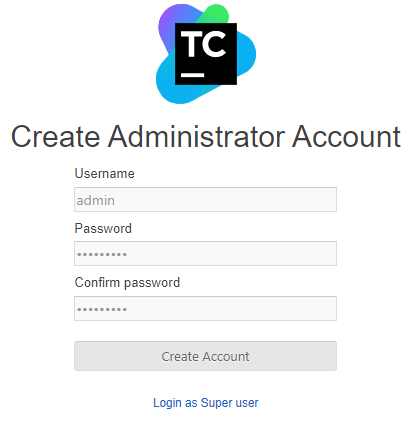
Create Administrator account for login, give the User name and Password for this account.
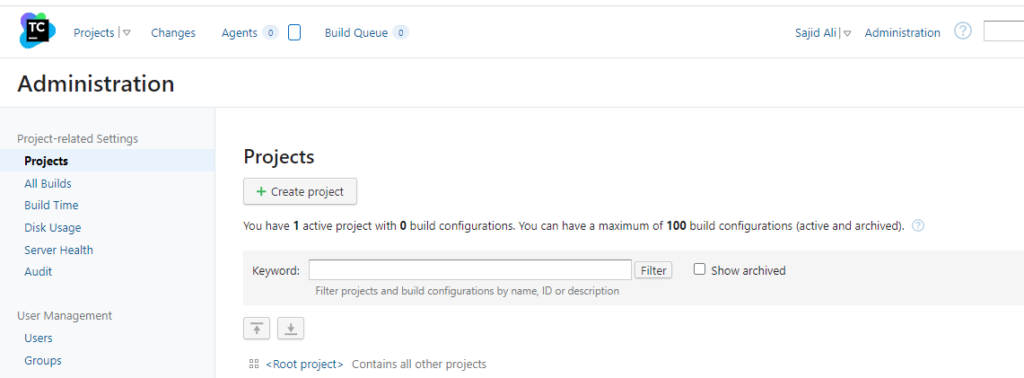
Finally, You have successfully installed TeamCity server..
Final Words:
That’s it. By now you should have a running teamcity server. If something goes wrong, be sure to check the logs which can be found at /var/TeamCity/logs.