
This post is about Install SuluCMS on Ubuntu / Debian
SuluCMS is a free, open-source, powerful and reliable content management system (CMS). It is based on Symfony and PHP and it uses MariaDB/MySQL as its backend database. Individuals and businesses can use this CMS to build dynamic websites according to their needs. It also comes with a Web Panel and many features like API, SEO Integration etc.
Requirements :
- 2GB or more RAM (The more the better performance)
- 2vCore CPU
- PHP 7.2 or higher
- Debian 9 or greater or Ubuntu 18.04 or greater
Step 1 : Update your server
First step is to update your server and look for any newer packages and security releases for your distribution
apt-get update -y
apt-get upgrade -y
Step 2 : Install PHP7.X Version
PHP 7.X packages might not be available by default in Ubuntu or Debian Servers, We need to install PHP7.2 or greater. So to install it we would first need to install some keys :
— Do the following for Debian Servers :
apt install apt-transport-https lsb-release ca-certificates
wget -O /etc/apt/trusted.gpg.d/php.gpg https://packages.sury.org/php/apt.gpg
echo “deb https://packages.sury.org/php/ $(lsb_release -sc) main” > /etc/apt/sources.list.d/php.list
apt update
— Do the following for Ubuntu Servers :
apt -y install software-properties-common
add-apt-repository ppa:ondrej/php
apt-get update
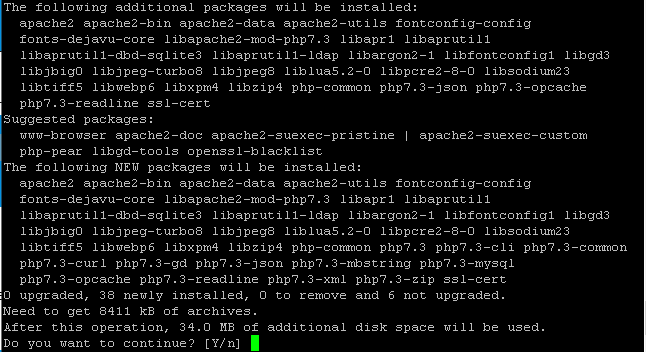
Run the following command to install PHP :
apt-get install php7.3 php7.3-common php7.3-mbstring php7.3-mysql php7.3-gd php7.3-xml php7.3-curl php7.3-cli php7.3-zip
Step 3 : Install MariaDB
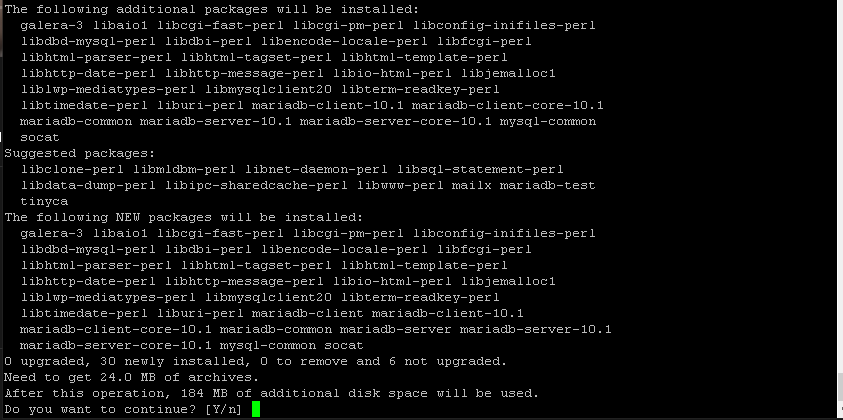
Since, SuluCMS uses MariaDB as its backend, We have to install it. Run the following commands to install it :
apt-get install mariadb-server mariadb-client
mysql_secure_installation
Copy the step as shown in the picture or the text :
Set root password? [Y/n] Y
Remove anonymous users? [Y/n] Y
Disallow root login remotely? [Y/n] n
Remove test database and access to it? [Y/n] Y
Reload privilege tables now? [Y/n] Y

mysql -u root -p
CREATE DATABASE suludb;
CREATE USER ‘suluuser’@localhost IDENTIFIED BY ‘sulupassword’;
GRANT ALL PRIVILEGES ON suludb.* TO ‘suluuser’@localhost;
EXIT;
Step 4 : Install SuluCMS
We have everything setup for SuluCMS. Now we can continue installing SuluCMS. Run the following commands to install it :
curl -sS https://getcomposer.org/installer | sudo php — –install-dir=/usr/local/bin –filename=composer
cd ~/
composer create-project sulu/skeleton my-project -n
cd ~/sulucms
git init
git add .
git commit -m “Initial commit”
Now edit the env file and change the database details as shown :
nano .env

Run the following command to populate your database content, This also creates a admin user.
bin/adminconsole sulu:build dev
Now we can start the SuluCMS Server, Just in case if this command does not work, Enter your server IP instead of localhost
php -S localhost:8000 -t public/ config/router.php
You can now access your SuluCMS at 8000 port:
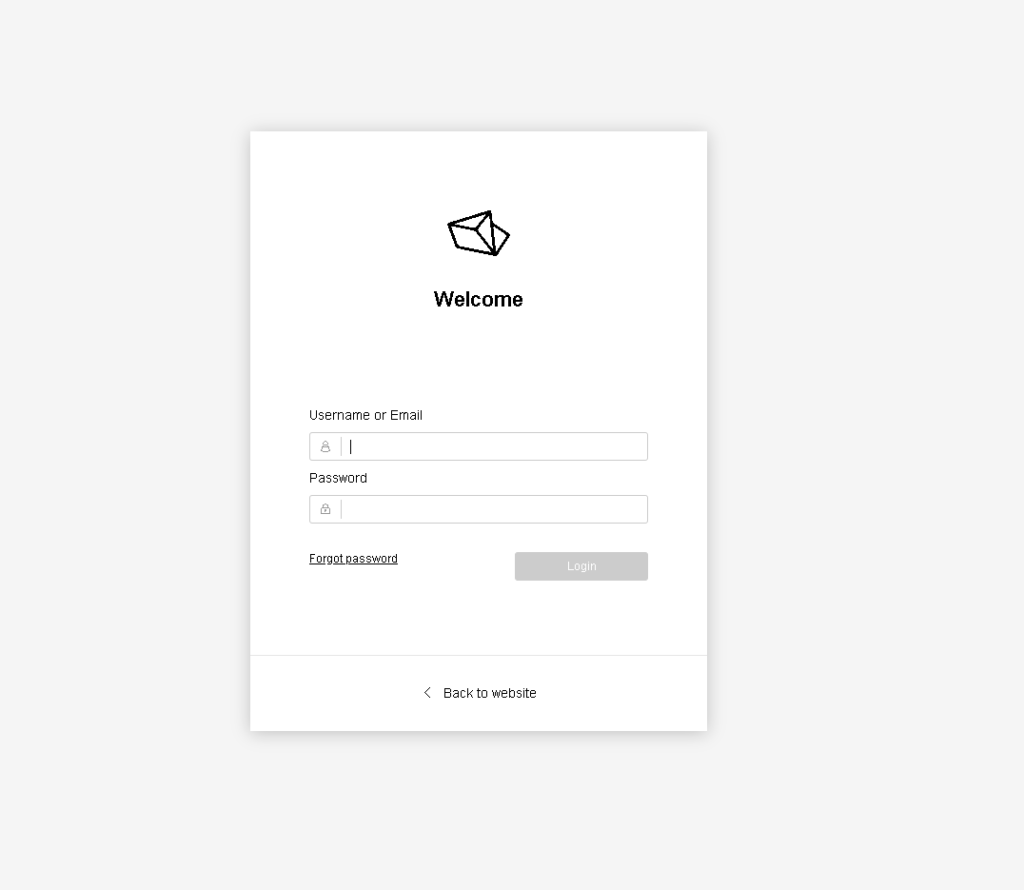
Login with following details :
Username : admin
Password : admin
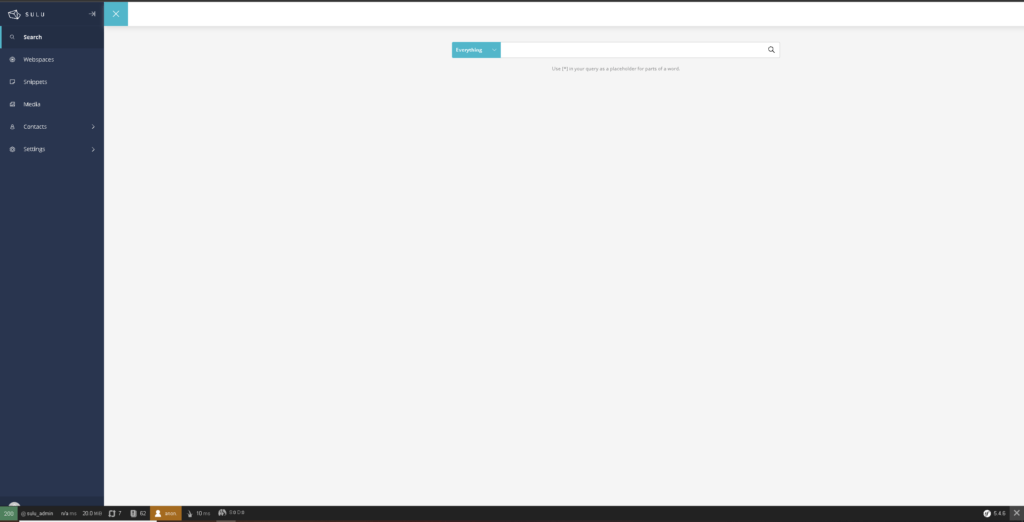
Conclusion :
You have installed latest version of SuluCMS on your Ubuntu or Debian Server, This tutorial assumes that you are root.