
SmartGit is a popular graphical Git client that provides an intuitive and user-friendly interface for managing Git repositories. In this article, we will guide you on how to install SmartGit on Ubuntu 22.04 LTS.
Install SmartGit on Ubuntu-APT method
Follow the steps below to get started with SmartGit :
- Update your Ubuntu system packages with running the below command:
sudo apt update -y && sudo apt upgrade -y- SmartGit package is not available on Ubuntu base repository. So You can install it via importing PPA repo as follows:
sudo add-apt-repository ppa:eugenesan/ppa
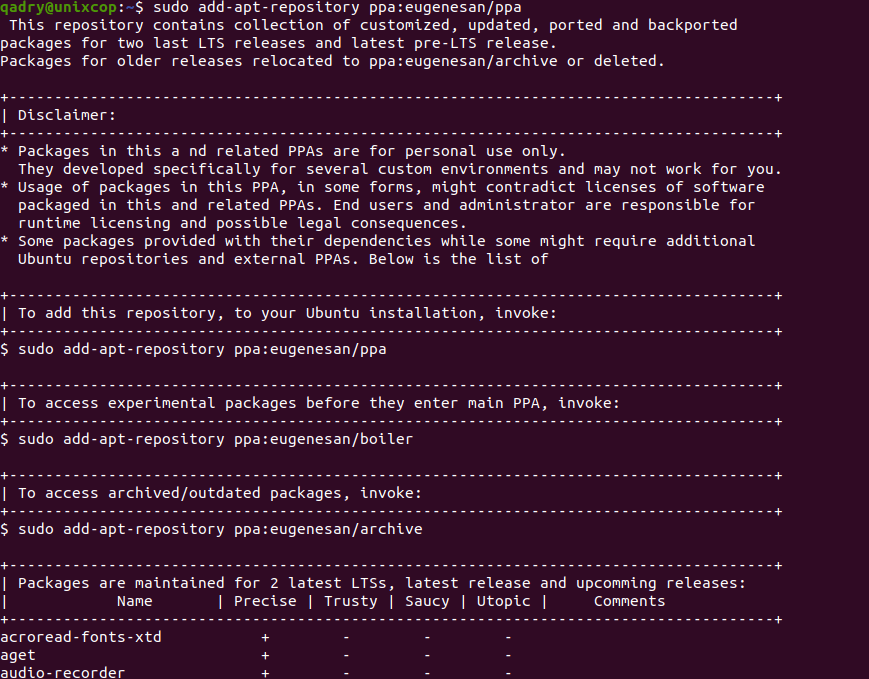
- Run the command below to reflect on PPA
sudo apt update -y- Then install SmartGit as shown below:
sudo apt install smartgit
Install SmartGit on Ubuntu-Official website method
Step 1: Download SmartGit
The first step in installing SmartGit is to download the package from the official website. Open your web browser and go to the SmartGit website. Click on the “Download” button, select the appropriate package for your Ubuntu system (32-bit or 64-bit), and download it.

Step 2: Extract the SmartGit package
Once the download is complete, navigate to the directory where the SmartGit package was downloaded, right-click on it, and select “Extract Here” to extract the contents of the package.
Step 3: Install Java
SmartGit requires Java to be installed on your system to run properly. To install Java on your Ubuntu 22.04 LTS system, run the following command in your terminal:
sudo apt-get install default-jre
Step 4: Install SmartGit
Now that Java is installed on your system, we can proceed with installing SmartGit. Navigate to the directory where you extracted the SmartGit package and double-click on the “install” script. If you are prompted with a security warning, click “Run” to continue with the installation.
- Or you can open your terminal then go to extracted directory then change the directory to smartgit/bin/ as shown below:
cd smartgit/bin
- Run the Smartgit script as shown below:
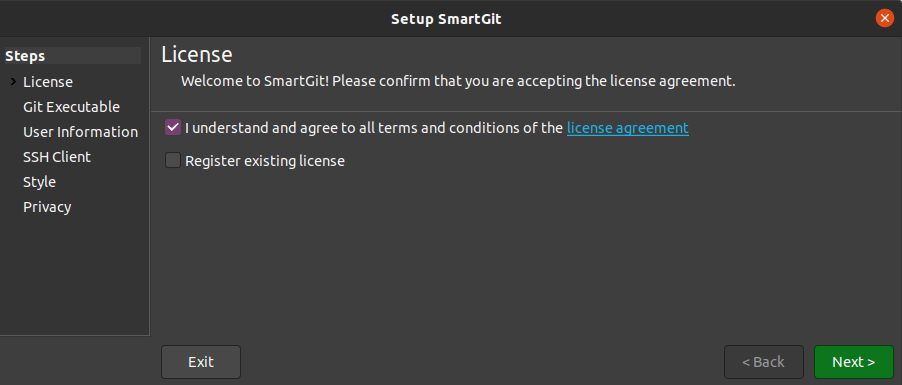
./smartgit.sh- You will be promoted to the SmartGit Setup wizard as follows:
Agree on the licence then click Next
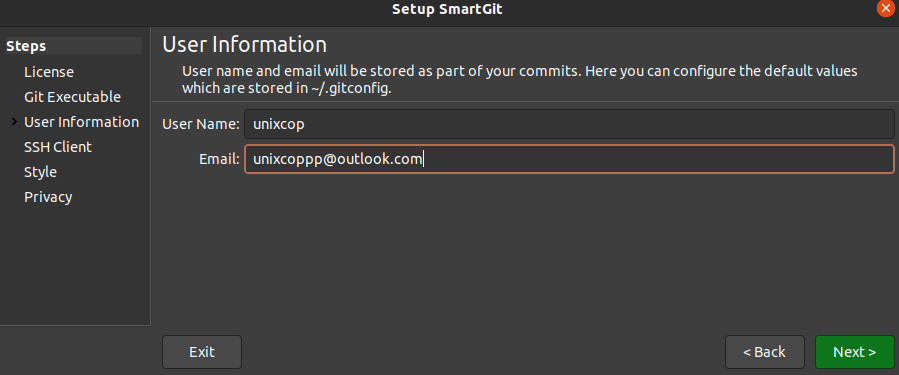
Configure the default values of smartgit by entering the username and email then click Next
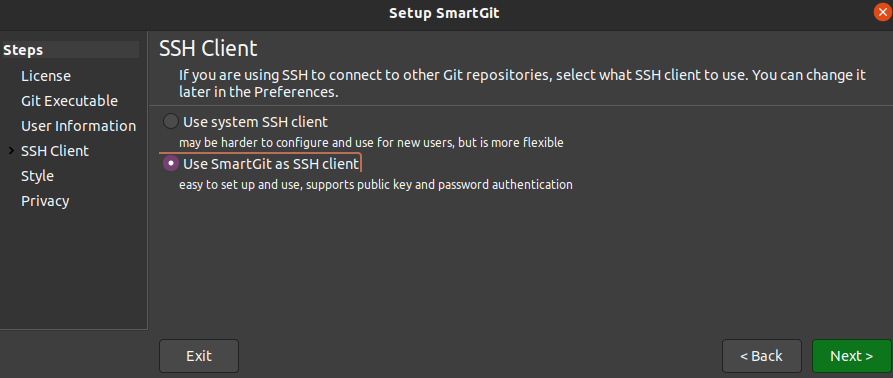
Choose the SSH client as shown below:
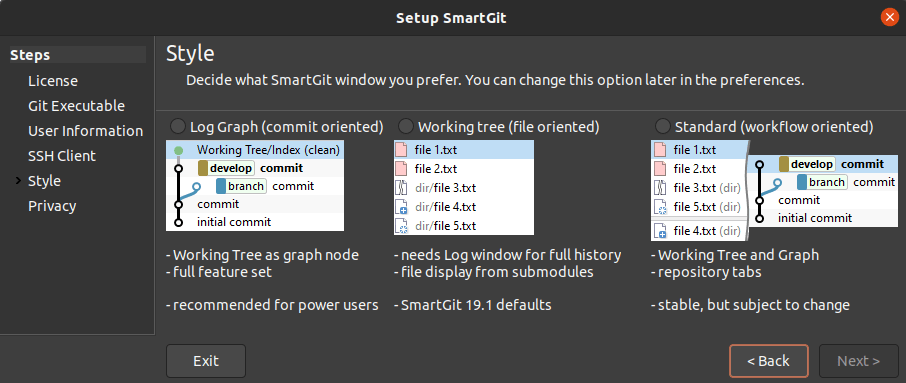
Specify your style:
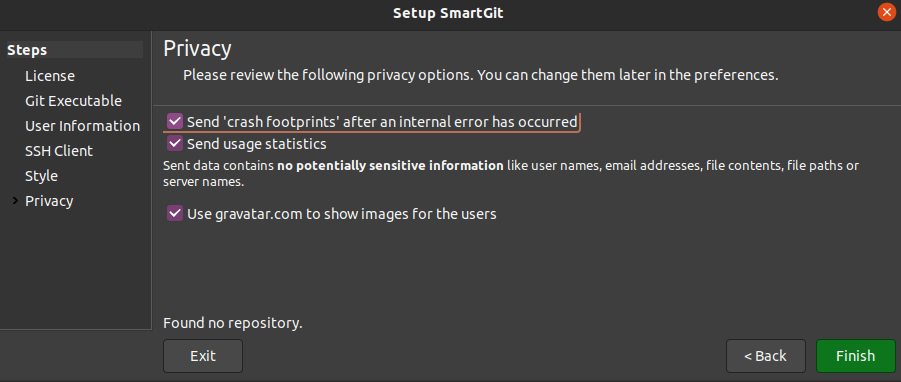
Finally, finish the installation as shown below:
Step 5: Launch SmartGit
Once the installation is complete, you can launch SmartGit by searching for it in your Ubuntu applications menu. Alternatively, you can launch it from the terminal by navigating to the SmartGit installation directory and running the following command:
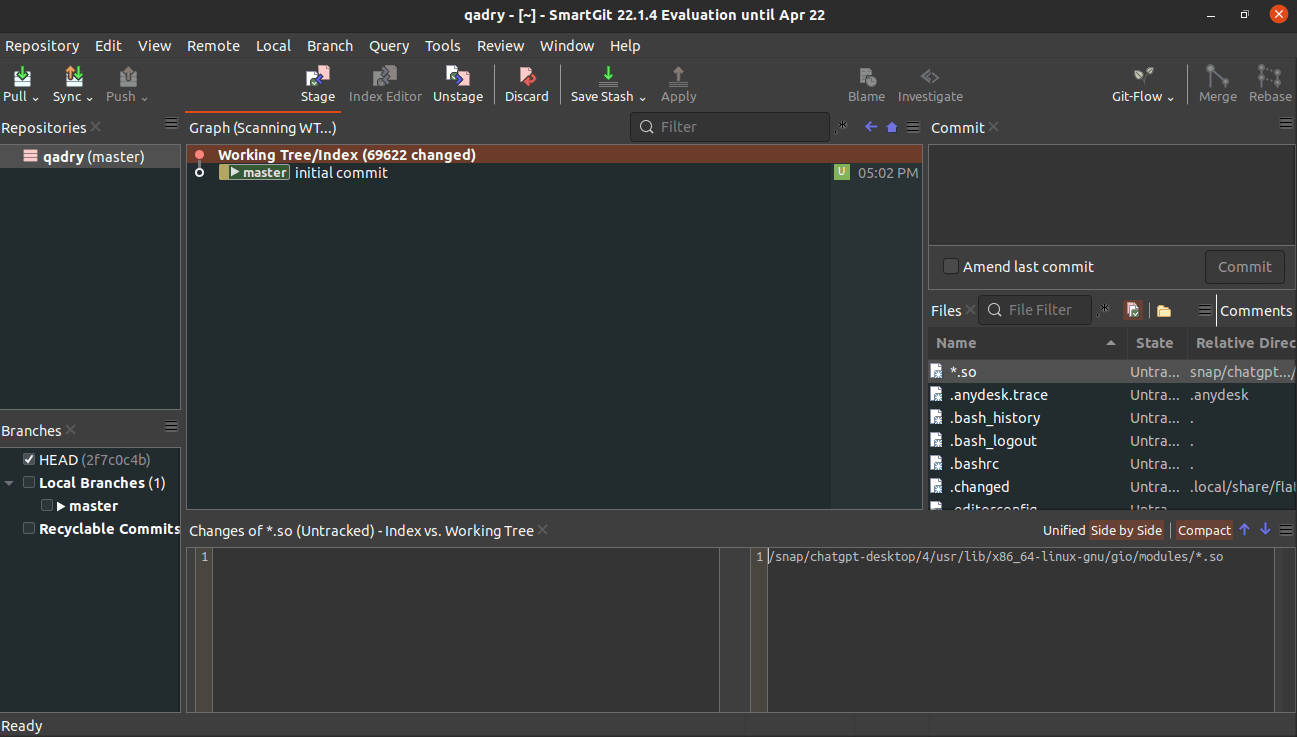
./smartgit.sh- SmartGit will be launched as follows:
How to Remove (Uninstall) SmartGit
- Remove SmartGit APT Method
sudo apt autoremove smartgit --purge -yInstall SmartGit -Conclusion
That’s it
Congratulations! You have successfully installed SmartGit on your Ubuntu 22.04 LTS system.