
Introduction
Skype is one of the most popular communication applications in the world. It is cross-platform, available on Windows, Linux, and macOS. With Skype, you can make free online audio and video calls, and international calling to mobiles and landlines worldwide.
Skype isn’t an open-source application, and not included in the standard Ubuntu repositories.
This guide shows two ways of installing Skype on Ubuntu 21.04. Skype canbe installed as a snap package via the Snapcraft store or as a deb package from the Skype repositories.
Choose the installation method that is most appropriate for your environment.
Installing Skype as a Snap Package
Skype snap package distributed and maintained by Microsoft.
Snaps self-contained software packages that include the binary all dependencies needed to run the application. Snap packages are easy to upgrade and secure. Unlike the standard deb packages, snaps have a larger disk footprint and longer application startup time.
Snap packages canbe installed from either the command-line or via the Ubuntu Software application.
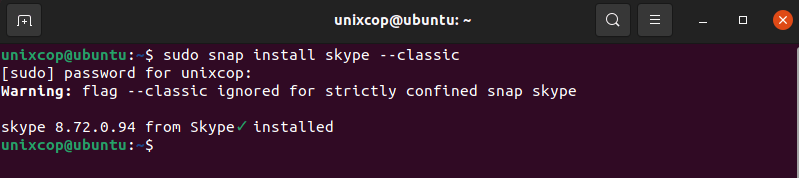
To install the Skype snap, open your terminal (Ctrl+Alt+T) and run the following command:
$ sudo snap install skype --classic
That’s it. You have installed Skype on your Ubuntu machine, and you can start using it.
If the command-line is not your thing, open Ubuntu Software, search for “Skype” and install the application:

Whenever a new version is released, the Skype package will be automatically updated in the background.
Installing Skype with apt
Skype is available from the official Microsoft Apt repositories. To install it, follow the steps below:
- Open your terminal and download the latest Skype
.debpackage using the followingwgetcommand:
$ wget https://go.skype.com/skypeforlinux-64.deb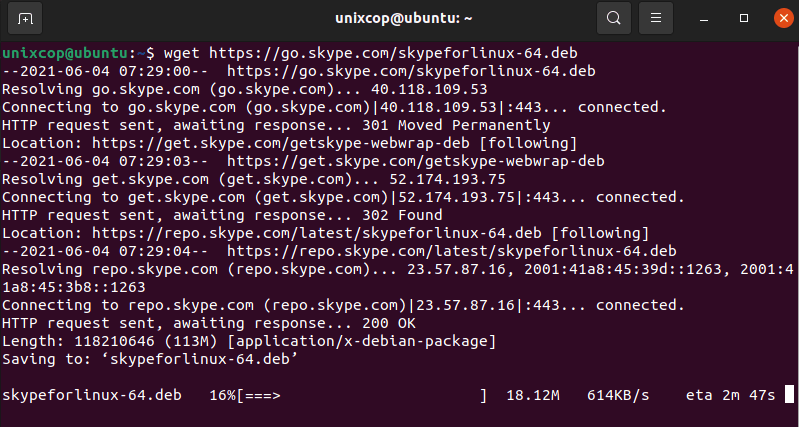
- Once the download is complete, install Skype by running the following command as a user with sudo privileges :
$ sudo apt install ./skypeforlinux-64.debYou will be prompted to enter your password.
During the installation process, the official Skype repository will be added to your system. When a new version released, you can update the Skype package through your desktop standard Software Update tool or by running the following commands in your terminal:
$ sudo apt update$ sudo apt upgradeStarting Skype
you will notice that skype installed as shown :
In the search bar type “Skype” and click on the icon to launch the application.

When you start Skype for the first time, a window like the following will appear:
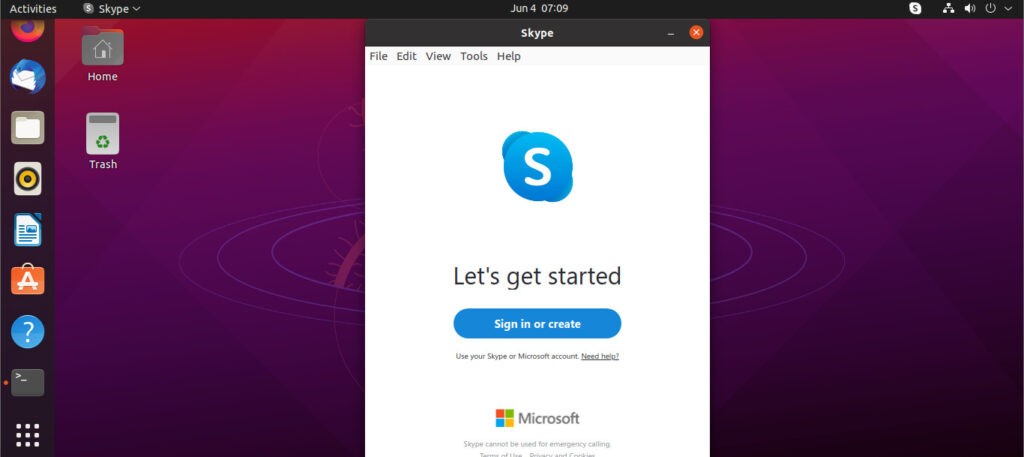
From here, you can sign in to Skype with your Microsoft Account and start chatting and talking with your friends and family.
Conclusion
We’ve shown you how to install Skype on your Ubuntu 21.04 desktop.
Feel free to leave a comment below.