Introduction
Ruby on Rails® is an open-source web framework written in Ruby. It helps you create highly powerful web sites and appls.
Rails is released under MIT license.
Also Rails is a model–view–controller (MVC) framework, provide default structures for a database, a web service, and web pages.
So this guide will help you to install Ruby on Rails on CentOS / RHEL 8.
The Installation
Just follow these steps:
- Enable EPEL repo to get dependent packages and install the development packages.
dnf install readline readline-devel libffi-devel autoconf automake libtool openssl-devel make bzip2 bison gcc-c++ curl sqlite-devel git-core zlib zlib-devel patch -yInstall NodeJs
So We will install Nodejs to provide a functionality of Coffee Script and the Asset Pipeline in Rails, depend on a Javascript runtime.
Install the latest version of nodejs which is 16.x
To install the node js.
- Just run these commands below.
curl -sL https://rpm.nodesource.com/setup_16.x | bash -
dnf install -y nodejs- Verify that the Node.js has been installed.
node -v
Install Yarn
- Also to install the Yarn package manager with running commands below:
[root@unixcop ~]# curl -sL https://dl.yarnpkg.com/rpm/yarn.repo | sudo tee /etc/yum.repos.d/yarn.repo
[yarn]
name=Yarn Repository
baseurl=https://dl.yarnpkg.com/rpm/
enabled=1
gpgcheck=1
gpgkey=https://dl.yarnpkg.com/rpm/pubkey.gpg
[root@unixcop ~]#
Install Ruby
Also we have illustrated how to install Ruby with three different ways in this Ruby Installation Guide.
Just choose a way to install Ruby (rbenv method recommended).
- After installation is done, check the Ruby version:
ruby -v
The Installation the bundler
- Install the bundler with gem as shown in command below:
[root@unixcop ~]# gem install bundler
Fetching bundler-2.2.28.gem
Successfully installed bundler-2.2.28
Parsing documentation for bundler-2.2.28
Installing ri documentation for bundler-2.2.28
Done installing documentation for bundler after 4 seconds
1 gem installed
[root@unixcop ~]#
Install Rails
- We will install latest version of Rails v6.1.4.1 with :
gem install rails- Verify the Rails version.
rails -v
Add Rails listen port in Firewall
Ruby on Rails listens on port 3000. It’s the default port for Rails
- So, Allow 3000/TCP in firewall.
firewall-cmd --permanent --add-port=3000/tcp
firewall-cmd --reload
Create a Test Application
Now Create your own test application with MariaDB support to test it out.
- Install Database
Note: Rails comes with sqlite3 as the default database, which is not recommended to use in a production environment.
- So Install and use MariaDB as a database for your application.
dnf install -y mariadb-server mariadb mariadb-devel- Start and enable mariadb.
systemctl start mariadb
systemctl enable mariadb- Secure your MariaDB installation with command.
mysql_secure_installation- Install the mysql2 extension to be your application adapter.
gem install mysql2Create Rails Application
- Create a new application .
rails new unixcop -d mysql
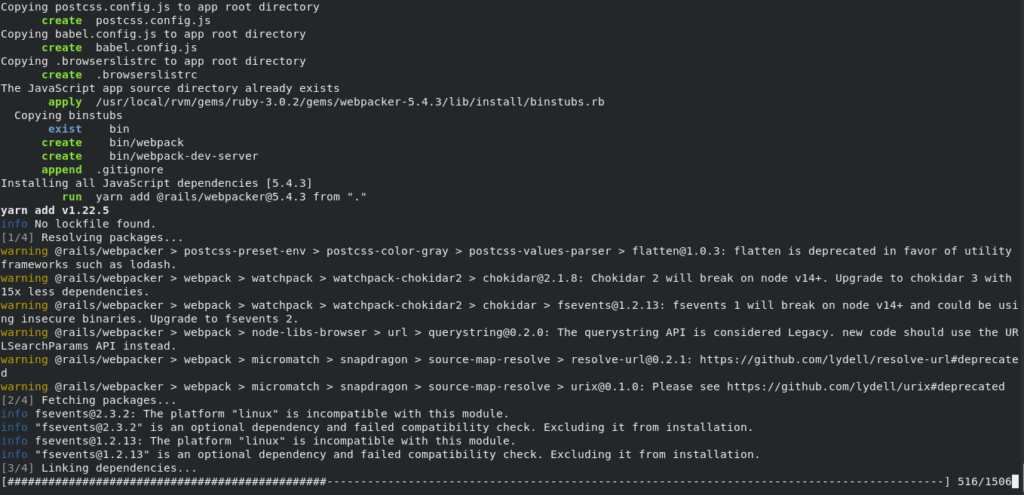
- Be patient till the installation finishes.

- Edit your app’s database configuration config/database.yml file.
vim config/database.yml- Update the database username and password as shown below:

- Create the database.
rake db:create
Validate your Application
- Go to the application directory.
cd unixcop/- Start your rails application with command:
rails server -b 0.0.0.0
Access Rails
- Visit your Rails application with the URL in your web browser.
http://localhost:3000 OR http://IP_address:3000

Conclusion
That’s All. You have successfully installed on Ruby on Rails on CentOS / RHEL 8. Thank you.


