Redmine is an open source project management and issue tracking tool. It allows users to manage multiple project and subproject. It also support time tracking, role base access, visual representation of projects and their timelines.
In this tutorial we will install Redmine in CentOS 8.
Install MariaDB:
We will install mariaDB and its dependencies using the following command:
dnf install @mariadb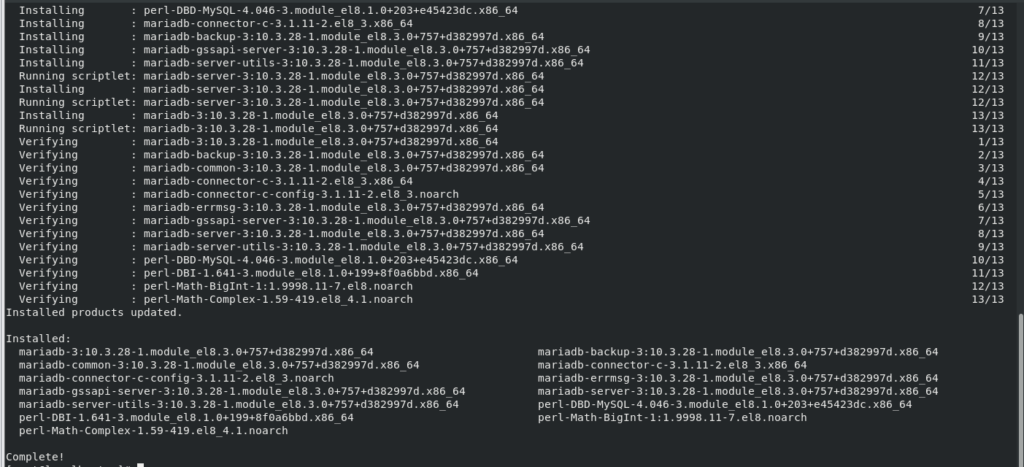
Enable and start mariaDB.
systemctl enable --now mariadb
systemctl status mariadb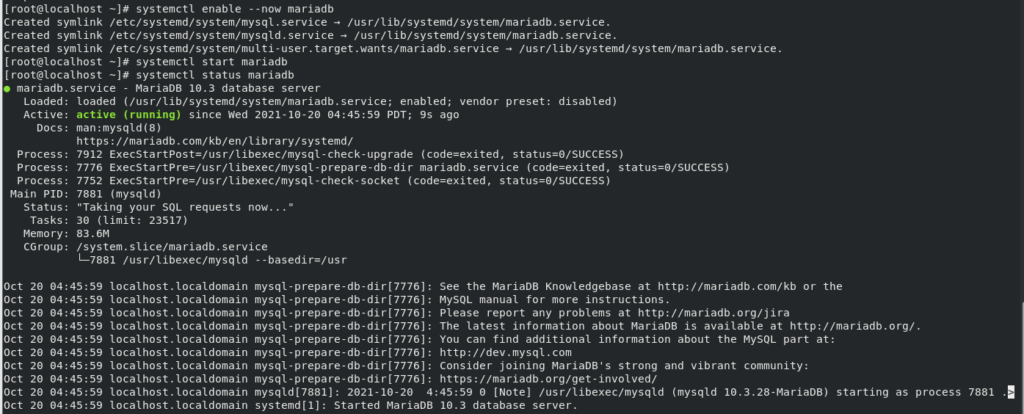
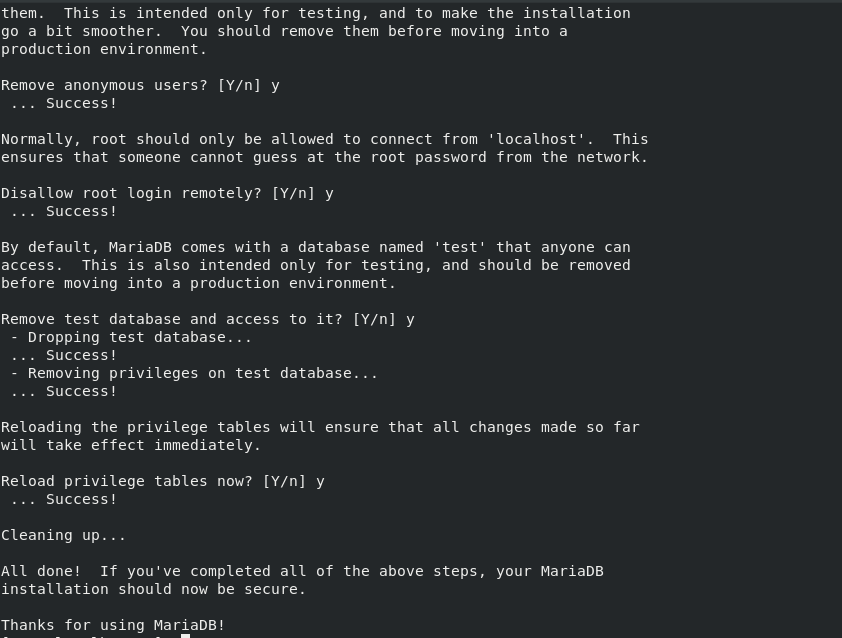
Now we will set the root password for MariaDB and other security checks because there is no root password set now, use the following command:
mysql_secure_installationA prompt will ask you to set root password for the MariaDB. Once you do that, the script will ask you to remove the anonymous user, restrict root user access and remove the test database. You should answer “Y” (yes) to all options.
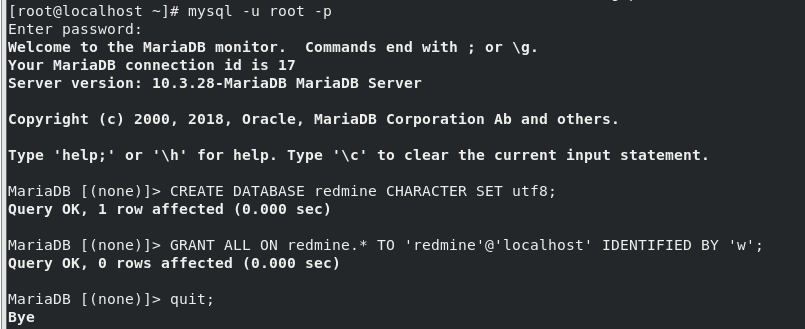
Login to mysql and create a database for redmine and allow the user to access database.
mysql -u root -pEnter the password you set above.
CREATE DATABASE redmine CHARACTER SET utf8;
GRANT ALL ON redmine.* TO 'redmine'@'localhost' IDENTIFIED BY 'change-with-strong-password';
quit;
make sure you change ” change-with-strong-password” with a password of your choice.
Installing Passenger, Apache and Ruby:
Passenger is fast web based application server for ruby. we will integrate it with Apache.
We will install it as an Apache module.
dnf install epel-release
dnf config-manager --enable epel
dnf install httpd mod_passenger passenger passenger-devel ruby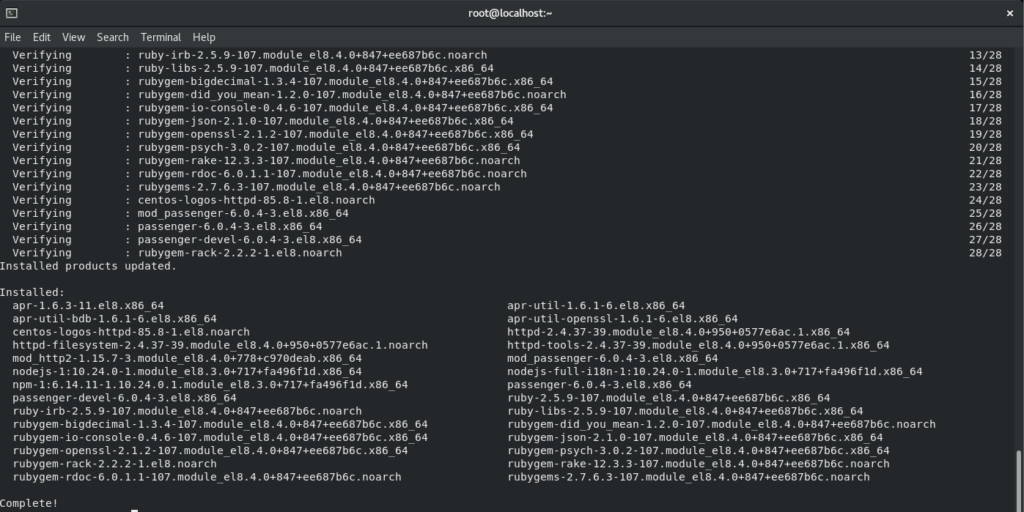
Start and Enable Apache Service.
systemctl start httpd.service
systemctl enable httpd.service
systemctl status httpd.service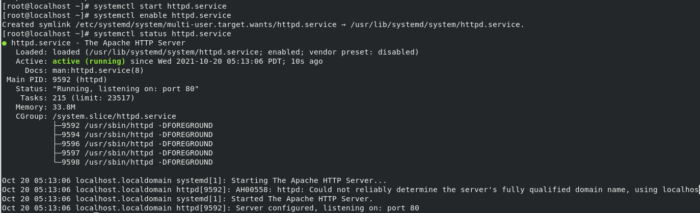
Create a new user and group with home directory /opt/redmine to run redmine instance.
useradd -m -U -r -d /opt/redmine redmineAdd apache user to redmine directory and give apache permission to access it.
usermod -a -G redmine apache
chmod 750 /opt/redmine
Installing Redmine:
Before installing redmine install GCC compiler and libraries because they will be required by redmine.
dnf group install "Development Tools"
dnf install zlib-devel curl-devel openssl-devel mariadb-devel ruby-devel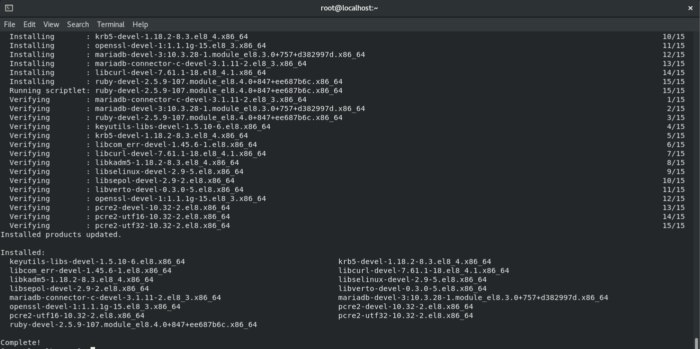
Now switch to redmine user because we will install redmine with this user.
su - redmineDownload latest Redmine version using curl because we use curl to download files from web.
curl -L https://www.redmine.org/releases/redmine-4.2.3.tar.gz -o redmine.tar.gz
Extract the archive file.
tar -xvf redmine.tar.gzConfigure Redmine Database:
Copy the redmine database configuration file.
cp /opt/redmine/redmine-4.2.3/config/database.yml.example /opt/redmine/redmine-4.2.3/config/database.ymlOpen the file with nano editor. We are using nano editor because its easy to work with you can you any editor of your choice.
nano /opt/redmine/redmine-4.2.3/config/database.ymlEnter your MYSQL databse information under “Production” section because redmine will use it to connect to your database.
production:
  adapter: mysql2
  database: redmine
  host: localhost
  username: root
  password: "change-with-strong-password"
  # Use "utf8" instead of "utfmb4" for MySQL prior to 5.7.7
  encoding: utf8mb4
Change you password with “change-with-strong-password”.
Save and Exit the file.
We will switch to redmine directory to install ruby dependencies because Redmine will use ruby.
cd redmine-4.2.3/
gem install bundler --no-rdoc --no-ri
bundle install --without development test postgresql sqlite --path vendor/bundle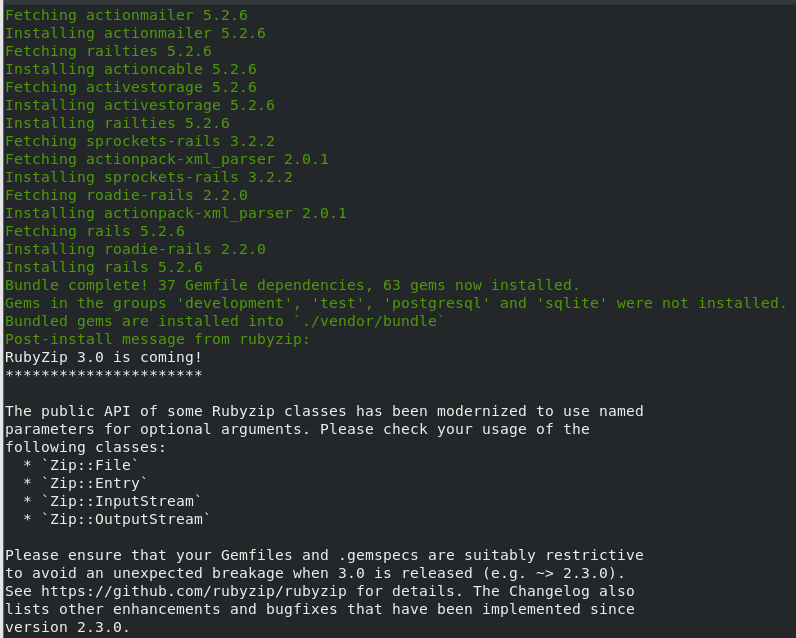
Run the following command to generate keys and migrate database.
bundle exec rake generate_secret_token
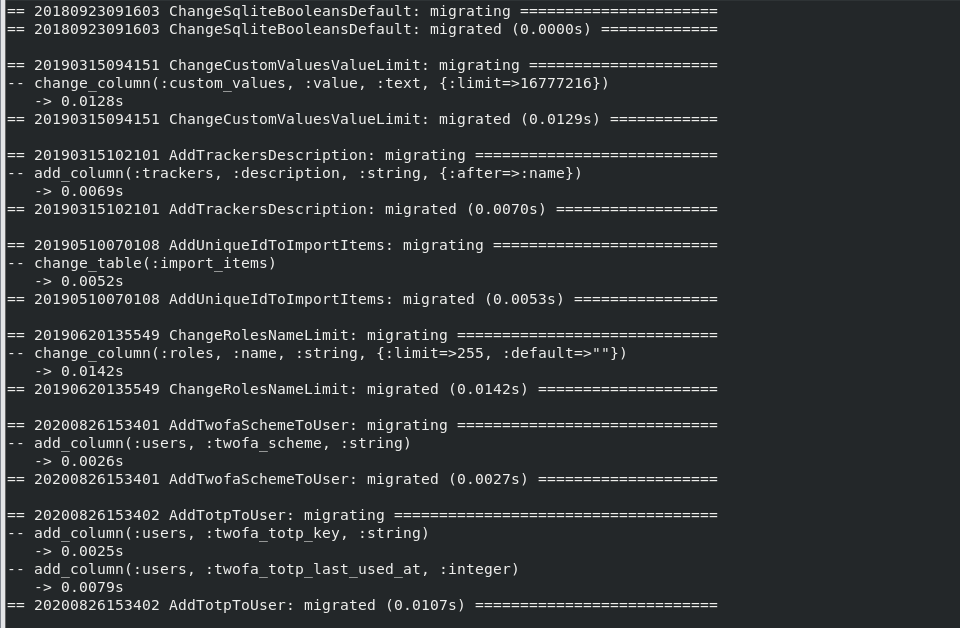
RAILS_ENV=production bundle exec rake db:migrate
RAILS_ENV=production REDMINE_LANG=en bundle exec rake redmine:load_default_data
Configure Apache:
Now switch back to root / sudo user to configure apache because apache can’t be configured with redmine user.
nano /etc/httpd/conf.d/redmine.confadd the following lines:
<VirtualHost *:80>
    ServerName 192.168.189.128
    ServerAlias www.192.168.189.128.com
    DocumentRoot /opt/redmine/redmine-4.2.3/public

    <Directory /opt/redmine/redmine-4.2.3/public>
        Options Indexes ExecCGI FollowSymLinks
        Require all granted
        AllowOverride all
    </Directory>

    ErrorLog /var/log/httpd/localhost-error.log
    CustomLog /var/log/httpd/localhost-access.log combined
</VirtualHost>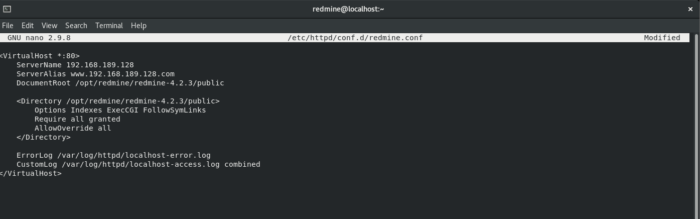
Restart apache to apply configurations.
systemctl restart httpd.serviceNow execute the following command to start Redmine:
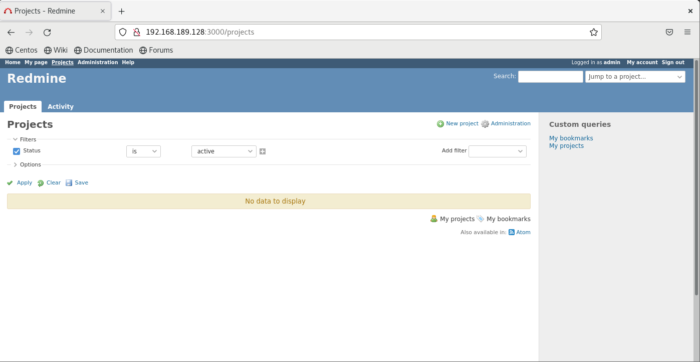
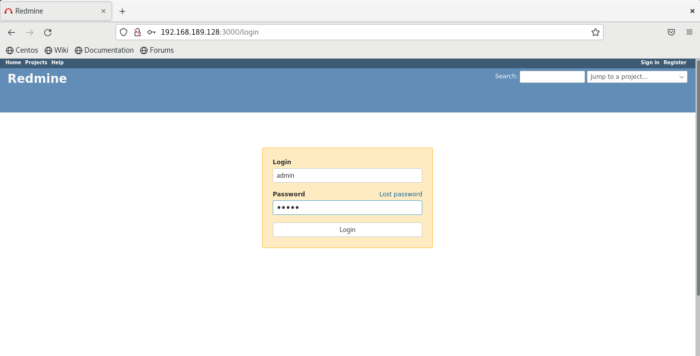
bundle exec rails server webrick -e production Now open your browser type your IP:3000 in my case it is http://192.168.189.128:3000, following screen will appear:
default username and password is admin.
Once you login page will redirect you to set new password.
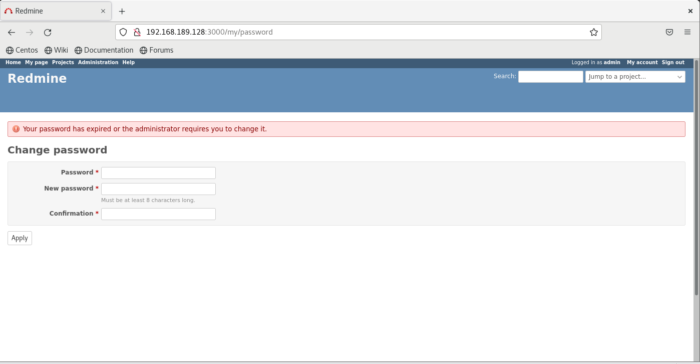
Set the password as per your choice.
After setting password set your account settings.

Now you can use redmine for your projects.