 on Ubuntu 22.04")
Hello, friends. Although I don’t use Linux Mint nowadays, I must admit that your X-Apps are great. Simple, stable, and efficient, they are more than enough for everyone. However, the one I like is Pix. So, today you will learn how to install Pix (Linux Mint X-app) on Ubuntu 22.04.
Introduction—What is Pix?
According to the GitHub profile of the project:
Pix is part of the X-Apps project, which aims at producing cross-distribution and cross-desktop software.
In other words, it is an image viewer that is developed by the Linux Mint project and therefore included in the different flavors of the distribution.
Pix is both a browser and an image viewer, so you can among other things:
- Browse your hard disk, showing you thumbnails of image files.
- Thumbnails are saved in the same database used by Nautilus, so you don’t waste disk space.
- View single images (including GIF animations). Supported image types are: BMP, JPEG, GIF, PNG, TIFF, TGA, ICO, XPM.
- Optional support for RAW and HDR (high dynamic range) images.
- View EXIF data attached to JPEG images.
But also includes features of a small image editor:
- Change image hue, saturation, lightness, contrast and adjust colors.
- Scale and rotate images.
- Save images in the following formats: JPEG, PNG, TIFF, TGA.
And although I don’t work much with images, I find it easy and powerful to use. I love it.
Install Pix on Ubuntu 22.04
In Linux Mint there is not much trick since it comes by default, but however in other distributions there is no choice but to compile it manually.
So, open a terminal and update the whole system
sudo apt update
sudo apt upgrade
The next step is to enable the system code repositories. So open the APT repository file.
sudo nano /etc/apt/sources.listO:
sudo nano /etc/apt/sources.list.d/original.listAnd you will see several entries like this
deb http://us.archive.ubuntu.com/ubuntu jammy main restrictedEach of them corresponds to the enabled repositories. Another example is:
deb http://us.archive.ubuntu.com/ubuntu jammy universeThe important thing is to add the source repositories. Just add a new line for each repository changing deb to deb-src For example:
deb-src http://us.archive.ubuntu.com/ubuntu jammy main restricted
deb-src http://us.archive.ubuntu.com/ubuntu jammy universe
And so on for each active system entry. Save the changes and close the editor. To apply the changes, run.
sudo apt updateNow install some necessary packages
sudo apt install git devscripts equivsNext, download the Pix source code.
git clone https://github.com/linuxmint/pix.gitThis will generate a folder called pix that you need to access.
cd pixInside it, install all the necessary dependencies with the following command
sudo mk-build-deps -irRemember that you have to commit the installation, and it will not work without the source repositories enabled.
Now build the PIX DEB packages
sudo dpkg-buildpackage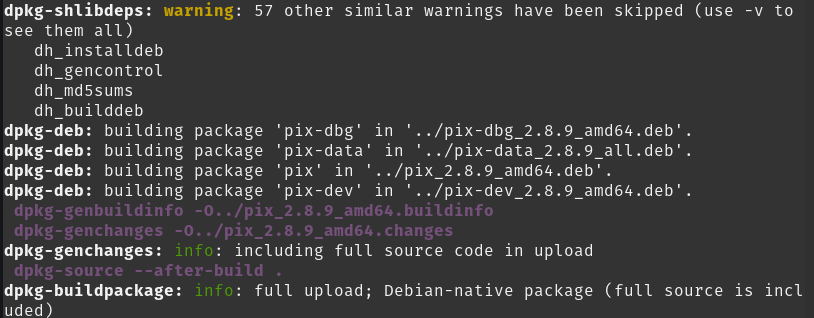
And when they are ready, proceed to install them.
sudo dpkg -i ../*.debWhen finished, you will be able to enjoy Pix on Ubuntu 22.04 and derivatives as POP_OS!
Conclusion
Pix is vital for many Linux Mint users, but now you know how to install it on other distributions like Ubuntu 22.04.