
Today I’m going to talk about the Pi-hole network-level advertisement and Internet tracker blocking the application. OK let’s see what this is.
Here I’m going to explain,
1. What is the Pi-hole
2. How to install Pi-hole
3. How to add a blacklist to Pi-hole
4. How to add a whitelist to Pi-hole
5. How to connect to Pc and mobile
I hope to discuss the above topics as well as the dos and don’ts when using the Pi-hole. So let’s talk about what the Pi-hole is first.
What is the Pi-hole
Pi-hole is the software that was made for Raspberry Pi. That’s why it is called pi-hole. But it can run on any Linux operating system. Simply put, this can block the ads and tracking link. Its means that the link is blocked at the DNS level. The next question is why do we need something like this when the browser has ads blocker extensions. The simple answer is, pi-hole can be added not only to a browser but also to devices. So, we can block ads on the smart TV, smartphone by using this.
Normally, using the browser extension, ads may be deleted. But when we use pi-hole, ads are not deleted. Only the loading of ads will be stopped. That mean, We can see the space reserved for ads. Also, it is very difficult to block youtube ads.
The other speciality is the pi-hole It can block not only ads but also any link we want. It can also be used as a DHCP server. Next, we will see how to install a Pi-hole.
How to install pi-hole
I said earlier that Pi-hole is software made for raspberry pi but it can run on any Linux operating system. So, I will do in here, I take ubuntu 20.04 running cloud VPS and install pi-hole for this. Here, I use Linode VPS. (Digitalocean, Vultr, Upcloud, AWS or google free tier VPS can also be used for this) Next, we need to ssh login to the VPS( raspberry pi)
ssh your_username@host_ip_address1) update and upgrade
Log in root and give an update and upgrade commands.
sudo su
apt update
apt upgrade
2) Download installer and run
There are three methods to install Pi-Hole
- One step automated install
- Clone a repository and run
- Manually download the installer and run
I’m using here manually download the installer and run.
wget -O basic-install.sh https://install.pi-hole.net
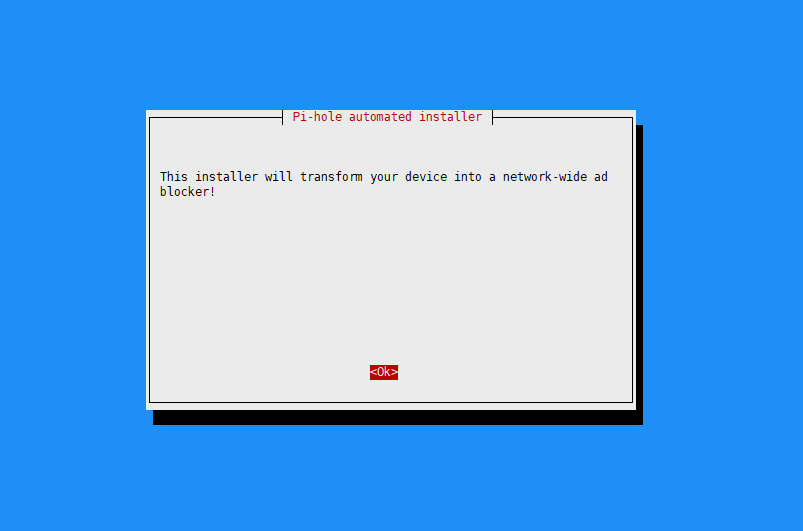
sudo bash basic-install.shThen here you can see the installation screen one.
This is the Welcome screen, press ok
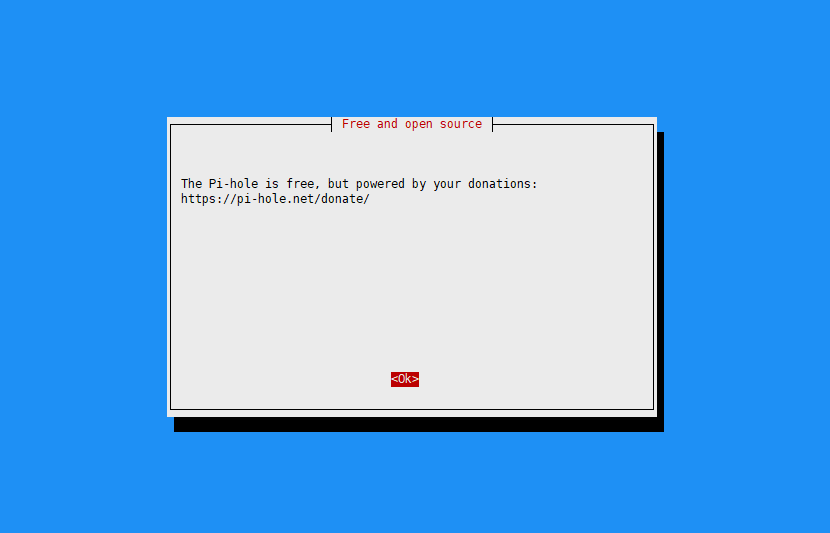
You are requested to donate to the Pi-hole project. Press OK
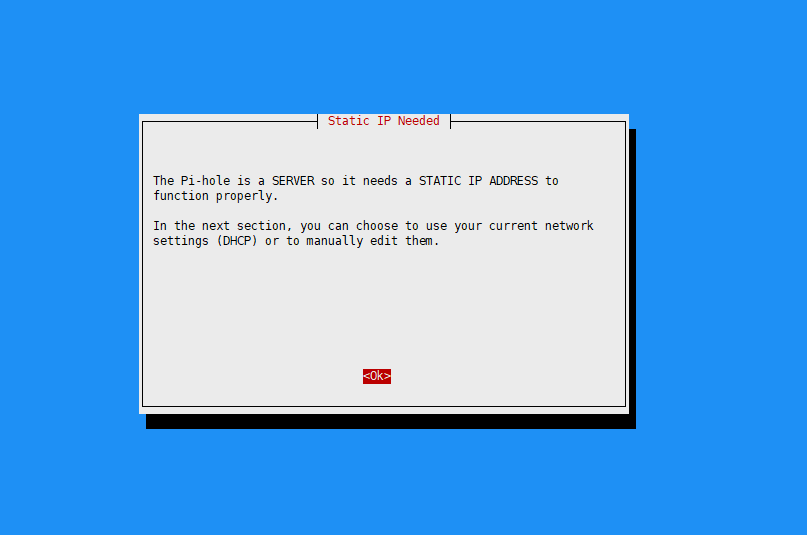
This means you need to have a static IP
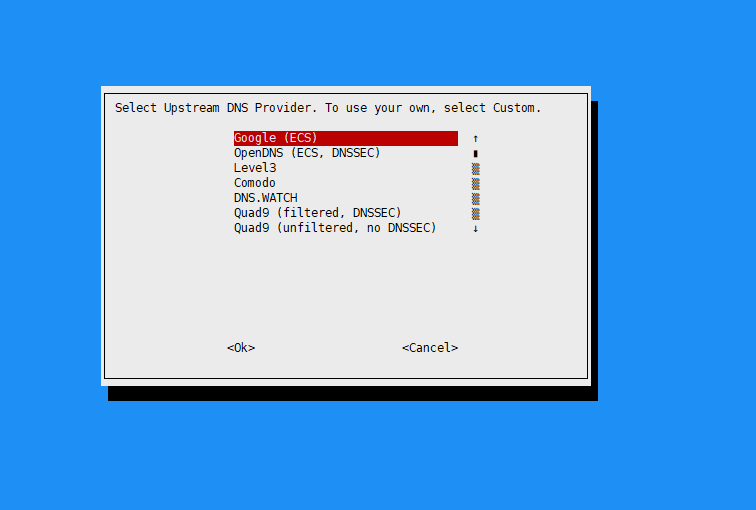
Here you are asked to select the DNS Provider in the Pi-hole. I choose Google DNS here. (You can choose the one you like here)
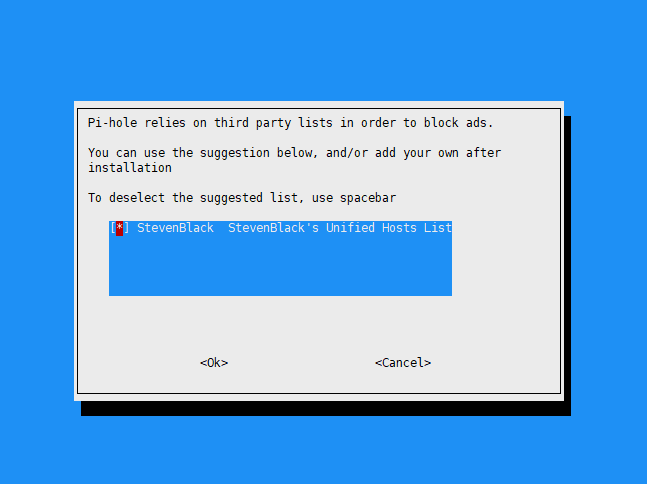
Here they ask if they want to add the default StevenBlack list to the Pi-hole. Select it and press OK.
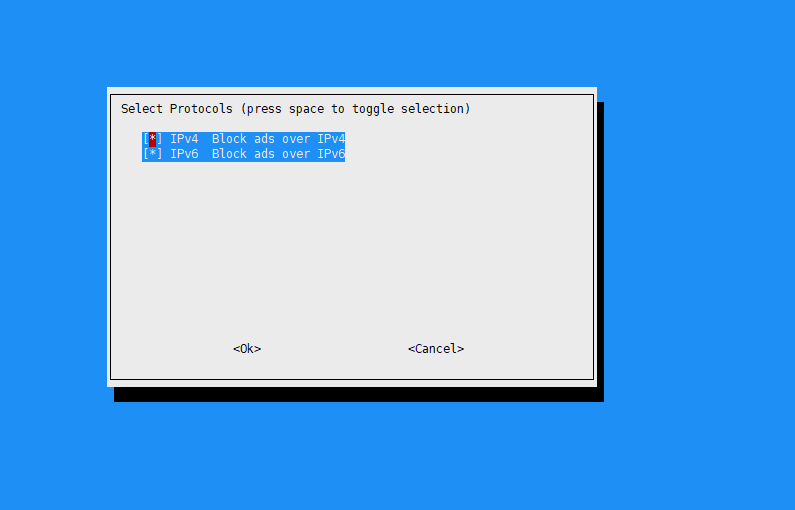
Tick both IPv4 and IPv6 and press OK.
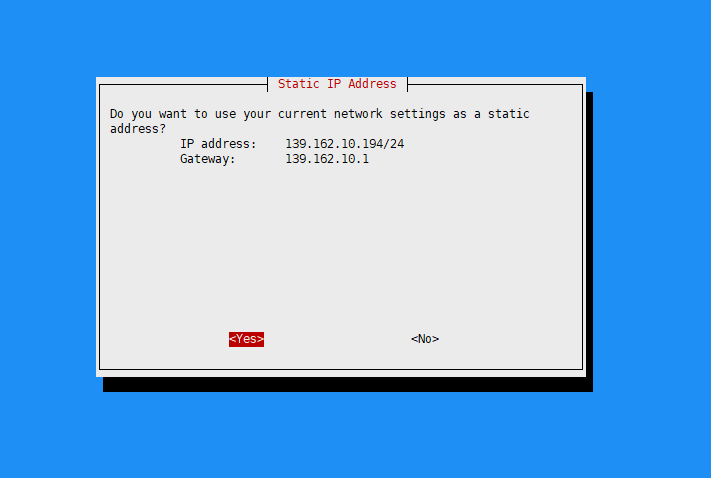
Here we are shown the IP address and Gateway of the Pi-hole.
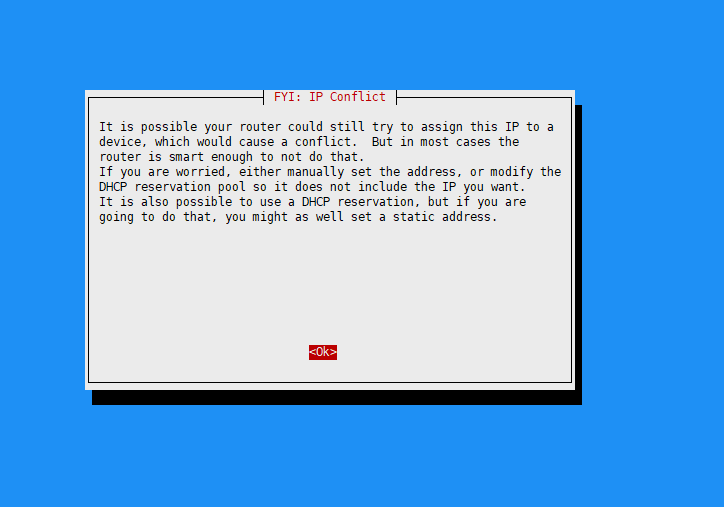
This means that when DHCP is enabled in the Pi-hole, it may be IP Conflict with the router. But I use a VPS for this, so I do not enable DHCP. If DHCP is enabled, find out about it and enable it.
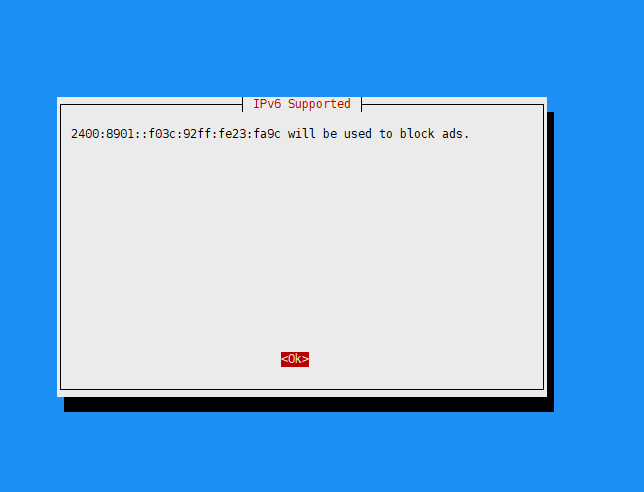
Here you can see the IPv6 IP address.
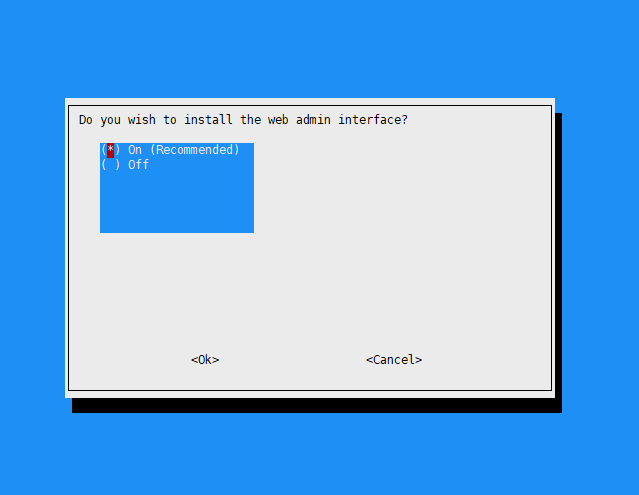
Select on to install web interface and press OK
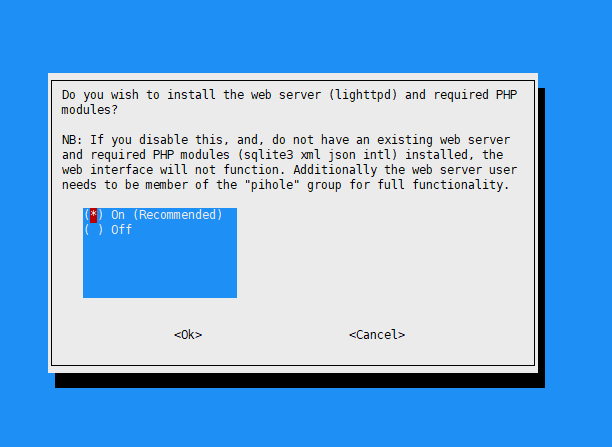
Lighttpd web server
Lighttpd web server needs to be installed Because we have not installed a web server before.
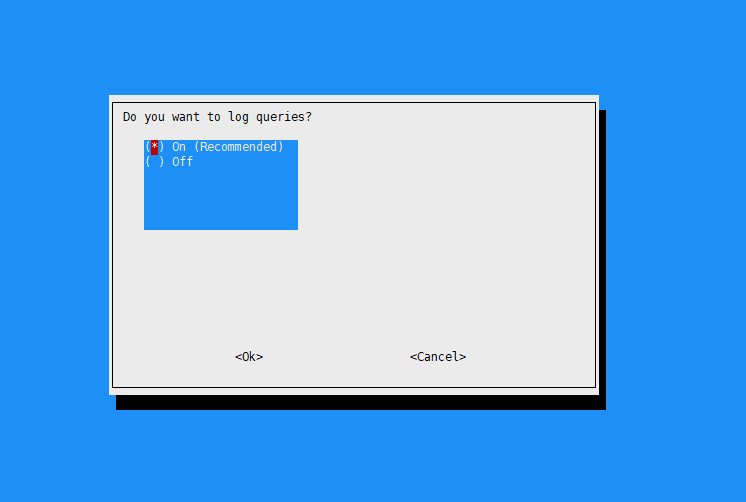
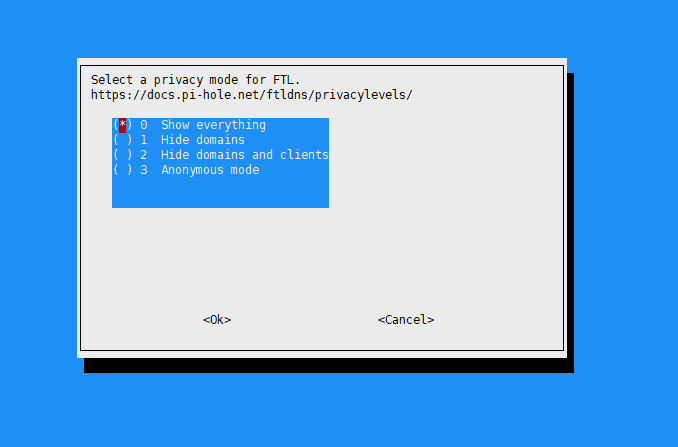
If using a pi-hole for personal or home use, keeping the log will not be a problem. If you use it for a company or organization, you should be careful about its rules.
Privacy Policy
As before, if you use it for a company or organization, you should also consider its privacy policy. Select one and press OK
Here you can see a summary of details. The most important thing to do here is to copy the Pi-hole Admin password. From the URL shown here, we can log in to the web interface. If you want to reset the admin password, run pihole -a -p.
sudo pihole -a -p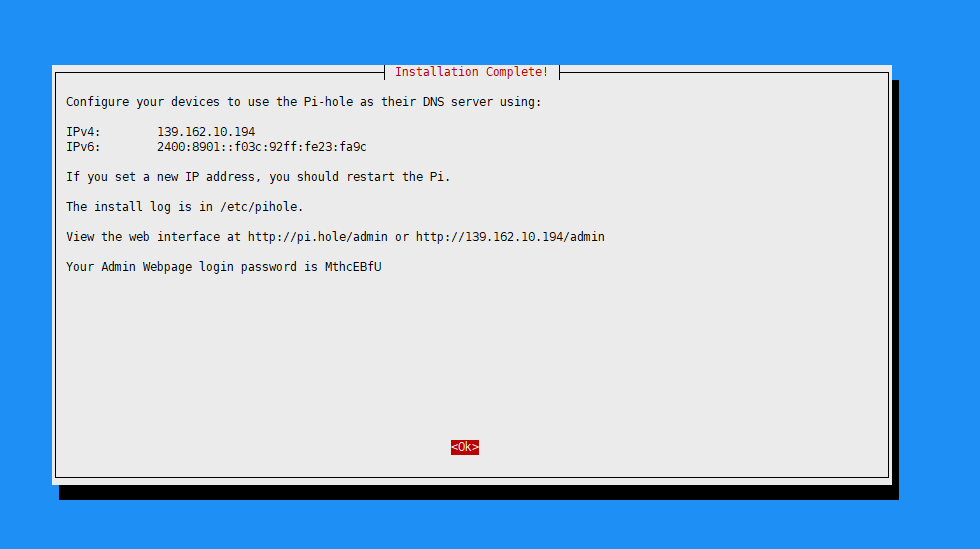
Now the pi-hole is installed. Next, let’s see how to add a blacklist.
How to add a blacklist to Pi-hole
We must be careful here to block only unwanted websites. I use two websites with well-known blacklists.
In the Firebog list, I only take the Advertising Lists. Copy only the list shown in green here. In the Developerdan list, I get the Ads & Tracking list. let’s see how to add this list to pi-hole.
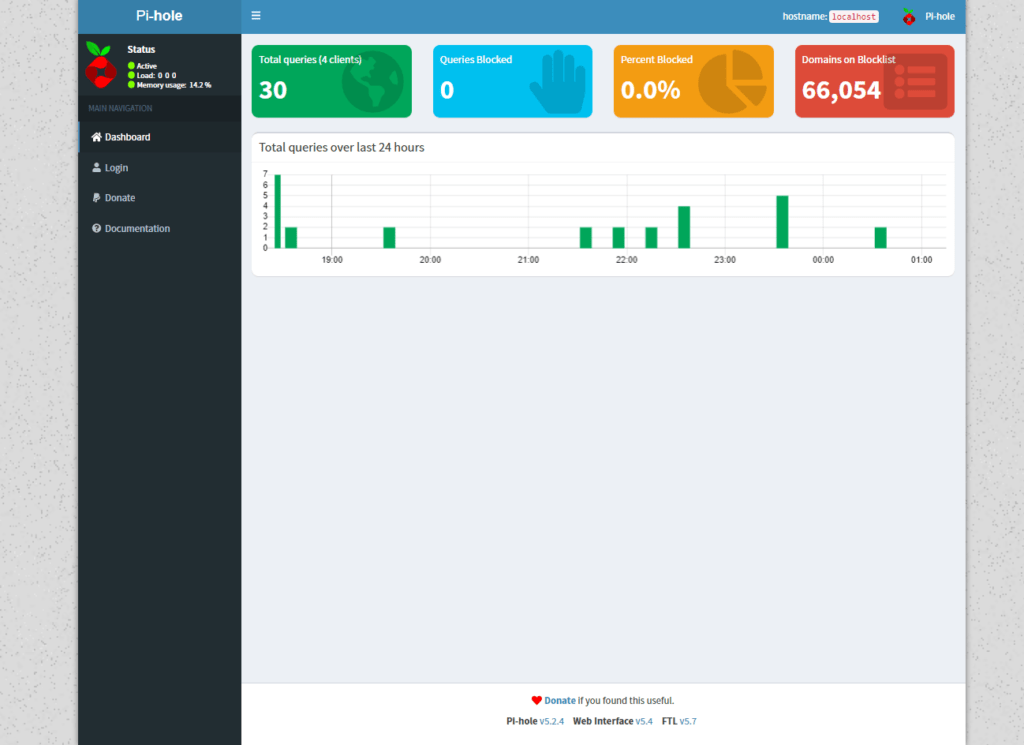
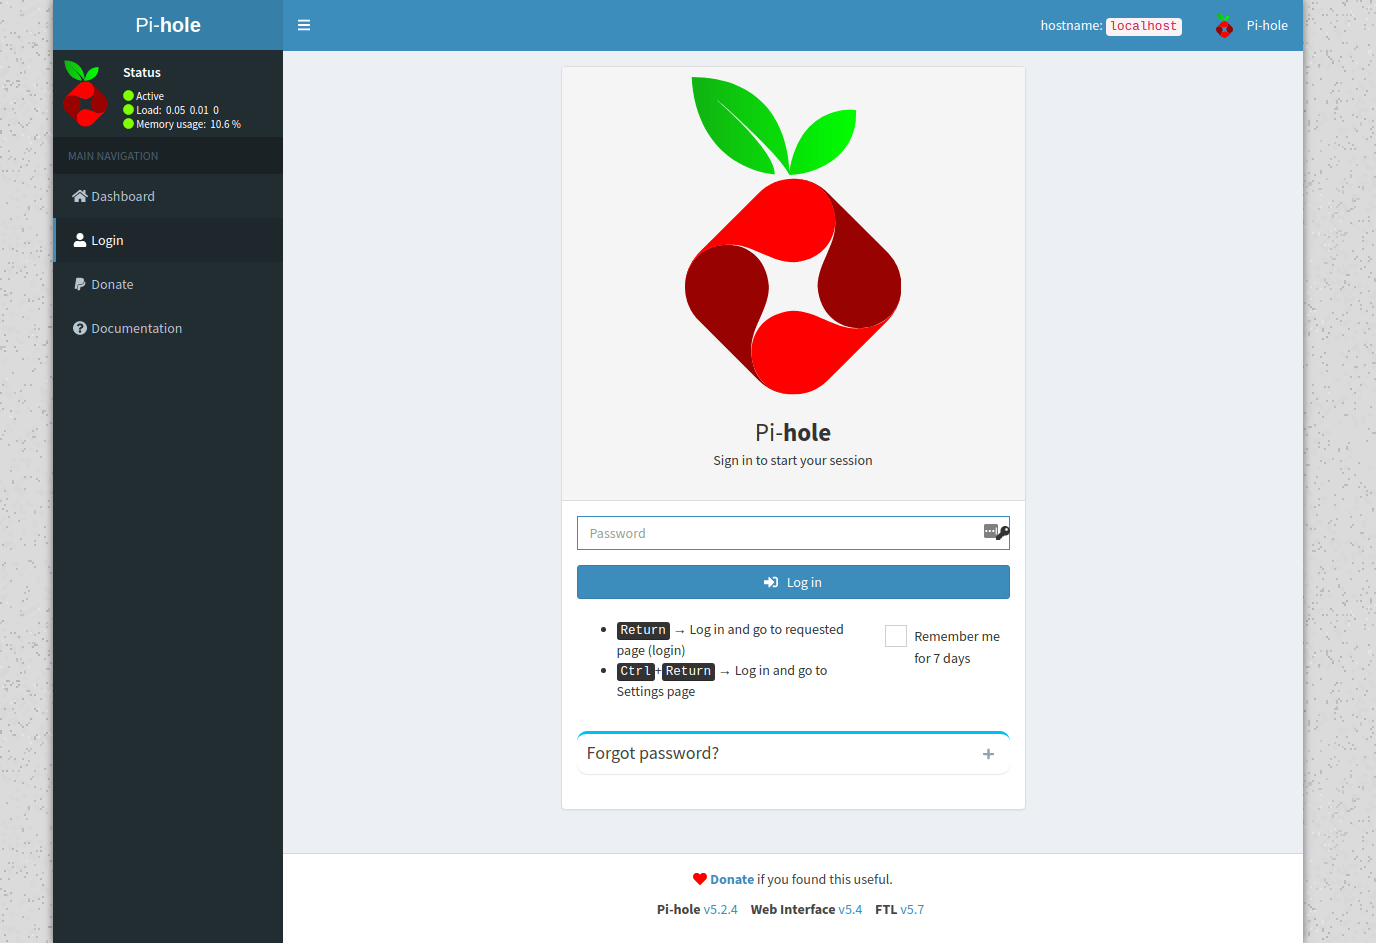
First of all, need to log into the web interface
Next, go to the Address of Addlists under the Group Management, then add the links which were taken previously. (a set of the links can be added at once). Add a meaningful comment too to identify the list.
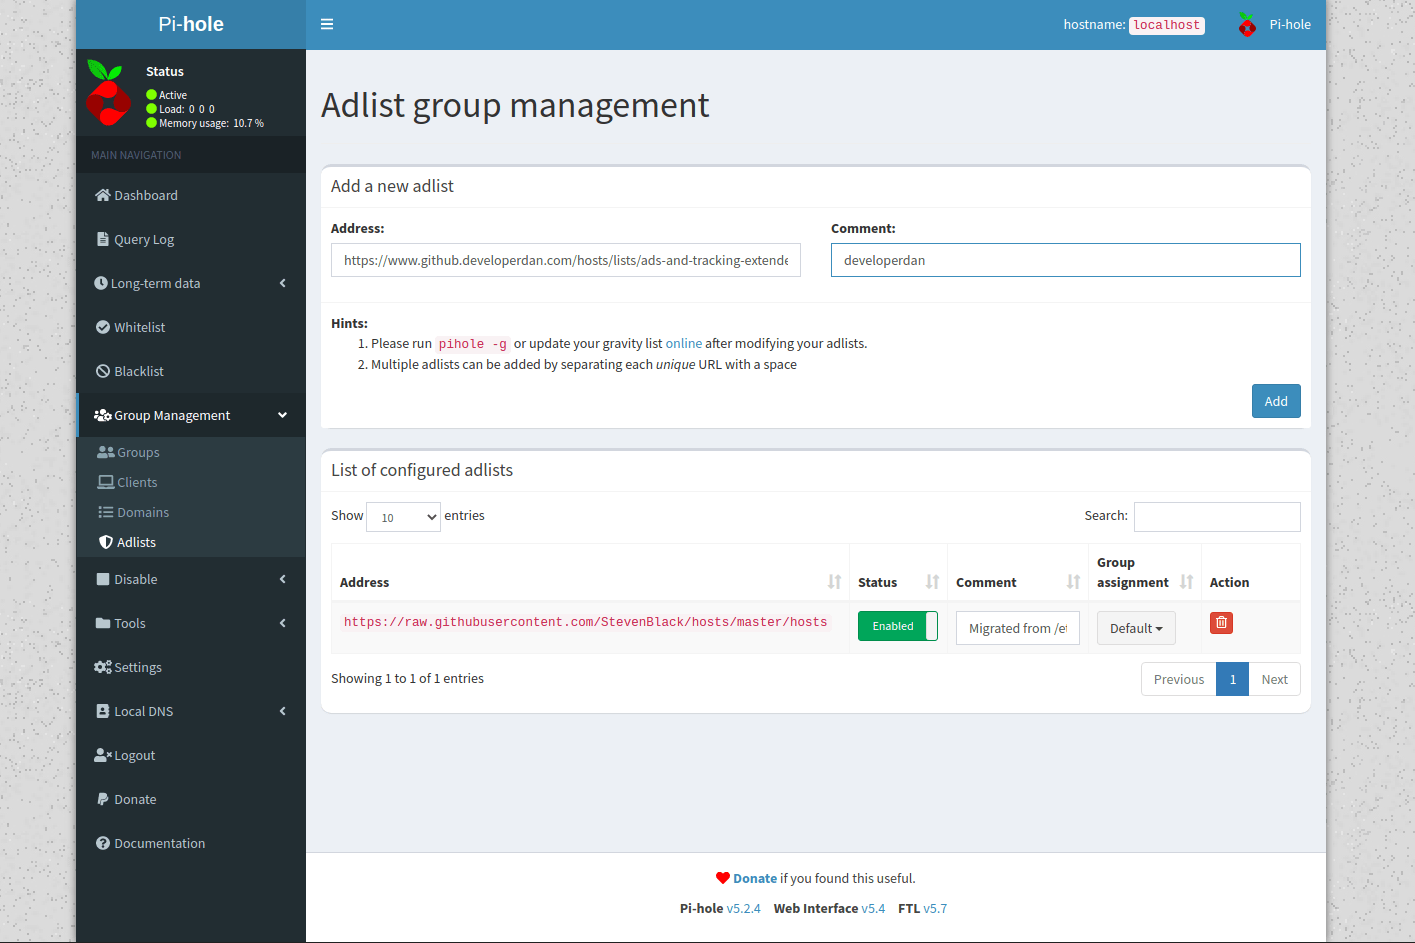
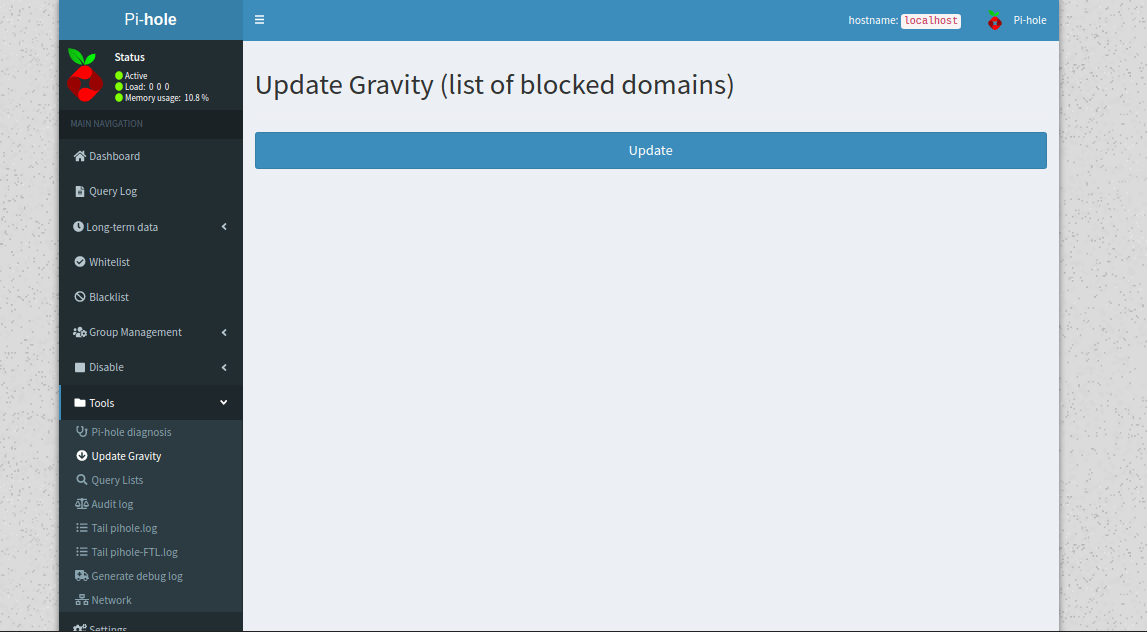
After adding the links, need to update them. For that, click the Update in Update Gravity under the Tools. After clicking the update button, You need to wait(do not reload the page) until the result is shown.
the sites which we want to access but blocked by the blacklists can be added to the whitelist
How to add a whitelist to a Pi-hole?
I use a Python script to simplify the process of adding whitelists.
git clone https://github.com/anudeepND/whitelist.git
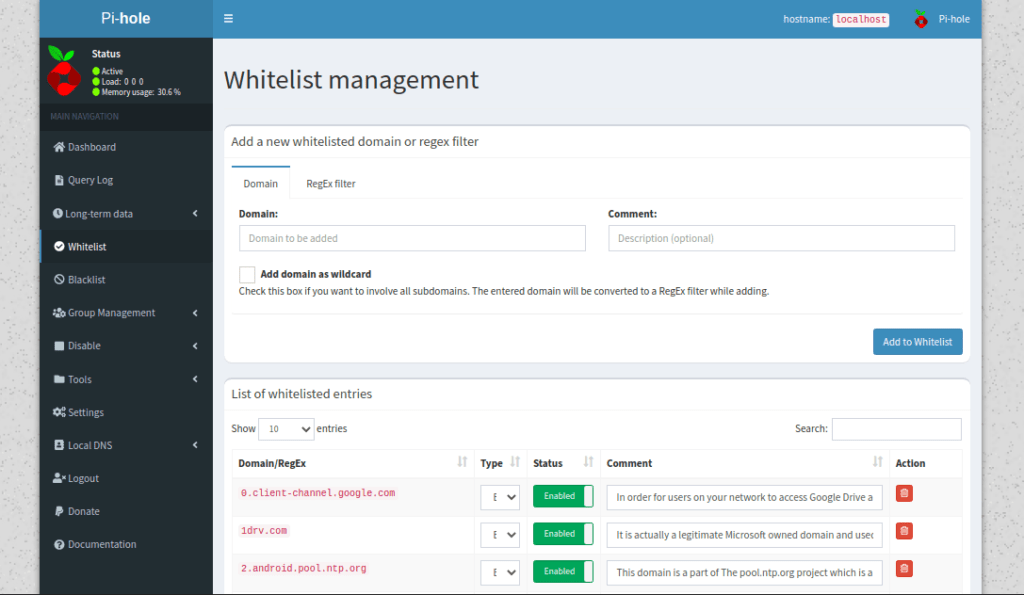
sudo python3 whitelist/scripts/whitelist.pyNow we navigate to the whitelist on the web interface, we can see the sites which were whitelisted.
After adding links, they should be updated as well.
How to connect a Pi-hole to pc and phone?
Here I am explaining briefly how to add DNS for Windows, Linux(ubuntu and mint ), android operating systems.
Windows 10
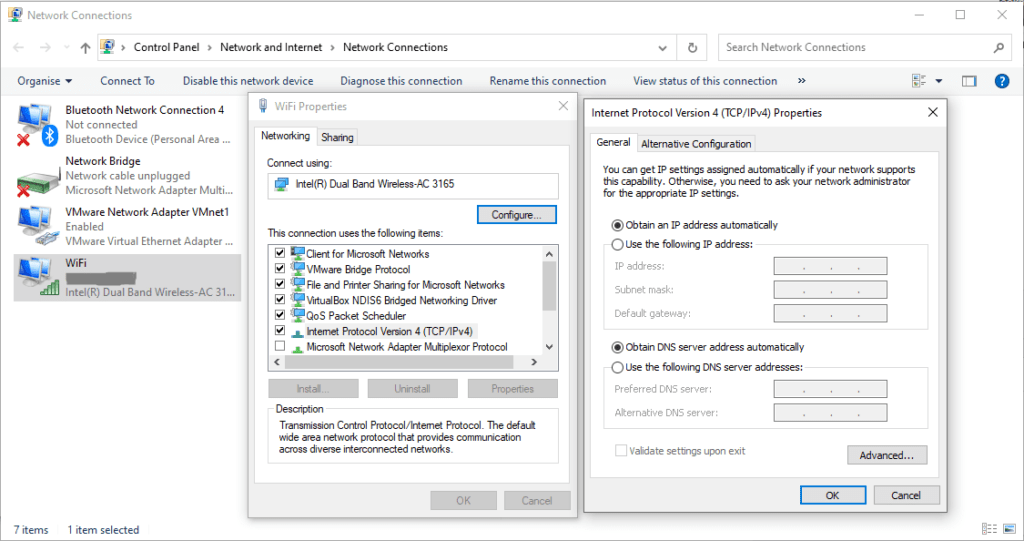
Firstly let’s see how to add DNS for Windows 10. (follow the steps in order)
Go to the properties of the relevant adapter under Open Control Panel -> Network and Internet -> Network and Sharing Centre -> Change adapter settings. Then add the IP addresses of the Pi-hole for Ipv4 and Ipv6.
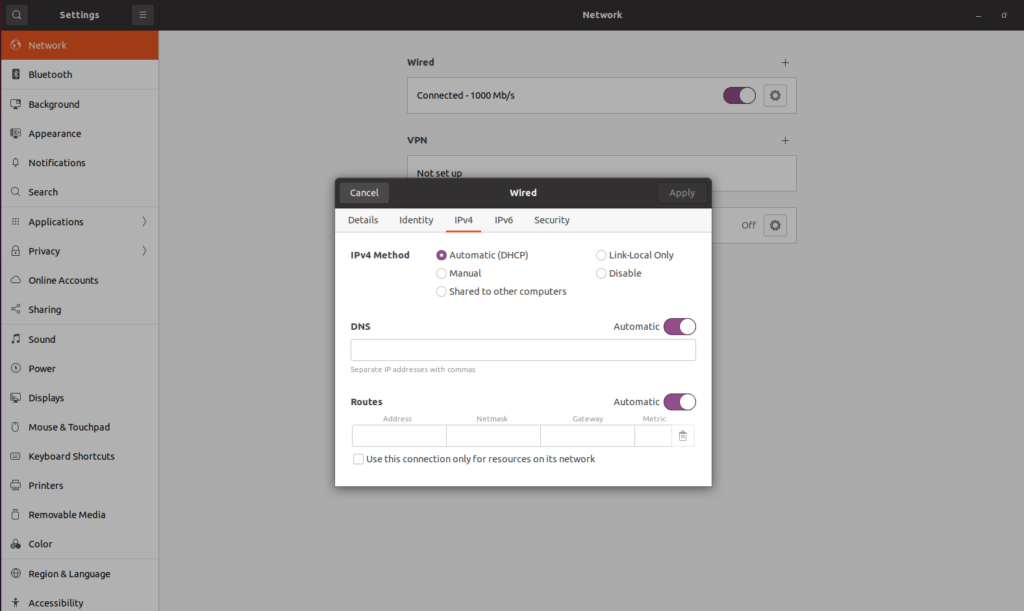
Ubuntu
Let’s see how to add DNS for the Ubuntu 20.10 Gnome desktop. (follow the steps in order)
Setting -> Network -> Wifi/Wired -> Setting -> Ipv4 and IPv6 DNS change
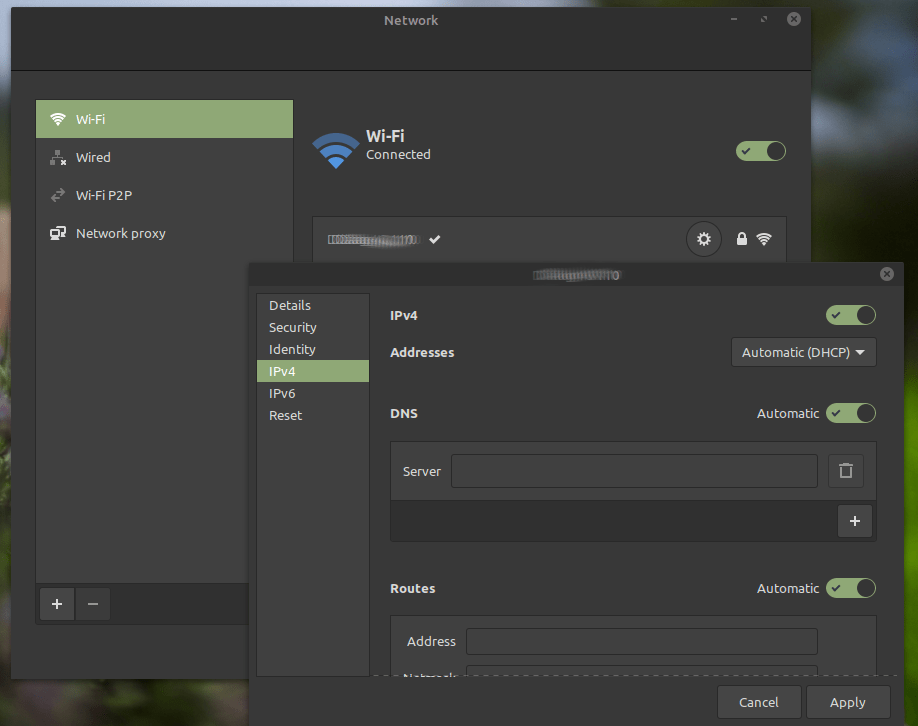
Linux mint
Let’s see how to add DNS for the Linux mint cinnamon Desktop. (follow the steps in order)
Network -> Wifi/Wired -> Setting -> Ipv4 and IPv6 DNS change
Android Phone
Normally DNS can be added through a wifi setting, but here I am using an open-source app(not a promotion for the app). By using this app, you can change the DNS even using mobile data.(Here the application works as a local VPN)
App – DNSChanger for IPv4/IPv6 – Open source and ad-free

If you need, you can add DNS using the usual way without this app or use another app.
In this article, I explained from installation to adding a device. Here passwords and IP addresses are visible because this is set up for testing purposes. Otherwise, it is not a good idea to display that information in public.
I hope this article is useful for you and we will meet again in the next article