
Hello, friends. In this post, oriented to servers and sysadmin, you will know the osTicket tool in Ubuntu 22.04. This tool can be useful in enterprise environments.
osTicket is a web application created with PHP that allows to deploy a reporting and customer support system within a network. Thanks to it, customers can generate a customer service ticket that will then be attended to by the people in charge.
Being open source, you can install it on any web server out there, but it also includes a specialized technical support, although it is paid.
Let’s install it.
Install osTicket on Ubuntu 22.04
Install LAMP on Ubuntu 22.04
First, update the server to install necessary patches.
sudo apt update
sudo apt upgrade
Then, you can install a LAMP. As this post is not about LAMP but about osTicket, I will move a little fast.
To install LAMP and the necessary PHP modules, run
sudo apt install apache2 mariadb-server php libapache2-mod-php php-mysql php-cgi php-fpm php-cli php-curl php-gd php-imap php-mbstring php-pear php-intl php-apcu php-common php-bcmathThen, make sure to open ports 80 and 443 in the firewall you are using. And restart Apache.
sudo systemctl restart apache2Preparing MariaDB for osTicket
In this section, you have to create a new database and user in MariaDB to prepare it for osTicket.
First, open the MariaDB console
sudo mysql -u root -pCreate the database with the name of your choice
CREATE DATABASE osticketdb;Then, the user and the password that can be the one you want.
CREATE USER 'user'@'localhost' IDENTIFIED BY 'pass';Assign permissions:
GRANT ALL PRIVILEGES ON osticketdb.* TO user@localhost IDENTIFIED BY "pass";Refresh permissions and exit the console.
FLUSH PRIVILEGES;
EXIT;
If you want a little more details about MariaDB, you can see this post
How to install MariaDB on Ubuntu 22.04
Now we proceed to download it.
Download and install osTicket on Ubuntu
Using wget, we proceed to download osTicket.
wget https://github.com/osTicket/osTicket/releases/download/v1.17.2 /osTicket-v1.17.2.zipCreate a folder in the Apache root and with the unzip command unzip it in it
sudo mkdir /var/www/html/osticket
sudo unzip osTicket-v1.17.2.zip -d /var/www/html/osticket
Assign appropriate permissions and make the folder belong to Apache
sudo chown -R www-data:www-data /var/www/html/osticket
sudo chmod -R 755 /var/www/html/osticket
osTicket includes a default configuration that we have to enable. If you want later, you can take a look at it.
sudo mv /var/www/html/osticket/upload/include/ost-sampleconfig.php /var/www/html/osticket/upload/include/ost-config.phpNow create a new Virtualhost for osTicket.
sudo nano /etc/apache2/sites-available/osticket.confAnd add the following
<VirtualHost *:80>
        ServerName ticket.unixcop.com
        ServerAdmin admin@localhost
        DocumentRoot /var/www/html/osticket/upload

        <Directory /var/www/html/osticket/upload>
                Require all granted
                Options FollowSymlinks
                AllowOverride All
        </Directory>

        ErrorLog ${APACHE_LOG_DIR}/osticket.error.log
        CustomLog ${APACHE_LOG_DIR}/osticket.access.log combined
</VirtualHost>
Remember to replace ServerName with your domain name and adjust according to your needs.
Save the changes and close the editor. To apply the changes run.
sudo a2ensite osticket.confAnd enable the rewrite module
sudo a2enmod rewriteApply the changes by restarting apache.
sudo systemctl restart apache2Now to complete the installation.
Complete osTicket installation via the web
As soon as you visit http://your-domain you will see the following

There, the installer will verify that everything is in order with the server and that you meet the requirements.
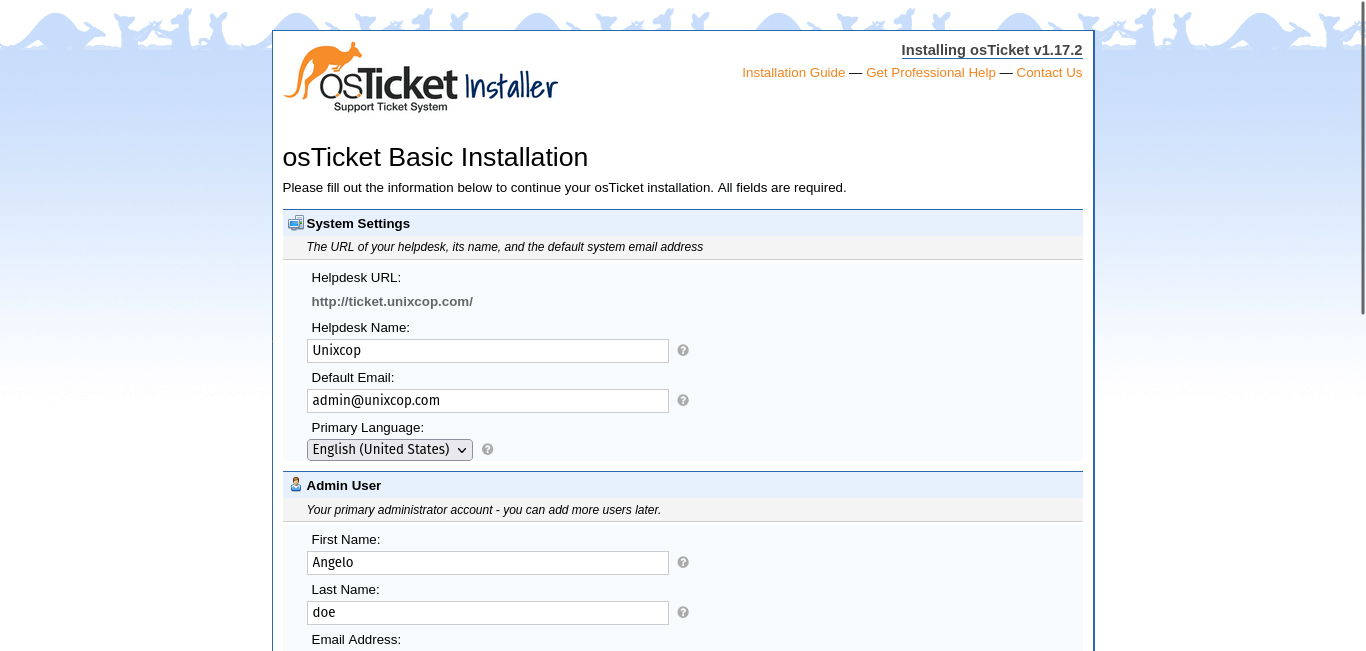
Then, configure the installation. In this screen, enter the URL, the database parameters and create the admin user.
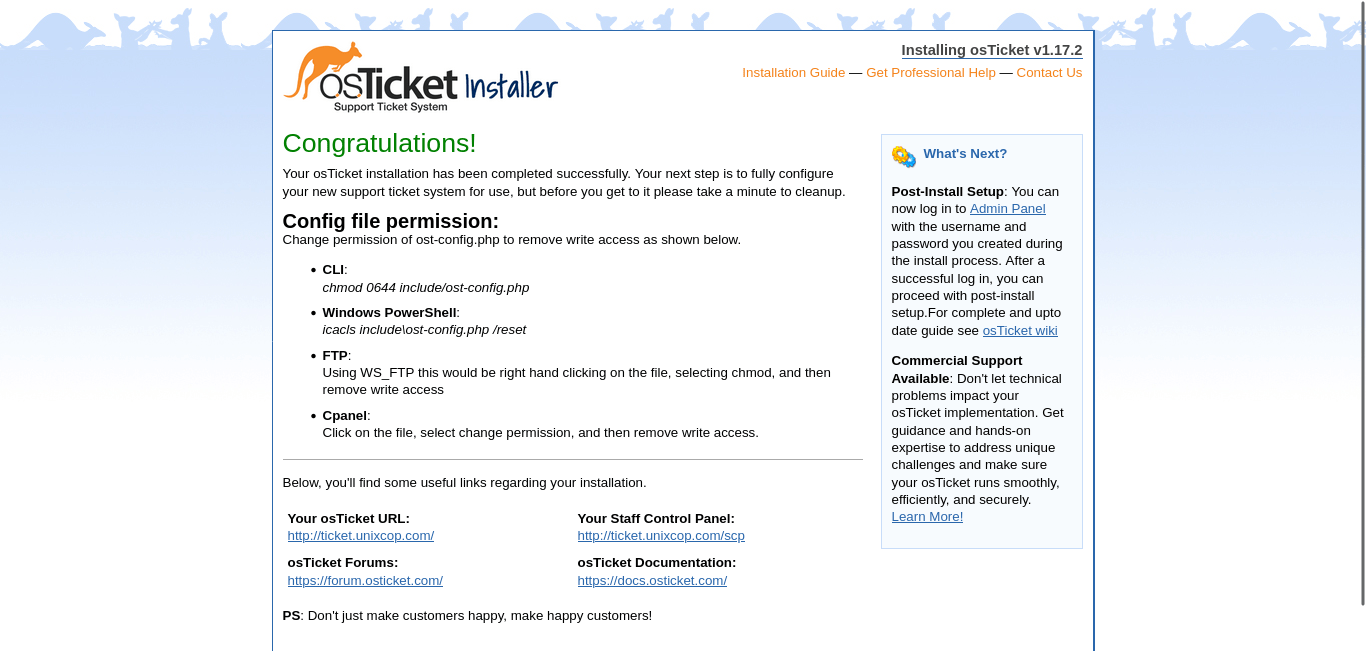
If everything goes well, you will see this screen where you will be informed that the whole process was successful. You will get the corresponding links.
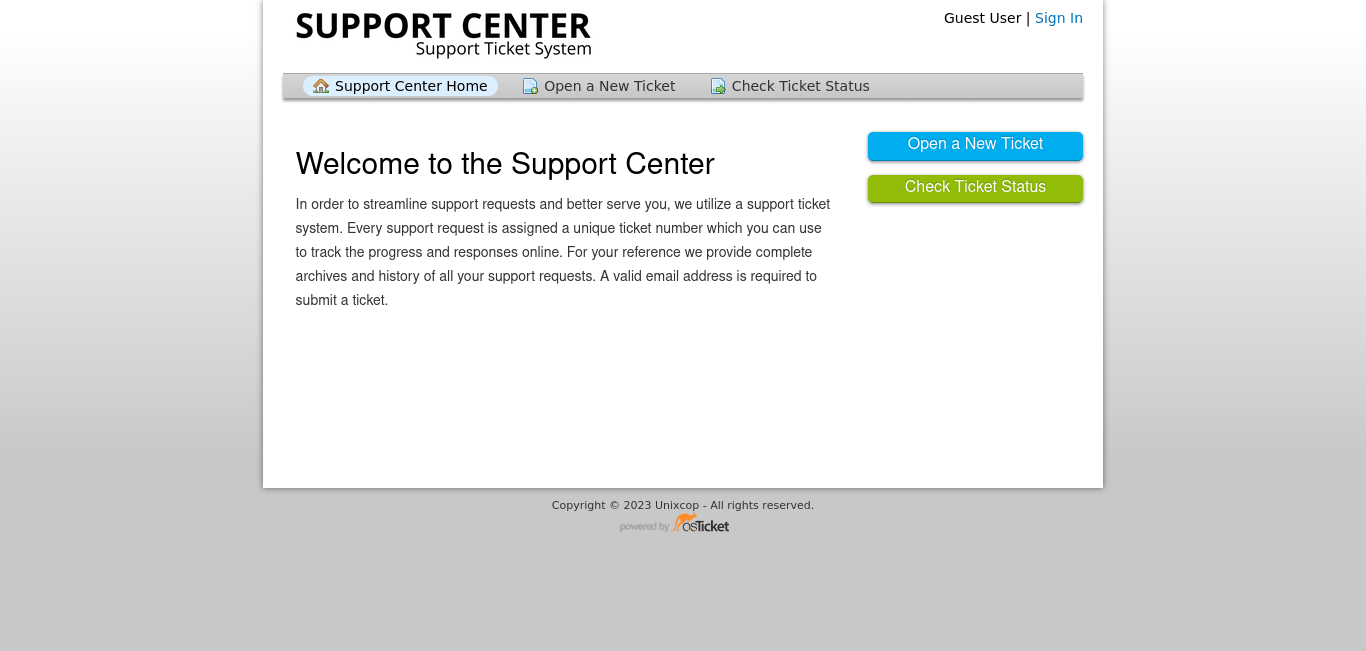
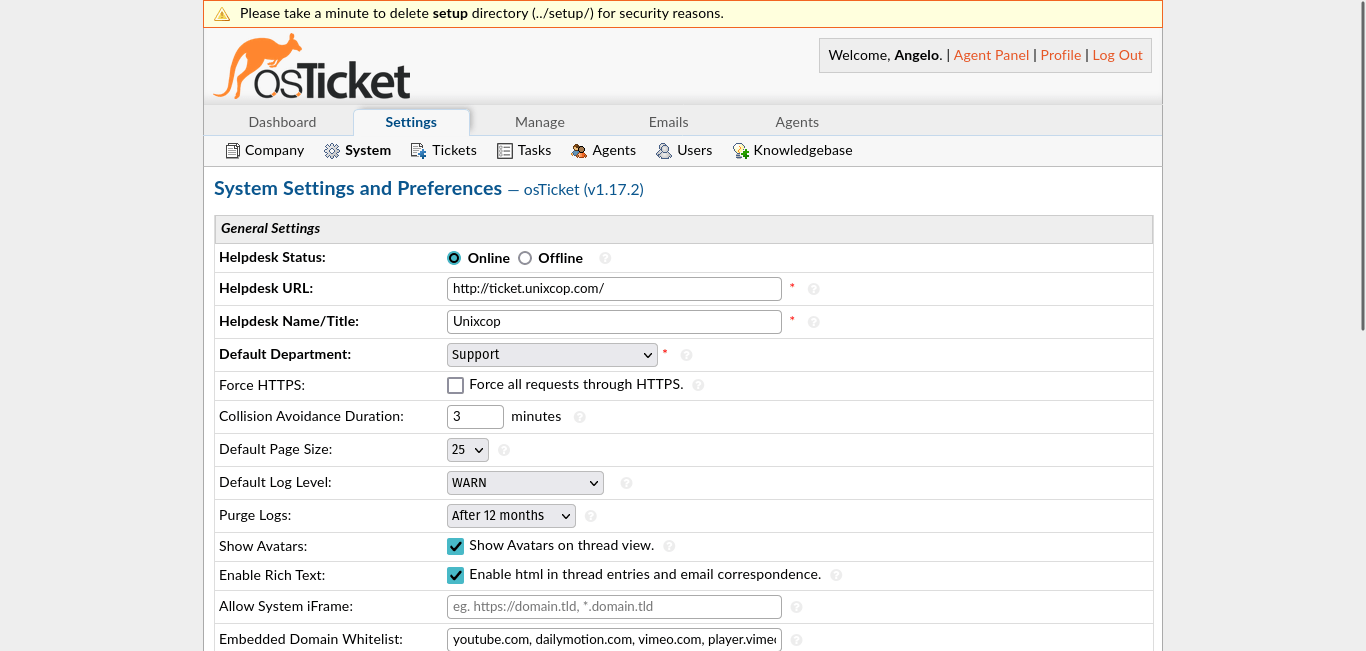
This is the main screen of osTicket
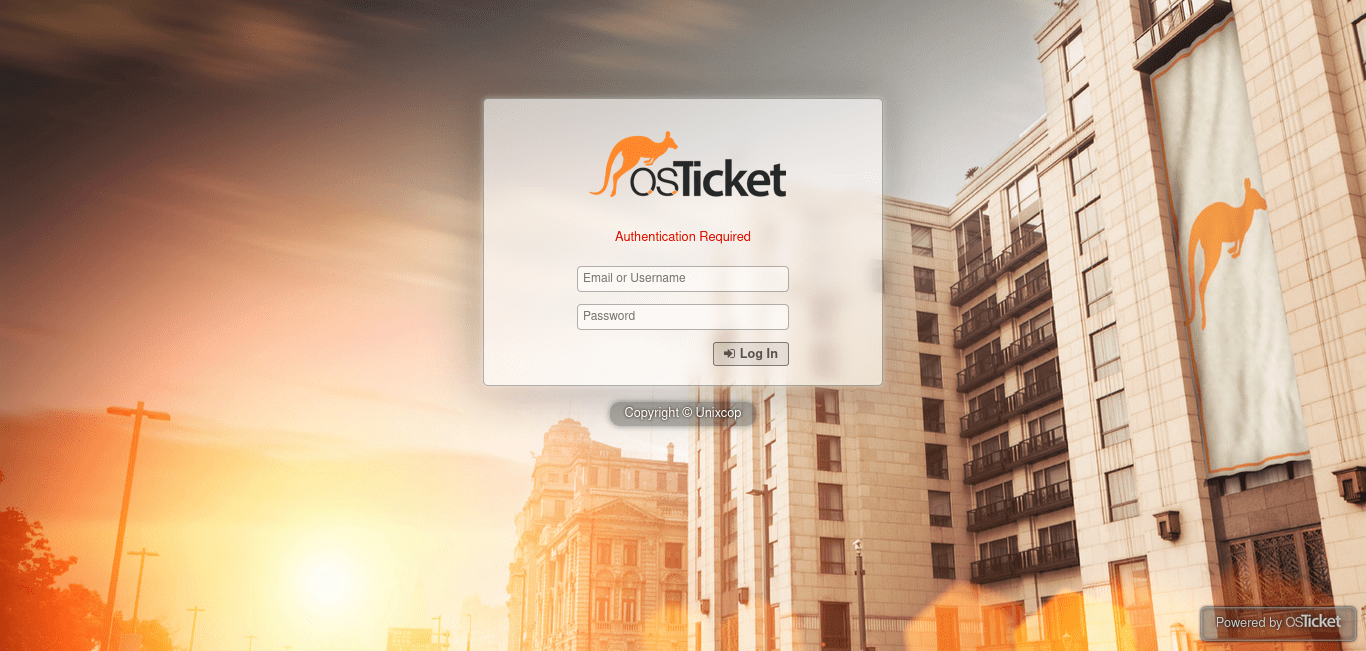
And here is the login screen to access the admin panel
Conclusion
osTicket is an important tool for many organizations that require a customer service system. So now you know how to do it without too much trouble.