
In this post, you will learn how to install osTicket on CentOS 8 / RHEL 8
Introduction
osTicket is a widely-used open source support ticket system. It seamlessly integrates inquiries created via email, phone and web-based forms into a simple easy-to-use multi-user web interface. Manage, organize and archive all your support requests and responses in one place while providing your customers with accountability and responsiveness they deserve.
SOME OF OUR FEATURES
- Dashboard Reports
rich and simple dashboard keeps you up-to-date on your help desk statistics
- Ticket Filters
powerful ticket filtering system makes sure the right tickets goes to the right department leaving you with a clutter-free environment
- Configurable Help Topic
Add, edit, and delete your help desk topics that suit your preference
- Customer Support Portal
Robust customer support portal system to help your business maintain happy customer relationships
- Service Level Agreements
Simply set your business hours and our system will handle the rest leaving you worry-free
Installation
Just follow the steps below
Update the system
- Update your system and install yum-utils
sudo yum -y update && sudo yum -y install yum-utilsInstall and Configure mariaDB
- Install and Configure MariaDB database
sudo yum -y install @mariadb- Start and enable the mariadb service
sudo systemctl enable --now mariadb- Secure your Database server after installation
sudo mysql_secure_installation- The next step is to create osTicket database. Login to your database server as root user and create a database for osTicket
mysql -u root -p

CREATE DATABASE osticket_db;
GRANT ALL PRIVILEGES ON osticket_db.* TO osticket_user@localhost IDENTIFIED BY "unixcopPassword";
FLUSH PRIVILEGES;
\q
Install Apache Web Server
- Run the following commands to download and install apache
sudo yum install httpd -y- Start the service.
sudo systemctl enable --now httpd- Show the service status
systemctl status httpdInstall PHP
- Install PHP 7.4 on CentOS 8. Add EPEL and Remi repisitories as follow:
sudo dnf -y install https://dl.fedoraproject.org/pub/epel/epel-release-latest-8.noarch.rpm
sudo dnf -y install https://rpms.remirepo.net/enterprise/remi-release-8.rpm
sudo dnf -y install yum-utils- Reset php AppStream module
sudo dnf module reset php- Then enable PHP 7.4 module
sudo dnf module install php:remi-7.4 - Also install other PHP 7.4 extensions as shown below
sudo dnf install wget php php-{pear,cgi,common,curl,mbstring,gd,mysqlnd,gettext,bcmath,json,xml,fpm,intl,zip,imap,apcu} -y- Verify that the version of PHP that will be installed is v7.4
php --version
Download and Install osTicket
- First install some helpful tools
dnf install curl wget unzip -y- Download latest release of osTicket by running the below command.
curl -s https://api.github.com/repos/osTicket/osTicket/releases/latest | grep browser_download_url | grep "browser_download_url" | cut -d '"' -f 4 | wget -i -- Then extract the downloaded osTicket
unzip osTicket-v*.zip -d osTicket- Move osTicket folder to /var/www directory
mv osTicket /var/www/- Create an osTicket configuration file
cp /var/www/osTicket/upload/include/ost-sampleconfig.php /var/www/osTicket/upload/include/ost-config.php - Change the ownership to apache for this directory
sudo chown -R apache:apache /var/www/osTicketConfigure Apache Web Server
- Create VirtualHost file for osTicket on Apache configurations.
vim /etc/httpd/conf.d/osticket.conf- Then add the following:
<VirtualHost *:80>
     ServerAdmin [email protected]
     DocumentRoot /var/www/osTicket/upload
     ServerName osticket.unixcop.com
     ServerAlias www.osticket.unixcop.com
     <Directory /var/www/osTicket/>
          Options FollowSymlinks
          AllowOverride All
          Require all granted
     </Directory>

     ErrorLog /var/log/httpd/osticket_error.log
     CustomLog /var/log/httpd/osticket_access.log combined
</VirtualHost>- Enable php-fpm service
systemctl enable --now php-fpm- Edit the setting of enforcing SElinux
sudo setsebool -P httpd_can_network_connect 1
semanage fcontext -a -t httpd_sys_rw_content_t "/var/www/osTicket(/.*)?"
sudo restorecon -Rv /var/www/osTicket/- Restart apache
systemctl restart httpd- Open http and https ports in the firwalld
firewall-cmd --add-service={http,https} --permanent
firewall-cmd --reload
Install osTicket on CentOS 8
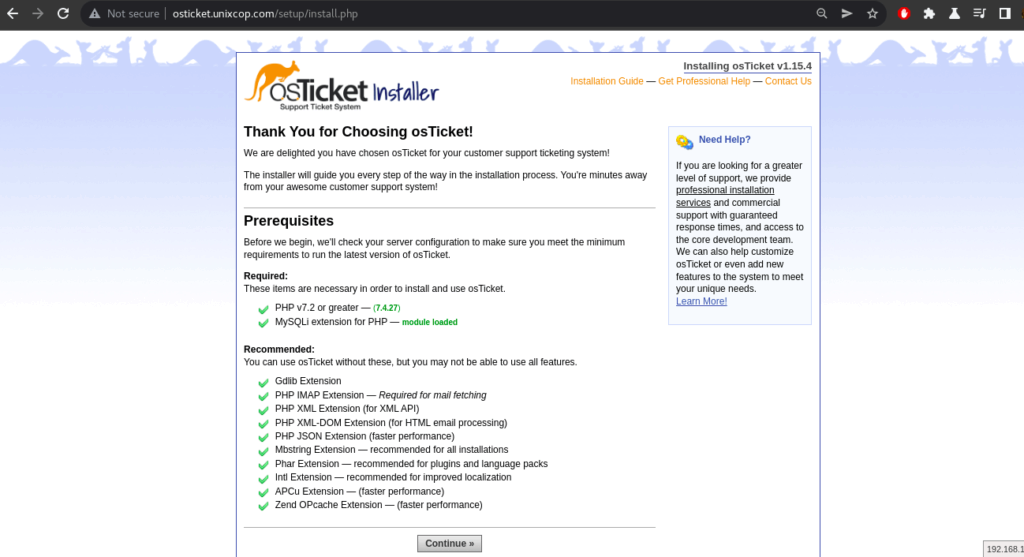
- Visit the osTicket Web console with http://osticket.unixcop.com in your web browser.
- Confirm the software requirements checks then click continue as shown below:
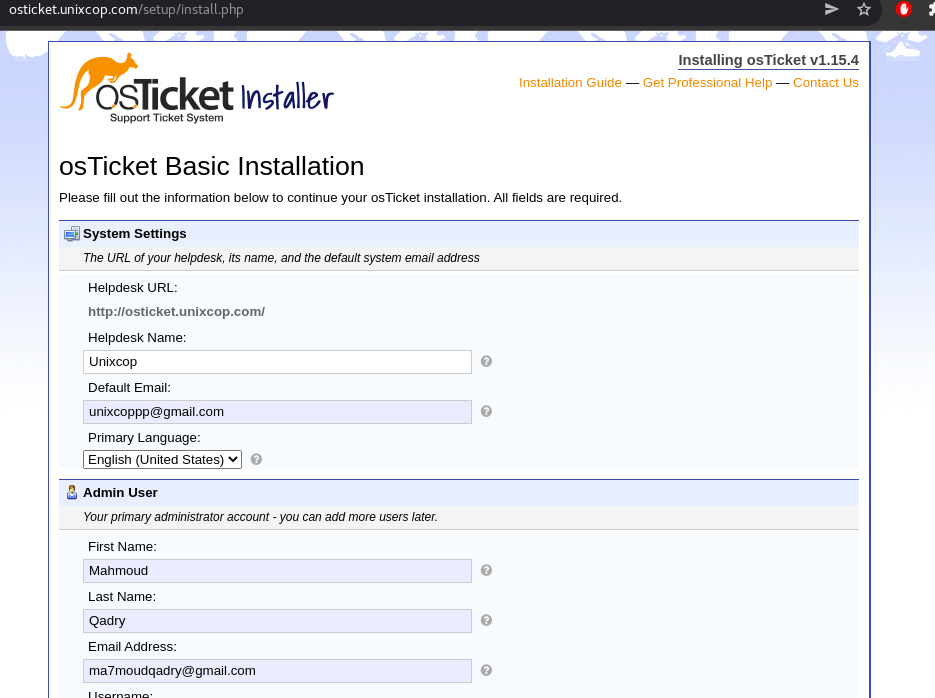
- Enter the required information for system settings and Admin User
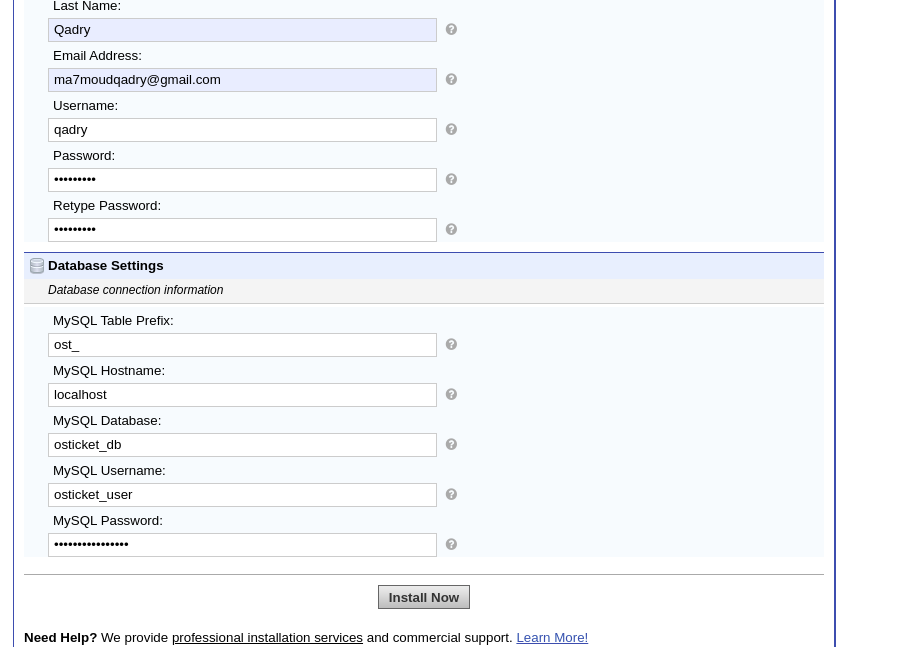
- Also fill the Database we created as shown then click install Now
- With successful installation, you will get this page as shown below:

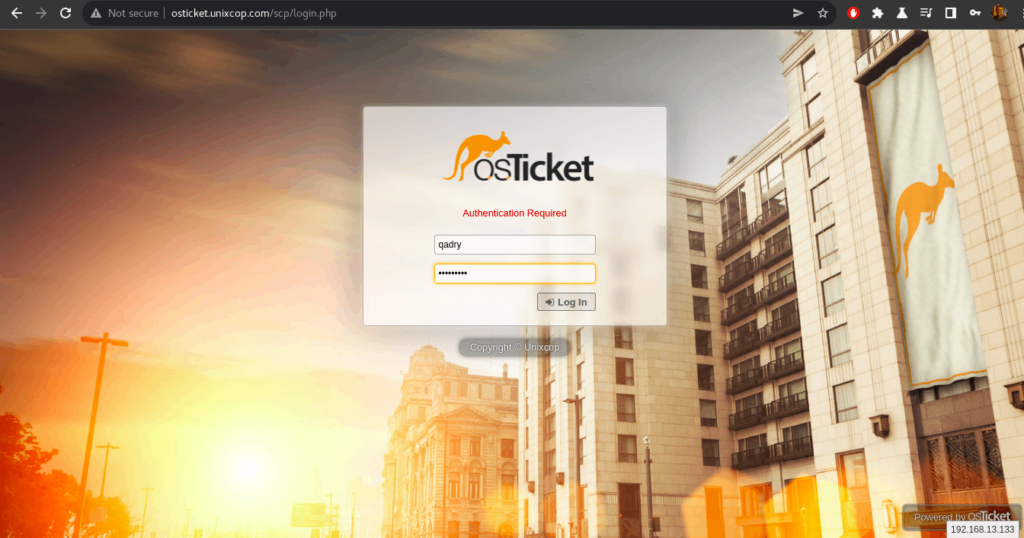
NOTE: To log in to backend system ( Staff control panel), use the link below your Staff control panel osticket.unixcop.com/scp
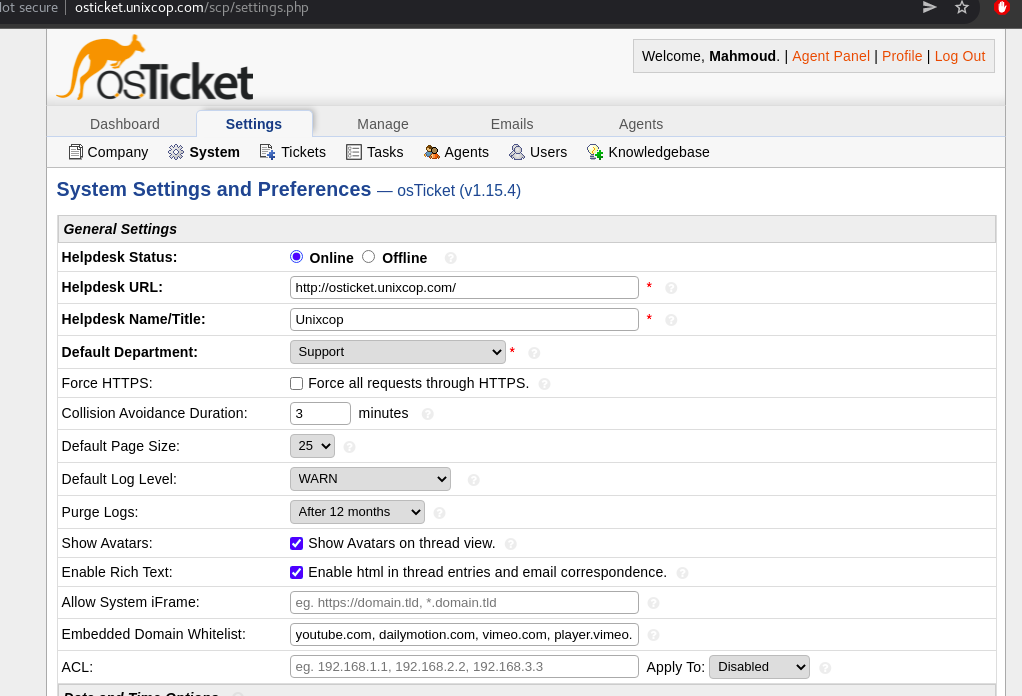
- Access Your Staff Control Panel with the admin user credential you entered before while the installation
- You will get this warning to delete setup directory as shown below, so remove it with running the commands below:
sudo chmod 0644 /var/www/osTicket/upload/include/ost-config.php
sudo rm -rf /var/www/osTicket/upload/setup/
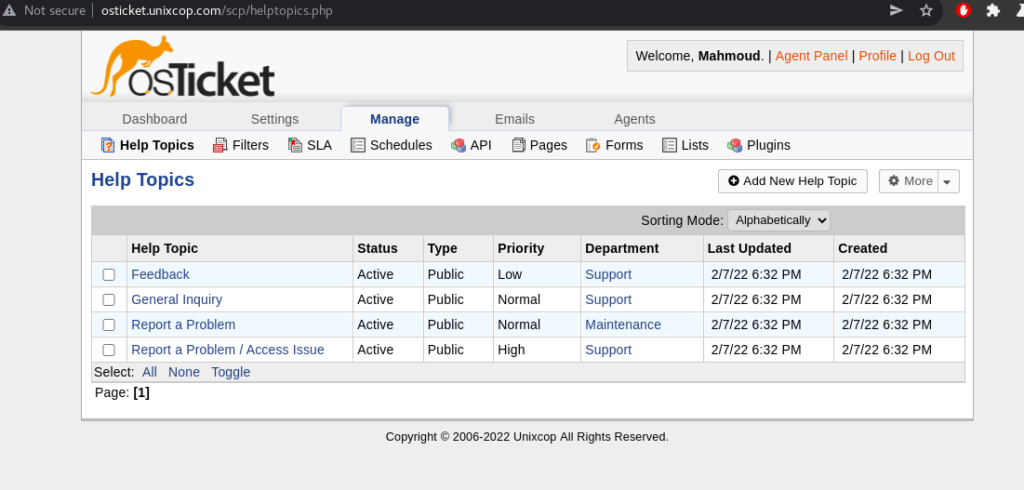
- Refresh the page again
- Then click Manage to get the help topics as shown below
Conclusion
That’s it
We showed you how to install osTicket on CentOS 8 /RHEL 8
thank you…