OpenStack is a free and opensource IaaS cloud platform that manages cloud compute, network and storage resources. It comes with a decent dashboard and web panel that allows system and network administrators to monitor these resources easily. You can easily install OpenStack on your Ubuntu or Debian Instance for better learning or development purposes using DevStack is a set of extensible set of tools that facilitate OpenStack development.
Requirements :
- 4GB or more RAM (The more the the better performacne and less hiccups)
- 2vCore or more CPU (The higher amount of CPU the development and testing process will be easier)
- 10GB or more HDD (Preferred SSD in this case)
- Debian 9 or Ubuntu 18.04 or greater
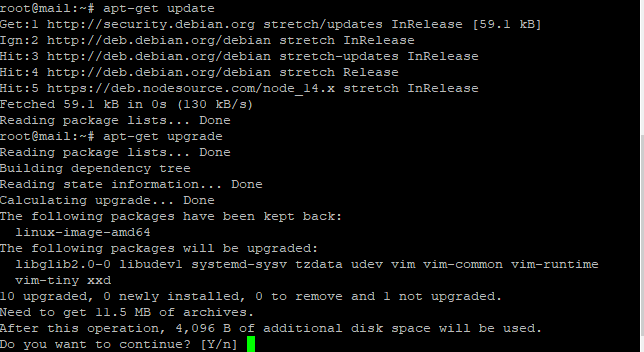
Step 1 : Update your server
First step is to update your server, Run the following command to update your server which would look for newer packages and security releases for your distribution :
apt-get update -y
apt-get upgrade -y
Step 2 : Creating User with sudo access
In this step, We will create a user with sudo access it is advised not to install any application (depends on purpose) through root user for security reasons.
adduser -s /bin/bash -d /opt/stack -m stack
Add the user to sudoers
echo “stack ALL=(ALL) NOPASSWD: ALL” | sudo tee /etc/sudoers.d/stack
Step 3 : Install Git & Devstack
Now we can continue installing Git and Devstack, Git is needed to clone the Devstack repository. Run the following commands to install :
First step is to switch to newly created user :
su – stack
Git is usually installed on the servers but if it’s not run the following command :
sudo apt-get install git
Cloning the DevStack repository :
sudo git clone https://git.openstack.org/openstack-dev/devstack
cd devstack
If the upper command causes issues you may run this command using root to create a stack user :
cd devstack/tools
./create-stack-user.sh
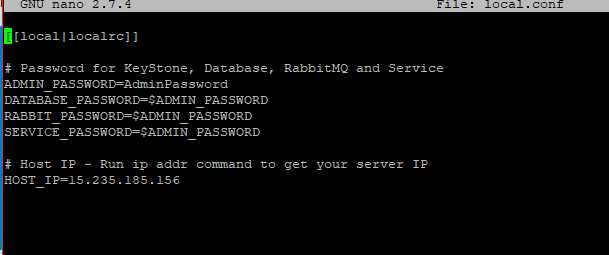
Create configuration file for DevStack
nano local.conf
Paste the following content into the file and replace ADMIN_PASSWORD and HOST_IP
[[local|localrc]]
# Password for KeyStone, Database, RabbitMQ and Service
ADMIN_PASSWORD=AdminPassword
DATABASE_PASSWORD=$ADMIN_PASSWORD
RABBIT_PASSWORD=$ADMIN_PASSWORD
SERVICE_PASSWORD=$ADMIN_PASSWORD
# Host IP – Run ip addr command to get your server IP
HOST_IP=10.0.0.1
Run the following command to install OpenStack :
./stack.sh
After the complete installation you will see something like this :
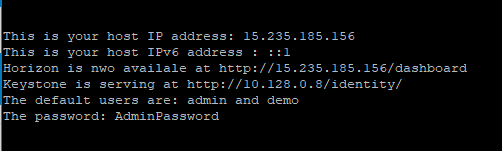
Access your dashboard at http://YOURIP/dashboard
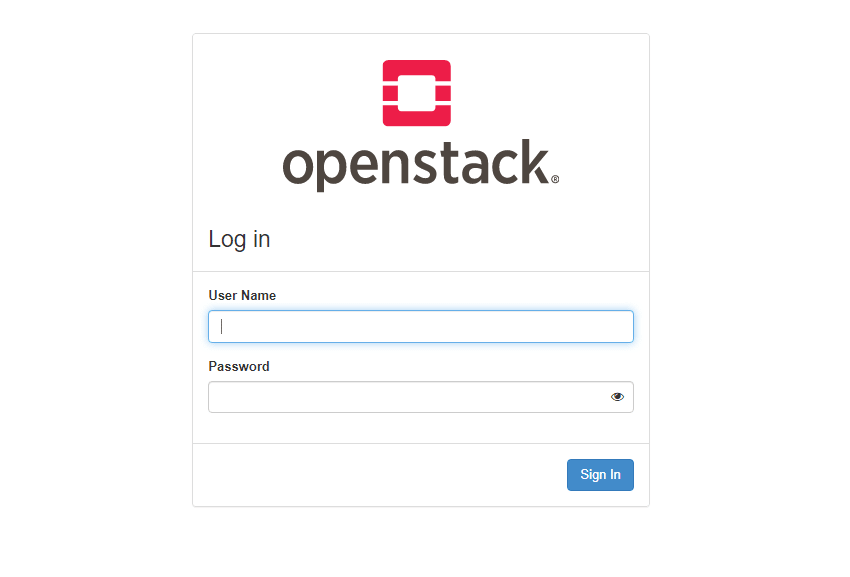
You will see a login like this :
Conclusion :
You have installed OpenStack using DevStack on your Ubuntu/Debian Server. This tutorial was initially started on root but the installation of DevStack requires a user with sudo access. This tutorial was tested on Ubuntu 18.04 and Debian 9.