
Hello, friends. In this post, you will learn how to have your chat server based on the XMMP protocol by installing OpenFire on Debian 11.
Introduction to OpenFire
According to the OpenFire website
Openfire is a real time collaboration (RTC) server licensed under the Open Source Apache License. It uses the only widely adopted open protocol for instant messaging, XMPP Openfire is incredibly easy to setup and administer, but offers rock-solid security and performance.
In a nutshell, we can have our chat server installed with this program. This makes it ideal often where the team is not in the same place or where remote work is required.
After OpenFire is installed, we can create groups and users from a comfortable web interface. In addition, the application is very robust thanks to the fact that it is made with JSP.
Moreover, OpenFire is compatible with most Linux distributions, so installing and configuring it is a task within the reach of many.
In short, there are many advantages of having an XMPP server in our organization, so let’s go for it.
Optional: Install MariaDB and create a database for OpenFire.
OpenFire gives us the possibility to choose between using an external database manager like MariaDB or using one internal to the application. The difference is that the performance that gives us an external one is superior and recommended if there are many users.
So if this is your case, then first install MariaDB.
sudo apt update
sudo apt install mariadb-server
Then define a root password and secure the installation by running
sudo mysql_secure_installationAs there is no root password defined, just press Enter. Then, set a strong password and finally answer Y to each question to secure the installation.
Then access the MariaDB console.
sudo mysql -u root -pAnd create the database, with the name of your choice
CREATE DATABASE openfire;The user and the password. Again, you can define these fields with the values you want.
GRANT ALL PRIVILEGES on openfire.* TO 'user'@'localhost' IDENTIFIED BY 'pss';Refresh the permissions and exit the console.
FLUSH PRIVILEGES;
exit;
That’s all with MariaDB.
Installing OpenFire on Debian 11
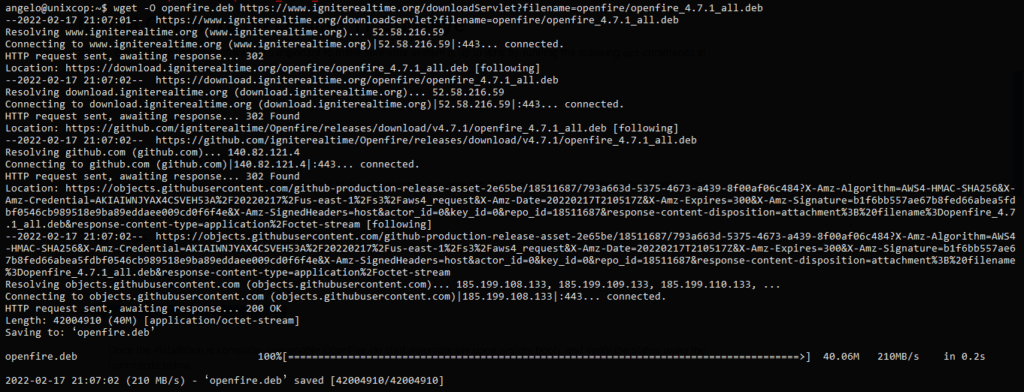
To get the latest stable version of OpenFire you should download the DEB package prepared for the distribution. To complete this, use the wget command.
wget -O openfire.deb https://www.igniterealtime.org/downloadServlet?filename=openfire/openfire_4.7.1_all.deb
After this, install the package by running
sudo apt -f install ./openfire.deb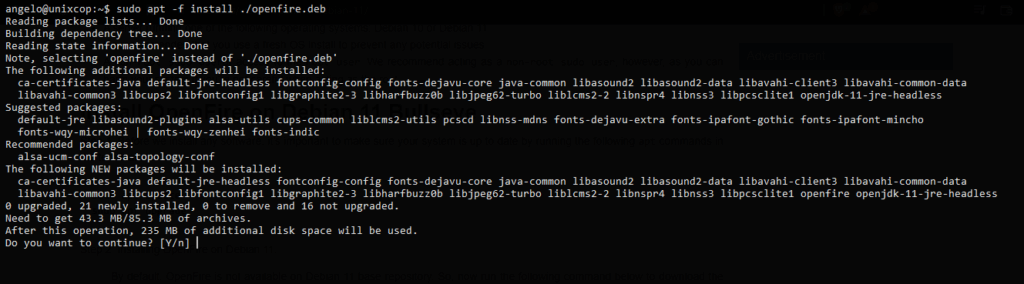
Then start the service and check its status.
sudo systemctl start openfire
sudo systemctl status openfire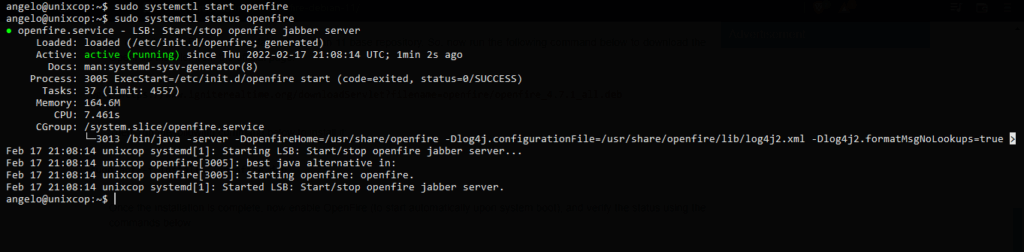
And open the ports on the firewall:
sudo ufw allow 9090
sudo ufw allow 9091
sudo ufw allow 5222
sudo ufw allow 7777
Now we can finish the configuration.
Completing the installation via the web interface
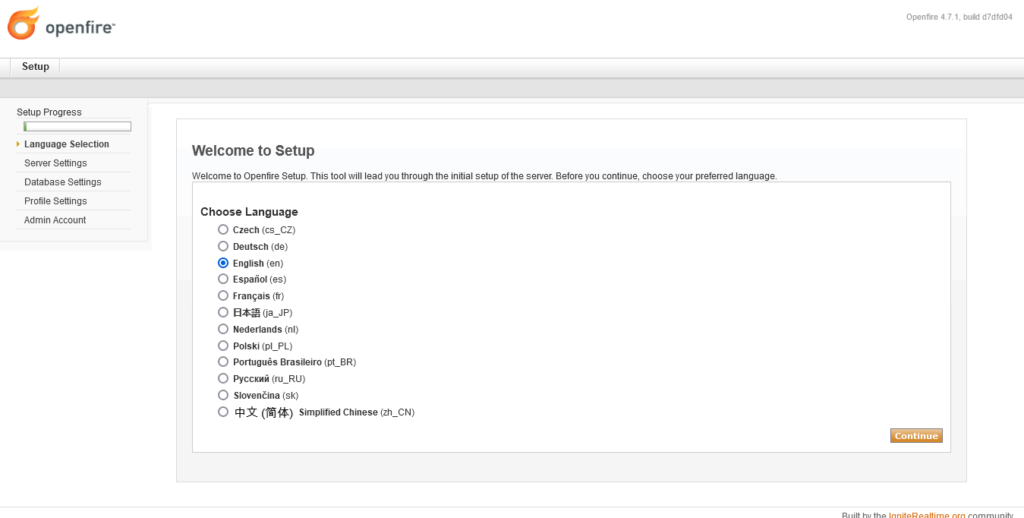
Now open your favorite web browser and go to http://your-domain:9090 to access the web interface.
When you do so, you will see this screen where you will have to define the language to use.
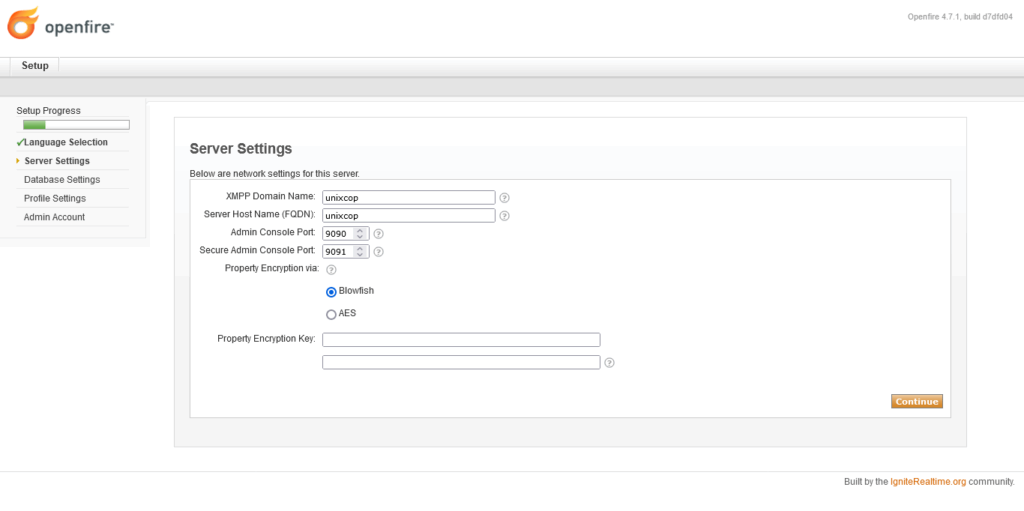
Then the server settings. Set your domain and the port you want.
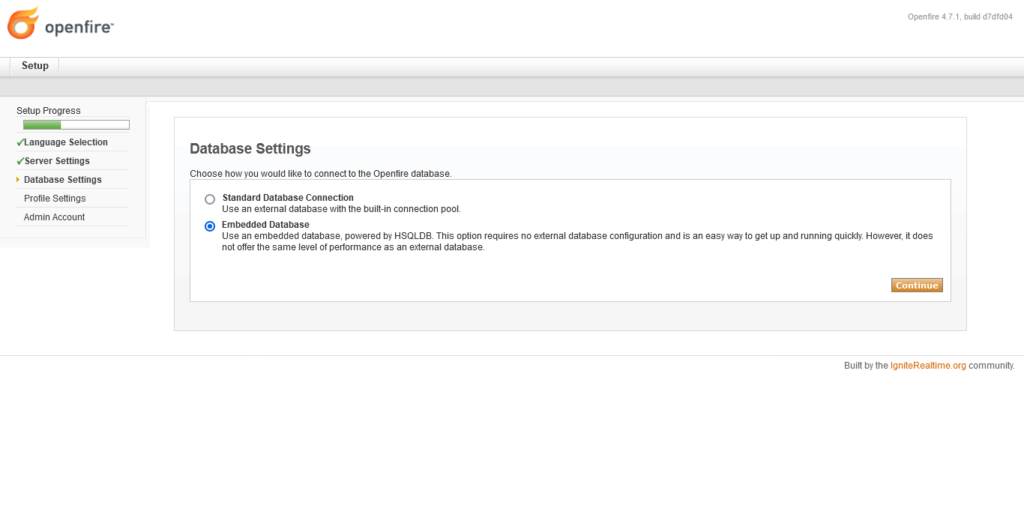
After this, it is time to configure the database. Here you have the option to use an external one like MariaDB or the embedded one.
If you choose the external one, you will see this screen.

Select MySQL and modify the Database URL field to add the database name and other settings. Below, define the user and password of the user with permissions on that database.
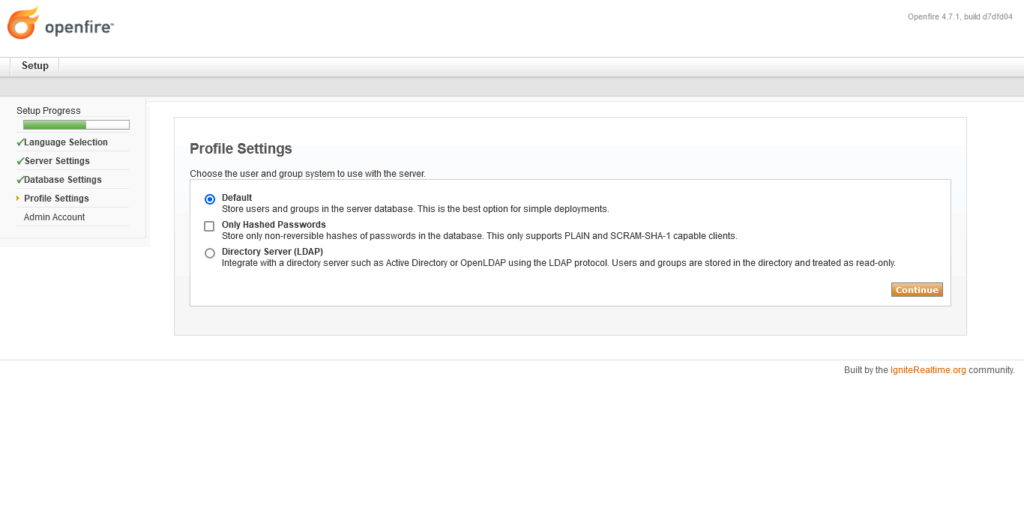
If all goes well, then you will see this screen asking how to store the groups and users information.
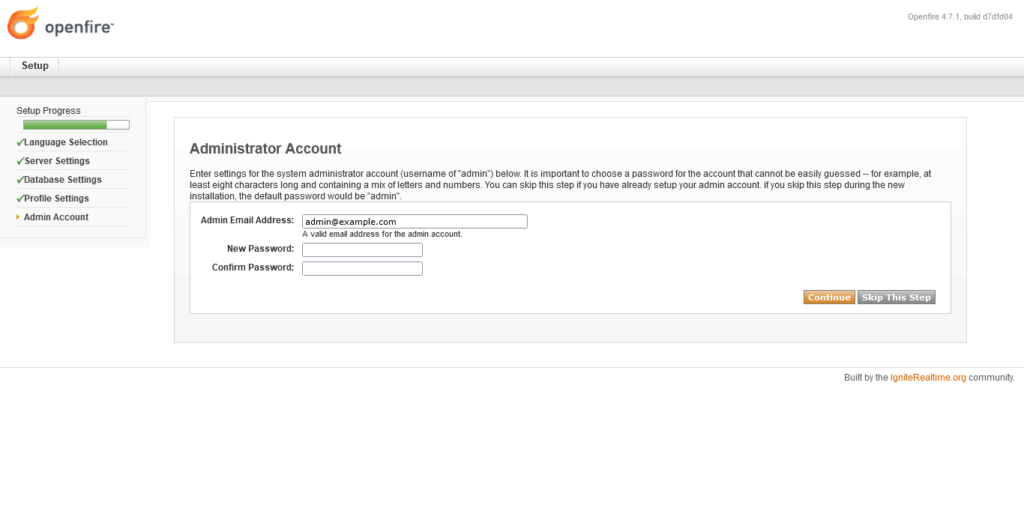
Then you have to create the administrator user and password.
Then, you will be redirected to the login page.
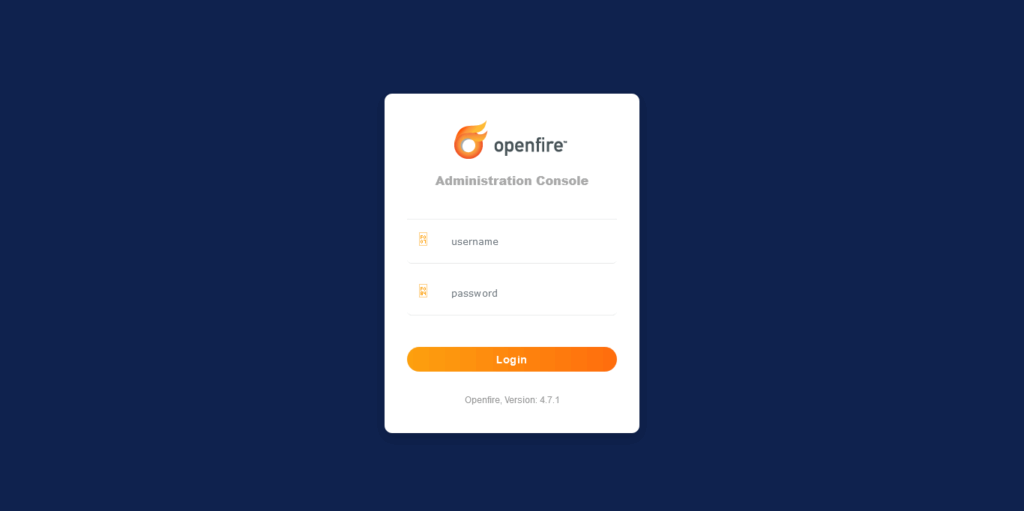
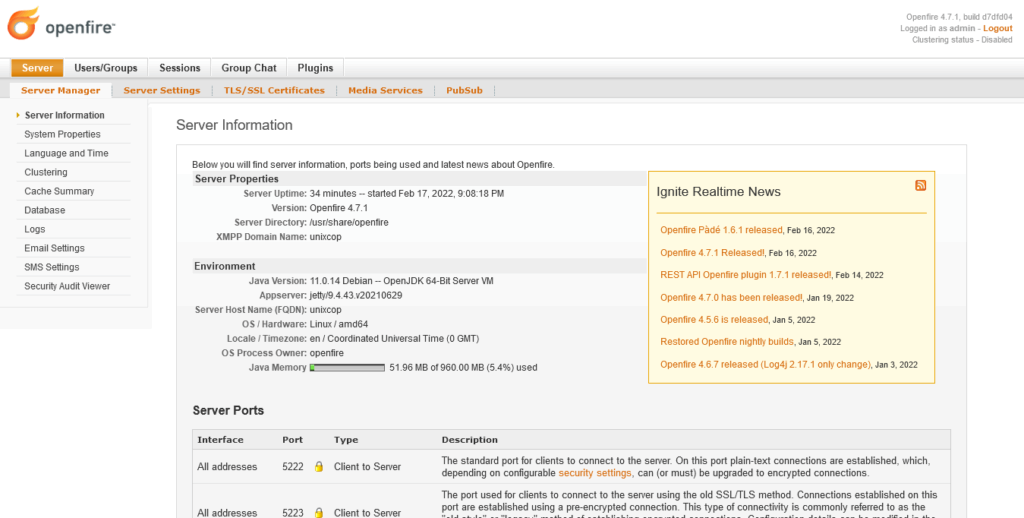
When you log in, you will then see the dashboard, and you can start configuring it to your needs.
Conclusion
In this post, you learned how to install OpenFire and so easy to have an XMPP server for your personal projects.
merci beaucoup j’ai pue installer et configurer le openfire sur debian11