
Netdata is an open source tool designed to collect real-time metrics, such as CPU usage, disk activity, bandwidth usage, website visits, etc., and then display them in live, easy-to-interpret charts. It is designed to visualize activity in the greatest possible detail, allowing the user to obtain an overview of what is happening and what has just happened in their system or application. Below are the simple installation steps of Netdata.
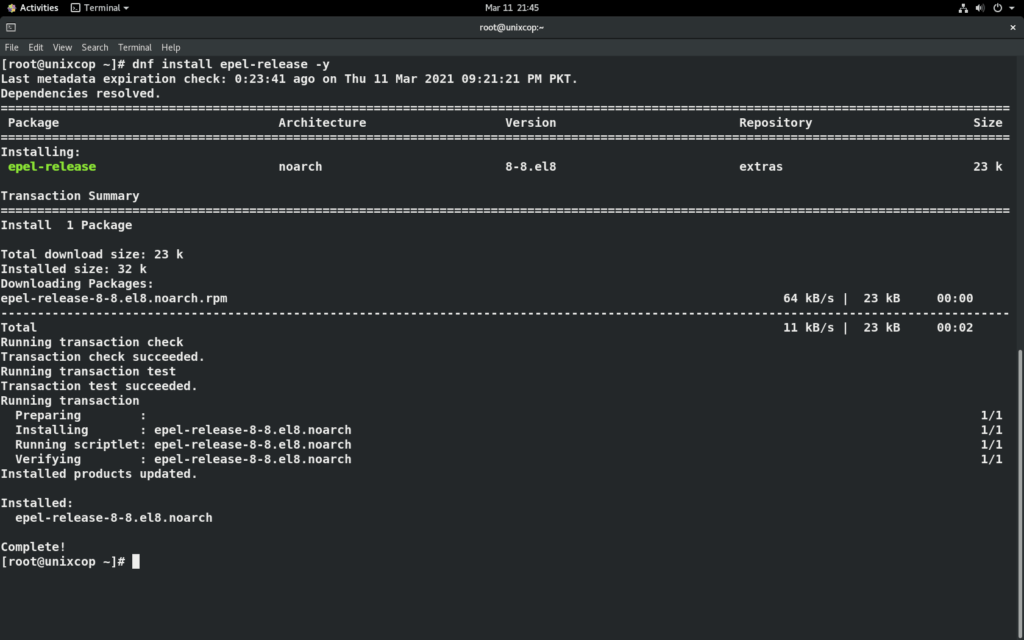
Step 1: Install EPEL Repo
dnf install epel-release -y
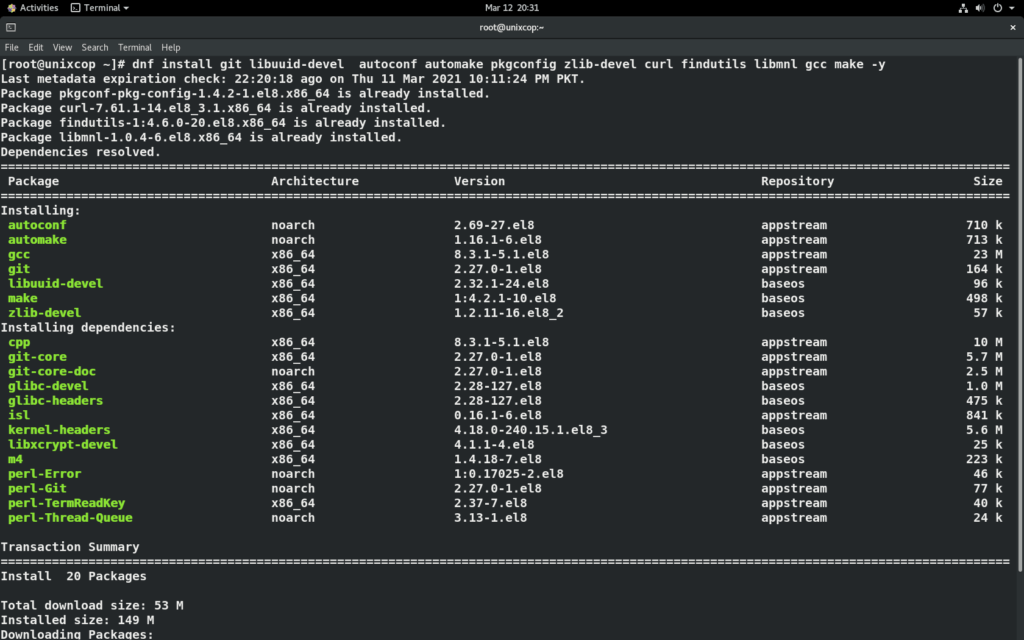
Step 2: Install necessary packages for Netdata.
dnf install git libuuid-devel autoconf automake pkgconfig zlib-devel curl findutils libmnl gcc make -y
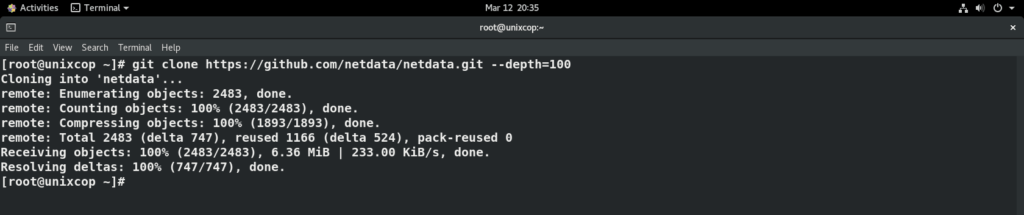
Step 3: Clone Netdata from github
Once Netdata dependencies installed, clone Netdata git repository using below command
git clone https://github.com/netdata/netdata.git --depth=100
Step 4: Build and Install Netdata
Now switch to Netdata directory and execute below commands so all necessary packages will automatically install on your OS for Netdata.
cd netdata
./packaging/installer/install-required-packages.sh --non-interactive --dont-wait netdata
Finally execute below script to build and install Netdata
./netdata-installer.sh
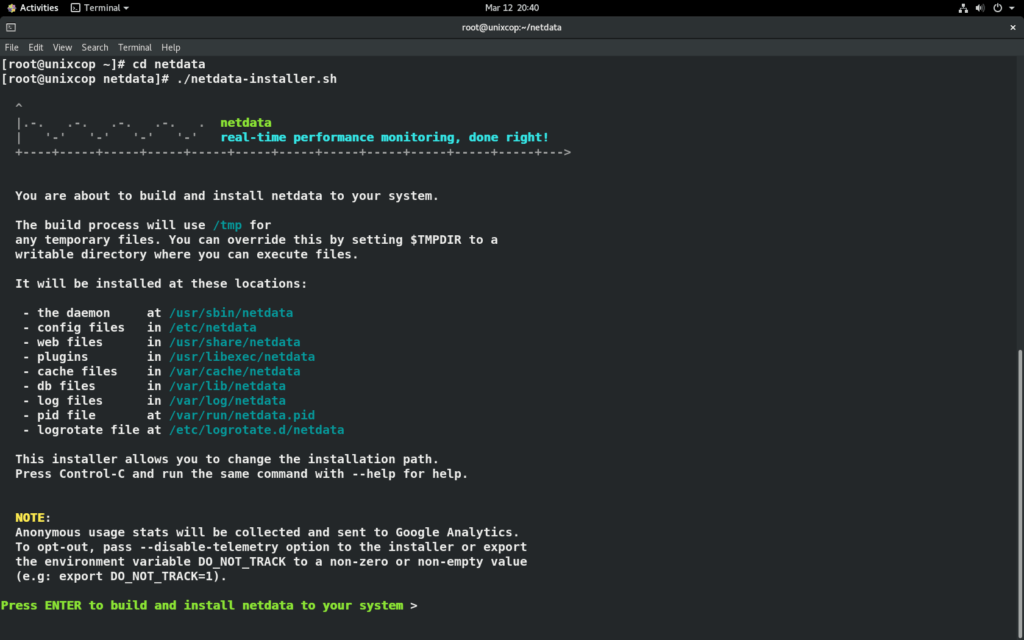
Press “ENTER” to build and install netdata to your system
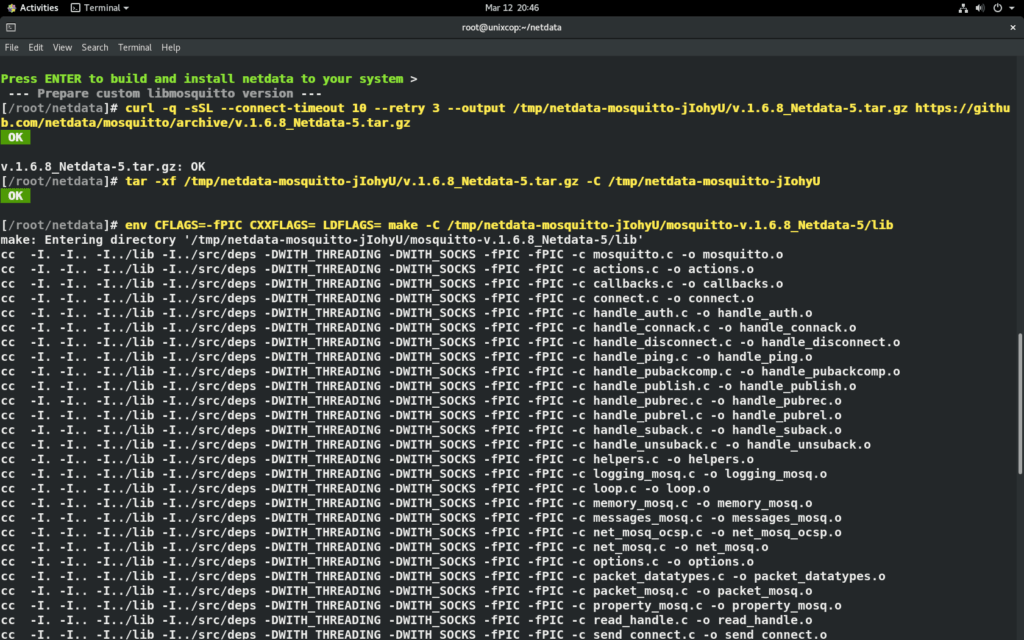
Note: Installation may take some time (5 – 10 minutes) so be patience.
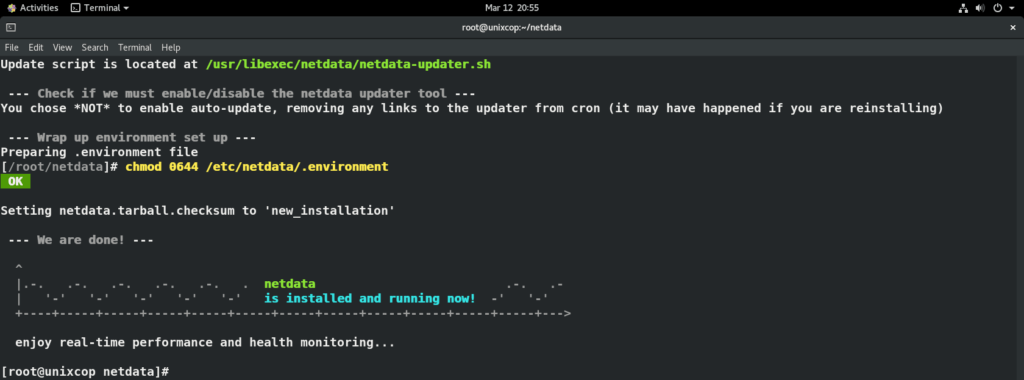
Upon successful installation you should see following similar message.
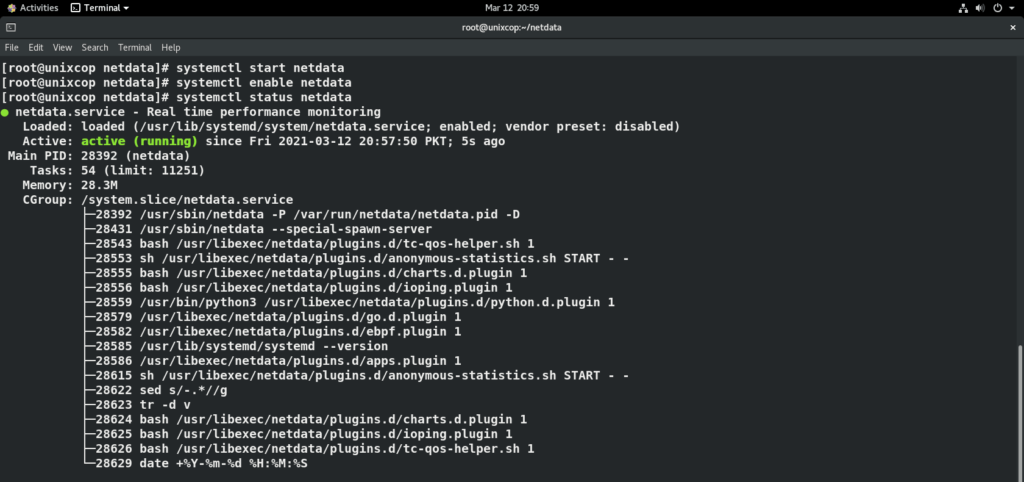
Step 5: Starting and Enabling Netdata Services
Once installation Done, we need to start and enable Netdata services.
systemctl start netdata
systemctl enable netdata
systemctl status netdata
Step 6: Firewall Configuration
Netdata listens on port 19999 by default, so we must enable these ports in firewall to use Netdata from browser.
firewall-cmd --permanent --add-port=19999/tcp
firewall-cmd --reload

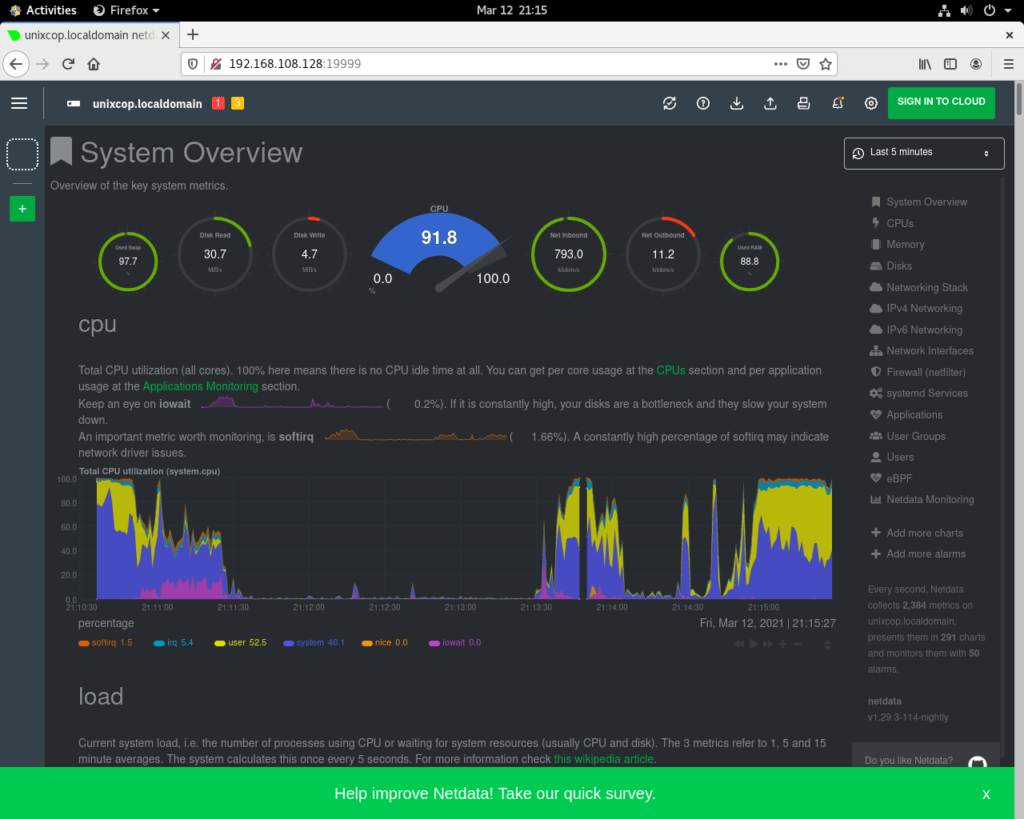
Step 7: Access Netdata
You can access netdata from browser using your server IP along with port number.
http://YOUR-SERVER-IP:19999/
Thats it, Please don’t forget to support us if you like this installation guide 🙂
You may also visit our previous articles about monitoring from this link: https://unixcop.com/category/monitoring/