
Monitoring your IT infrastructure is one of the most critical roles of IT operation teams. It helps sysadmins to keep an eye on the performance and health of the IT infrastructure and ensures that systems are running as expected. Monitoring also helps in incident response should an error occur. Nagios is an industry-leading opensource monitoring tool that monitors a wide range of network devices such as routers, servers, and switches to mention a few. In this tutorial, we focus on how to install Nagios on Ubuntu 20.04.
Prerequisites
As you get started, ensure that you have the following:
- An instance of Ubuntu 20.04 with SSH access.
- A sudo user configured on the server
- A stable internet connection
Step 1: update the system
Log in to your system via SSH and update the package lists as follows:
$ sudo apt update
Once the update is complete, head over to the next step.
Step 2: Install prerequisite packages
Some essential packages are needed as we go along with the installation. So, go ahead and install them as shown.
$ sudo apt install wget unzip vim curl openssl build-essential libgd-dev libssl-dev
Step 3: Install Apache web server and PHP
Since Nagios runs on the front-end We need to install Apache web server and PHP as follows:
$ sudo apt install apache2 php php-gd libapache2-mod-php
You can verify the version of PHP installed using the command:
$ php -v

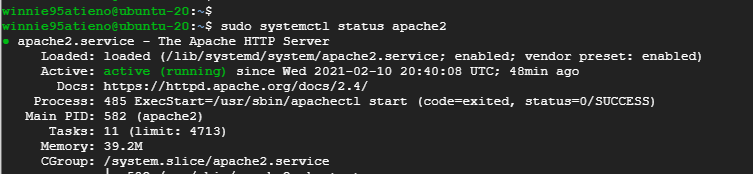
You can also check if Apache is running using the command:
$ sudo systemctl status apache2
Step 4: Grab Nagios core from the official Nagios website
With the essential package already in place, proceed and download the latest Nagios core package. At the time of writing this guide, the latest version is Nagios 4.4.6. So, download the tarball file.
$ wget https://assets.nagios.com/downloads/nagioscore/releases/nagios-4.4.6.tar.gz
Then extract it.
$ sudo tar -xvf nagios-4.4.6.tar.gz
This leaves you with the Nagios folder labelled nagios-4.4.6.
Step 5: Install Nagios on Ubuntu 20.04
To start with the installation, navigate to the Nagios folder.
$ cd nagios-4.4.6
Thereafter, execute the configure script as follows:
$ ./configure
You should get the output as follows.
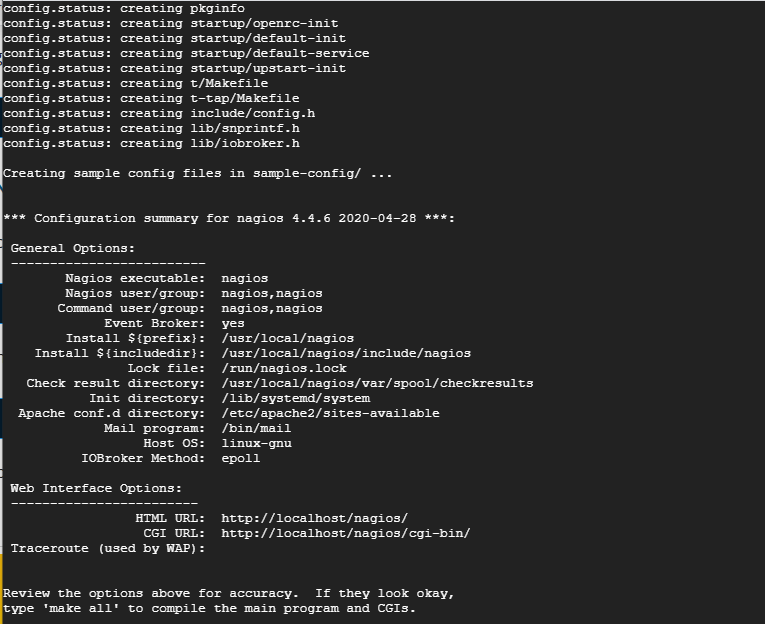
Next, be sure to compile the main components of Nagios as shown :
$ sudo make all
Next, create the User And Group with commands below:
$ sudo make install-groups-users
$ sudo usermod -a -G nagios www-data
Thereafter install Nagios Core by compiling it as follows
$ sudo make install
Next, we install the init script in the location /lib/systemd/system.
$ sudo make install-daemoninit
Then, configure the Nagios core external command file:
$ sudo make install-commandmode
Next, install sample config files in /usr/local/nagios/etc.
$ sudo make install-config
The Nagios web interface needs an Apache configuration file, therefore, install it as shown:
$ sudo make install-webconf
Next, be sure to enable the Apache module and CGI module & later restart Apache for the changes to persist.
$ sudo a2enmod rewrite cgi
$ sudo systemctl restart apache2
Step 6: Create a login user for Nagios
A log in user is required to log in to Nagios Web interface. To achieve this, use the htpasswd command as follows. In this example, nagiosadmin is the username. Feel free to provide your preferred username.
$ sudo htpasswd -c /usr/local/nagios/etc/htpasswd.users nagiosadmin
Provide the password and confirm it. The password is written on the /usr/local/nagios/etc/htpasswd.users file.
Step 7: Install Nagios plugins on Ubuntu 20.04
Plugins are essential in extending the functionality of Nagios. For this reason, we are going to install Nagios plugins.
Download the compressed file:
$ wget https://nagios-plugins.org/download/nagios-plugins-2.3.3.tar.gz
Extract the tarball file
$ sudo tar -xvf nagios-plugins-2.3.3.tar.gz
Then navigate into the plugins folder
$ cd nagios-plugins-2.3.3
And compile from source as shown
$ ./configure --with-nagios-user=nagios --with-nagios-group=nagios make
$ sudo make install
Step 8: Verify installation of Nagios
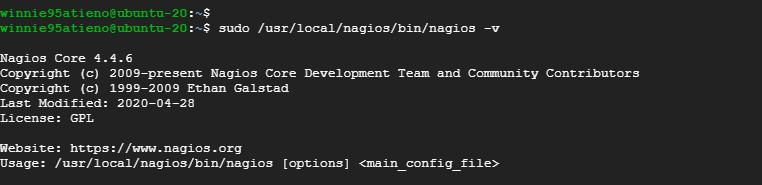
To confirm that the installation went through as expected, run the command
$ sudo /usr/local/nagios/bin/nagios -v /usr/local/nagios
The output should appear as shown.
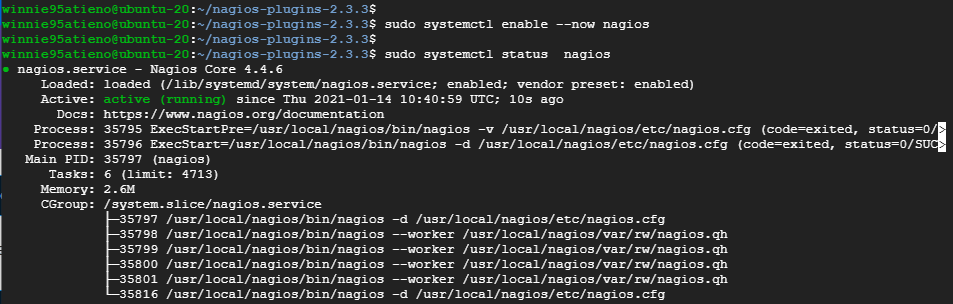
Then start and enable Nagios service and verify its confirmation.
$ sudo systemctl enable --now nagios
Then confirm its status
$ sudo systemctl status nagios
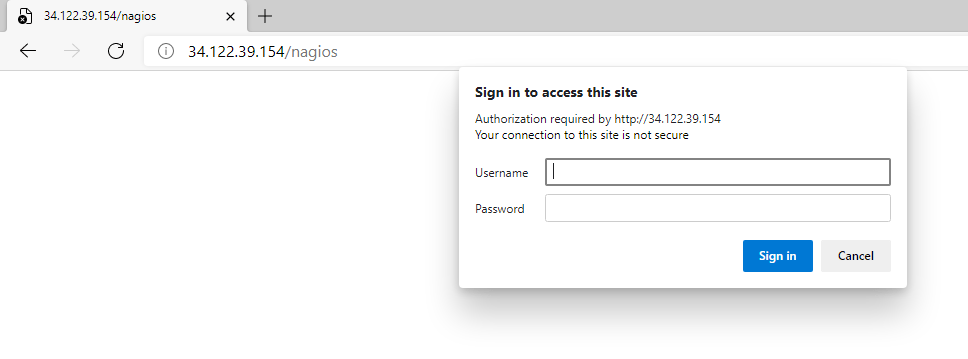
Step 9: Log in to Nagios WebUI
We are almost there. The only thing remaining is to log in. Simply use the address shown
http://server-ip/nagios
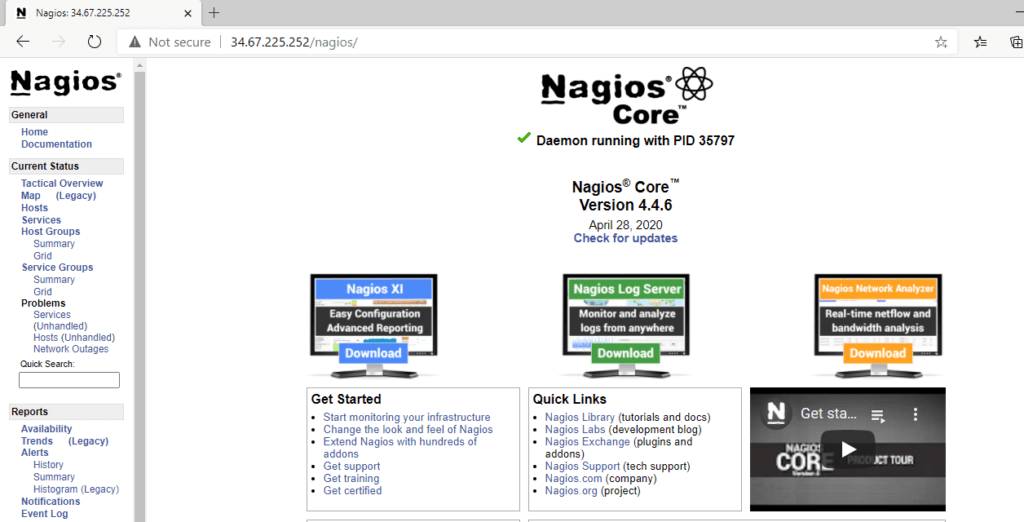
Provide the username and password that you provided in step 6 and click ‘Sign In‘.
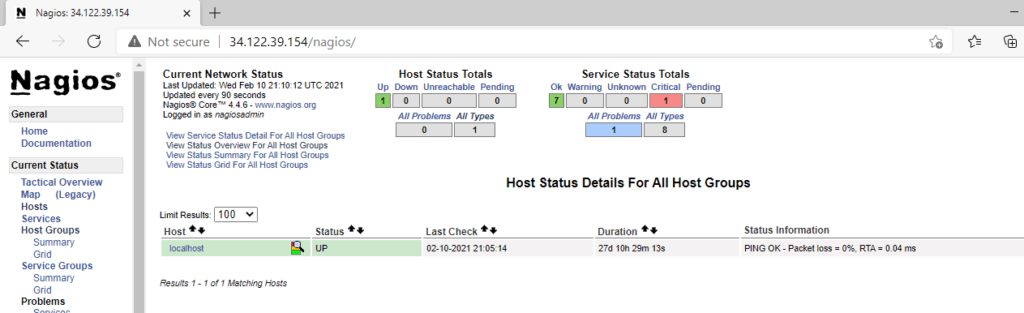
And the dashboard will be displayed as shown.
On the left section, click on the ‘hosts’ option to view the host’s status.
This concludes our article on how you can install Nagios on Ubuntu 20.04.