
Hello, friends. In this post, you will learn how to install MySQL on CentOS 9 Stream.
MySQL is a powerful relational database manager owned by Oracle. It is open source but also has dedicated enterprise support, which makes it a great alternative to other paid solutions.
Written in C and C++ it is capable of being very fast and handling many requests per second. This makes it suitable for projects of all types and sizes.
In addition to this, MySQL becomes an important tool for many developers who have it for environment testing.
Let’s get to it.
Install MySQL on CentOS 9 Stream
As expected, MySQL is present in the CentOS 9 Stream repositories. So, the process becomes simple.
First, open your terminal or connect via SSH and update the system
sudo dnf updateThen, you can install MySQL with the following command:
sudo dnf install mysql mysql-server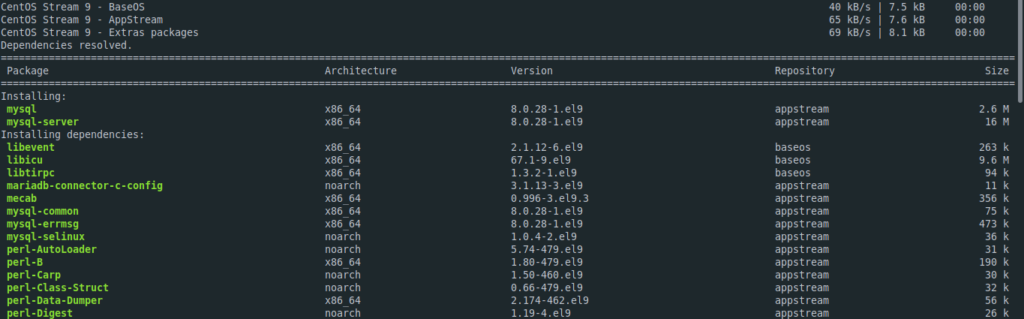
Thereafter, check the installed version
mysql --version
mysql  Ver 8.0.28 for Linux on x86_64 (Source distribution)
Preparing MySQL for use
With MySQL installed, we need to do some configuration to get it up and running on the system. First, start the system service.
sudo systemctl start mysqldThen you can make it start with the system
sudo systemctl enable mysqldIf you introduce changes to the MySQL configuration, then you have to restart it
sudo systemctl restart mysqldFinally, check the status of the service.
sudo systemctl status mysqld
● mysqld.service - MySQL 8.0 database server
     Loaded: loaded (/usr/lib/systemd/system/mysqld.service; disabled; vendor preset: disabled)
     Active: active (running) since Sat 2022-05-21 15:25:43 UTC; 11s ago
    Process: 2573 ExecStartPre=/usr/libexec/mysql-check-socket (code=exited, status=0/SUCCESS)
    Process: 2595 ExecStartPre=/usr/libexec/mysql-prepare-db-dir mysqld.service (code=exited, status=0/SUCCESS)
   Main PID: 2672 (mysqld)
     Status: "Server is operational"
      Tasks: 38 (limit: 12036)
     Memory: 465.8M
        CPU: 5.272s
     CGroup: /system.slice/mysqld.service
             └─2672 /usr/libexec/mysqld --basedir=/usr

May 21 15:25:35 unixcop systemd[1]: Starting MySQL 8.0 database server...
May 21 15:25:35 unixcop mysql-prepare-db-dir[2595]: Initializing MySQL database
May 21 15:25:43 unixcop systemd[1]: Started MySQL 8.0 database server.
Now we have to configure it, for this we will use the command mysql_secure_installation.
sudo mysql_secure_installationYou will be prompted for a password, which must be blank. If you get an error when logging in, then you can show the temporary password with this command.
sudo grep 'temporary password' /var/log/mysqld.logOnce logged in, you can change the root password. You can also evaluate the strength of this password right there.
You will then be asked the following questions:
Remove anonymous users?
Disallow root login remotely?
Remove test database and access to it?
Reload privilege tables now?
To each of them, you will have to answer Y.
And with this, you will be able to access the MySQL console
sudo mysql -u root -p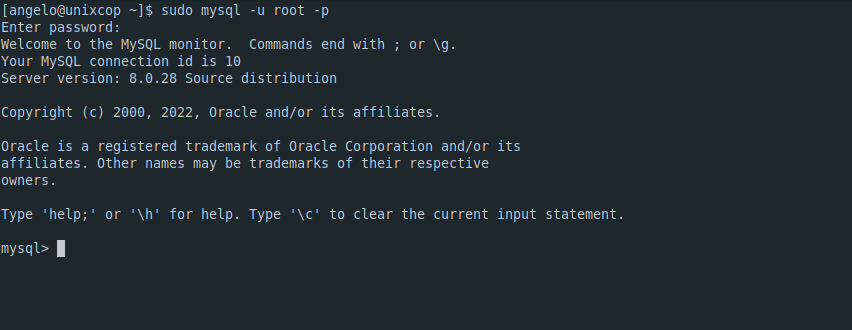
And we are ready to work.
Conclusion
The process of installing MySQL is something simple that we can do on our system without taking so much time. I hope you liked the process and the post as such.