
Introduction
Minio is an Amazon s3 compatible high-performance object storage service. It is an open-source application released under Apache License v2.0 that supports unstructured data such as images, videos, backup, etc. written in GO that uses buckets to organize the object.A bucket is similar to a folder or directory in a filesystem, where each bucket can hold an arbitrary number of objects
We will install and configure self-hosted Minio object storage in Linux. For a demonstration of the example in the article, I have used Ubuntu 21.04.
Create User for minio
Let’s create a new user which will manage the minio server. For security reasons, it might not be good practice to run a minio server under a regular sudo user or root user. so, we will create a user with no shell access.
$ sudo useradd --system user-minio -s /bin/falseInstalling Minio Server
There is no deb package maintained for installing the Minio server, to install it we need to download the precompiled binary from its official site. To download binary file run:
$ wget https://dl.minio.io/server/minio/release/linux-amd64/minio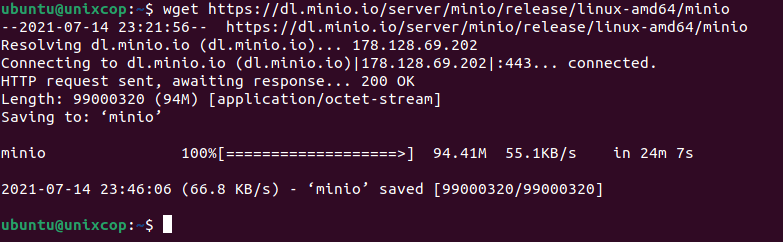
Downloading Minio Binary File.
Then, change the ownership of the binary file to a newly created user. So run:
$ sudo chown user-minio. minioNow, give the executable permission for the minio binary file we just downloaded using the following command.
$ chmod +x minioOnce execute permission is granted, move the binary file to the directory where all system application binary is expected to be.
$ sudo mv minio /usr/local/binConfiguring Minio Server
All the system program configuration files stored in the /etc directory so, let’s create the directory that contains our minio configuration file and also create a directory for storing the buckets that we upload to the minio server. In this article, I have named both the dir as minio.
$ sudo mkdir /etc/minio
$ sudo mkdir /usr/local/share/minio
Now, change the ownership of the minio directory that we just created to user-minio using the following command.
$ sudo chown user-minio. /etc/minio$ sudo chown user-minio. /usr/local/share/minioNext, use your preferred editor to create and open the file in the following location named minio so we can override the default configuration.
$ sudo vim /etc/default/minioThen, copy-paste the following configuration in the file.
MINIO_ACCESS_KEY="minio-access-key"
MINIO_SECRET_KEY="minio-secret-key"
MINIO_VOLUMES="/usr/local/share/minio/"
MINIO_OPTS="-C /etc/minio --address your_server_ip:9000"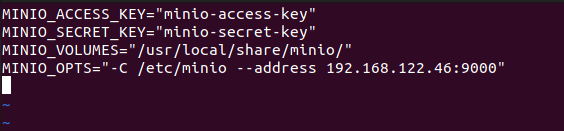
Change the minio access key and secret key as shown:

Configuring Minio Server.
In the above configuration,
MINIO_ACCESS_KEY: used to access the minio user interface.
MINIO_SECRET_KEY: used to fulfill the login authentication of the minio user interface so it is better to use a strong and complicated password.
MINIO_VOLUMES: it is the directory location where our bucket files will be stored.
MINIO_OPTS: It maintains the way of serving the server data according to what we configured. In the above configuration -the C flag defines the configuration directory that minio should use and –address is the address on which minio willbe served that consists of our server IP and its default port 9000.
Once everything is configured, write and quit the file.
Configure Ubuntu UFW Firewall
Now, allow port 9000 to the firewall. To do so execute,
$ sudo ufw allow 9000
Maintaining Minio Systemd Script
In order to manage minio by systemd, we need to add the minio service descriptor file in the systemd configuration dir. To download the file execute:
$ curl -O https://raw.githubusercontent.com/minio/minio-service/master/linux-systemd/minio.service
Downloading Minio Service Descriptor.
Once the file downloaded you can view the file and see the output as below.
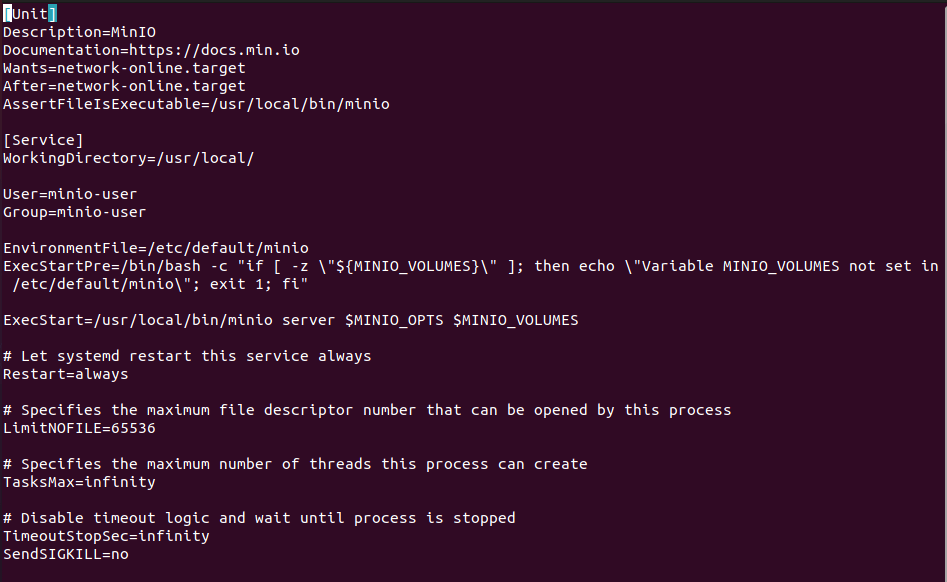
The default user for minio is minio-user so if you create a user different from default change the default with yours. Now, write and quit if you make any changes.

Minio.service Output.
Now, move the service file to the systemd configuration directory using the following command.
$ sudo mv minio.service /etc/systemd/systemAfter you move the file reload systemd daemon,
$ sudo systemctl daemon-reloadNow, you can manage the minio using the systemctl command. To start the service run:
$ sudo systemctl enable minio$ sudo systemctl start minioYou will get the following output if you check the status of the minio using the systemctl command.
$ sudo systemctl status minio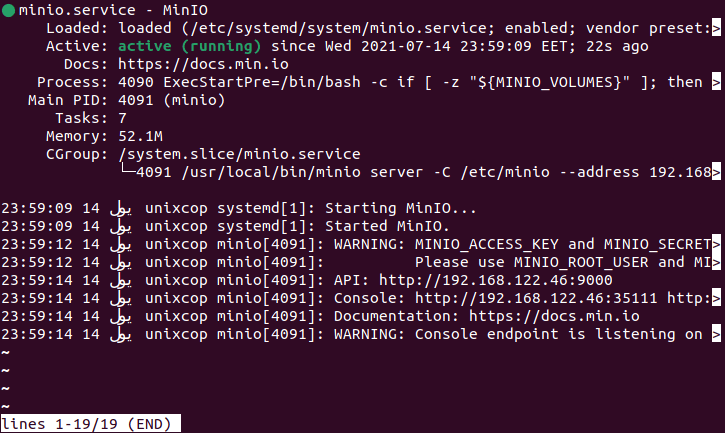
Accessing Minio’s Web Interface
Now we can access the minio interface using our system IP address that we mention in the configuration file. You will see the following interface of minio. Use the access key and private key we mention in the configuration file.
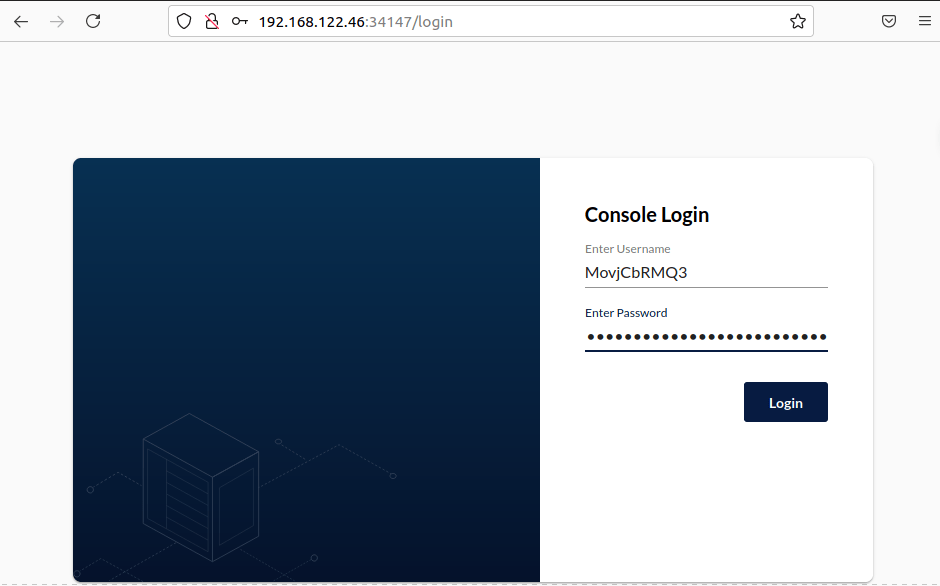
Minio Web Interface
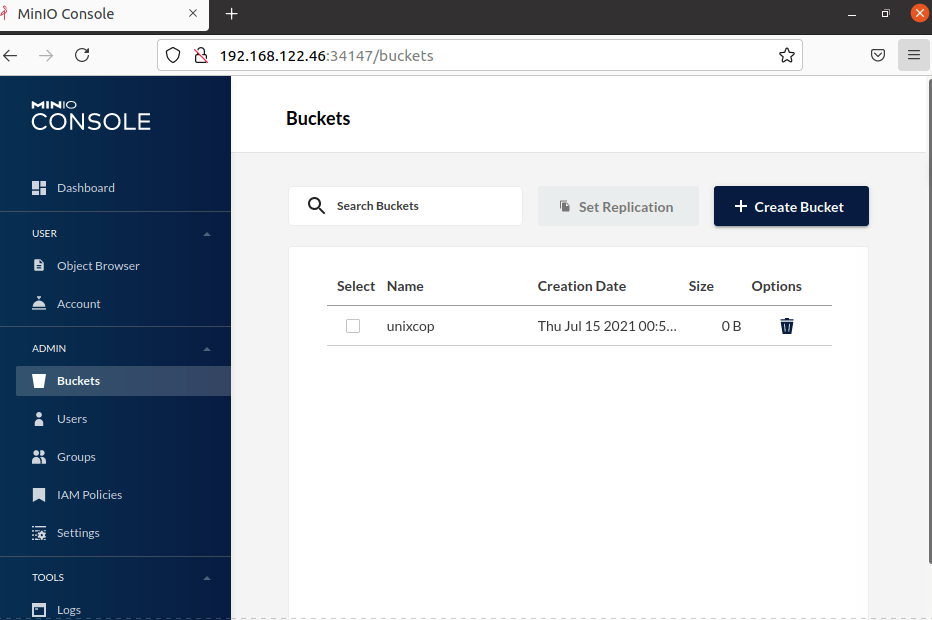
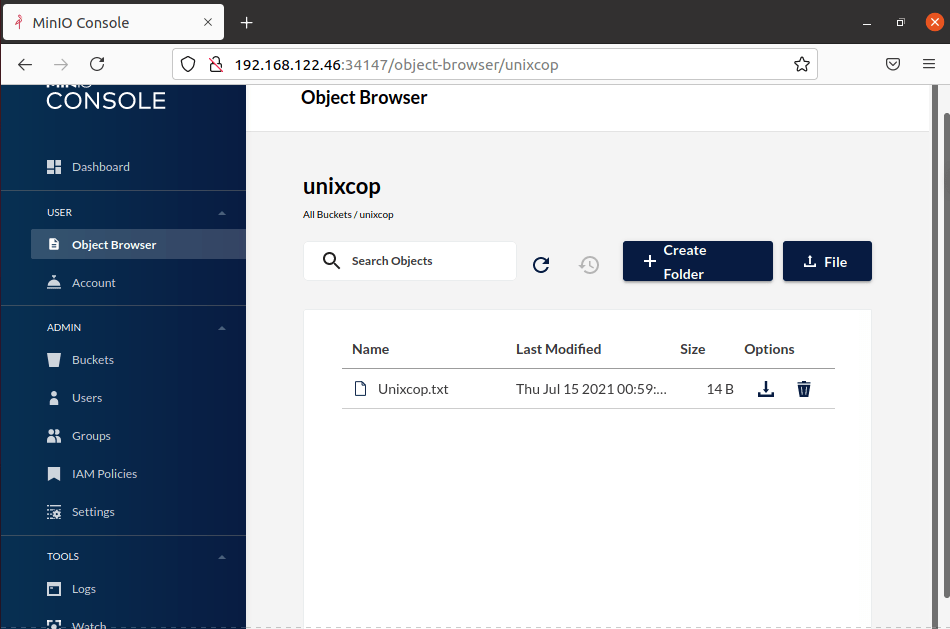
As you can see in the following example I have created a new bucket named ubixcop and upload the file called unixcop.txt.
Conclusion
We learn how we can install and configure self-hosted minio object storage in Linux. I hope this article helps you to host the minio server.