
Minecraft is a popular sandbox video game, It allows players to build,explore, survice, craft in a block 3D generated world. You can play Minecraft solo but to play with your friends you have to host on a server. Minecraft supports various modding options, plugins which enhances the player experience and makes the gaming easier like, Shop, Teleport plugins makes the experience much easier and enjoyable. Minecraft server is based on Java.
Requirements :
- 4GB or more RAM (The more the better RAM and faster world processing)
- 2-4vCore CPU (The more the better server performance)
- 10-30GB of Disk Space (Depending on the world size)
Note : This server is based on Java, and it uses alot of resources too, It’s advised to host this server on a greater resources server for optimal performance
Step 1 : Updating your server
First step is to update your VPS or server, And look for any newer packages or security releases for your distribution
apt-get update -y
apt-get upgrade -y
Step 2 : Install Java
Minecraft server is based on Java so we need to install, Since the latest version of Java is not available by default in Ubuntu or Debian. We need to add a repository key :
add-apt-repository ppa:openjdk-r/ppa
apt-get update
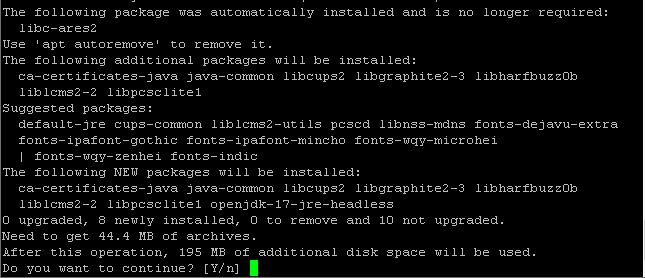
This installs a minimal version of Java and also we need screen in order to keep our server running
apt-get install openjdk-17-jre-headless screen
Step 3 : Download and install MineCraft Java Server
Now we have almost have everything ready to install our server, First download the server files using the following command
wget https://launcher.mojang.com/v1/objects/c8f83c5655308435b3dcf03c06d9fe8740a77469/server.jar
Note : This is a token generated link, If the above command does not work you may obtain the new link from here
Now, We have to run the server for one time so it generates all the important files :
java -Xms1024M -Xmx1024M -jar server.jar nogui
You can configure the -Xms1024 to according to your needs, By running this command it will use 1GB of RAM and increasing it will do so.
After running this command you will see the following output :

nano eula.txt
Change the following text FALSE to TRUE

Now, You can edit your server file and change the settings according to your needs :
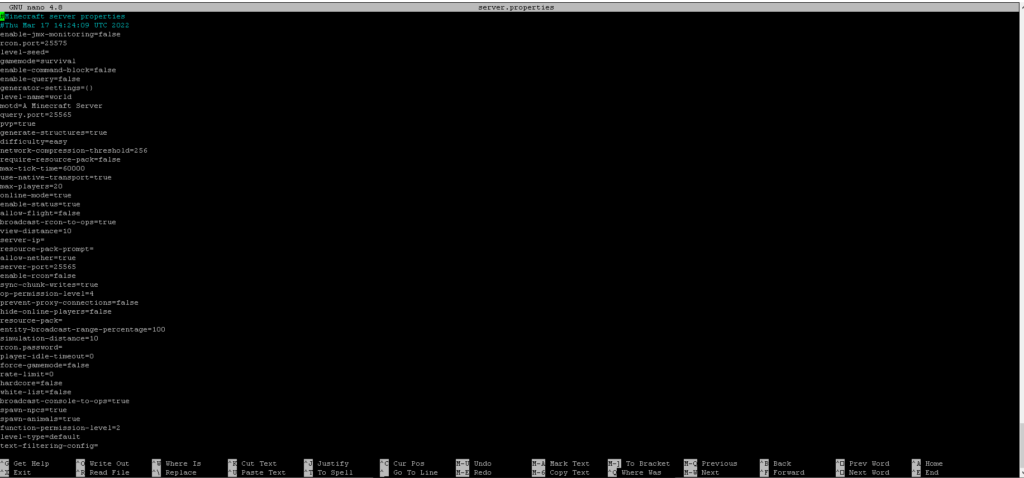
nano server.properties
You will see something like this, In this file you can edit the parameteres according to your needs e.g : Server name, Port etc.
By default, Minecraft uses port 25565, We can allow it through firewall by running the following command :
ufw allow 25565
To keep the server running, Start a screen process :
screen -S “Minecraft server”
Run your server :
java -Xmx1024M -Xms1024M -jar server.jar nogui
Press CTRL+A+D to detach from screen session or type screen -r to reattach
Conclusion :
You have successfully setup a minecraft server on your VPS or Dedicated Server. This tutorial assumes you are root.