
In this article, we will walk you through the process of installing Metabase on Ubuntu 22.04 LTS.
Metabase is an open-source business intelligence and analytics tool that allows users to easily visualize, analyze, and share data. It supports a wide range of data sources and has a user-friendly interface that makes it easy to use even for those with little to no experience in data analysis.
Install Metabase on Ubuntu 22.04 | 20.04
Step 1: Update the System
Before installing any software, it is always a good idea to update your system. To do this, open a terminal and run the following command:
sudo apt update && sudo apt upgradeThis will update all the installed packages and bring your system up to date.
Step 2: Install Java
Metabase requires Java 8 or higher to run. To install Java on your system, run the following command in the terminal:
sudo apt install openjdk-11-jre-headlessThis will install the OpenJDK 11 runtime environment on your system.
Step 3: Download Metabase
You can download the latest version of Metabase from their official website. To download the latest version, run the following command in the terminal:
wget https://downloads.metabase.com/v0.41.2/metabase.jar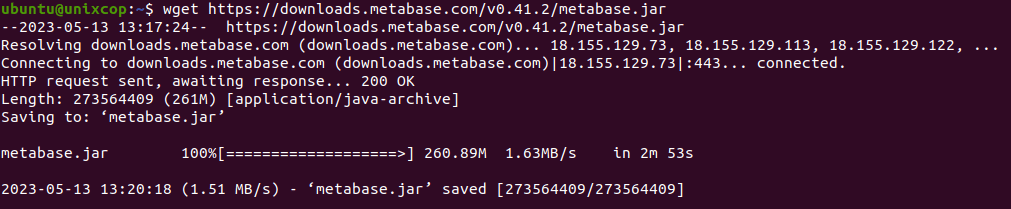
This will download the latest version of Metabase in the form of a JAR file.
Step 4: Create a Systemd Service File
To run Metabase as a service, we need to create a systemd service file. Create a new file called metabase.service in the /etc/systemd/system/ directory by running the following command:
sudo vim /etc/systemd/system/metabase.servicePaste the following code into the file:
makefileCopy code[Unit]
Description=Metabase

[Service]
ExecStart=/usr/bin/java -jar /path/to/metabase.jar
Restart=always
StandardOutput=syslog
StandardError=syslog
SyslogIdentifier=metabase
User=metabase
Group=metabase

[Install]
WantedBy=multi-user.target
Make sure to replace /path/to/metabase.jar with the actual path to the Metabase JAR file that you downloaded in Step 3.
Save and close the file by pressing CTRL+X, then Y, and finally ENTER.
Step 5: Create a Metabase User
For security reasons, it is recommended to run Metabase as a non-root user. To create a new user for Metabase, run the following command:
sudo useradd -m -s /bin/bash metabaseThis will create a new user called metabase.
More steps….
Step 6: Configure Permissions
To ensure that the Metabase user has access to the Metabase JAR file and its data directory, we need to change the ownership and permissions. Run the following commands to change the ownership and permissions:
sudo chown -R metabase:metabase [/path/to/metabase.jar]Make sure to replace /path/to/metabase.jar with the actual path to the Metabase JAR file that you downloaded in Step 3.
Step 7: Start and Enable the Service
To start the Metabase service, run the following command:
sudo systemctl start metabaseTo enable the service to start automatically on boot, run the following command:
sudo systemctl enable metabaseCheck the metabase service status as shown below
sudo systemctl status metabase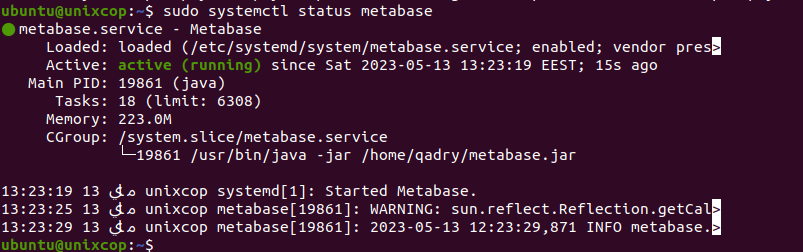
Step 8: Access Metabase
Once the service is running
, you can access Metabase by opening a web browser and navigating to http://localhost:3000. If you are accessing Metabase from a remote machine, replace localhost with the IP address of the machine running Metabase.
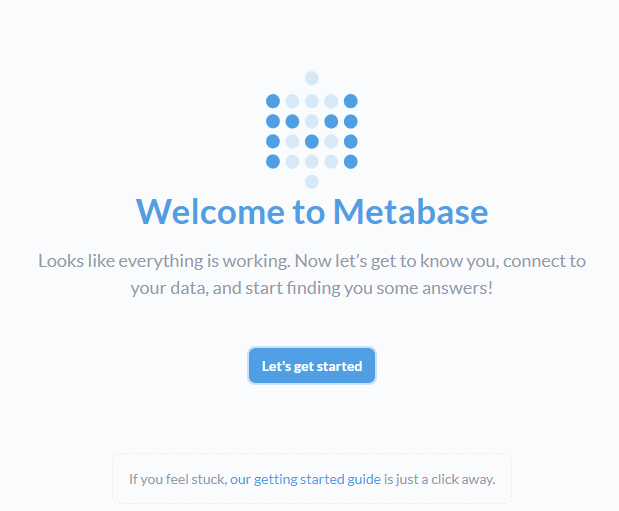
You should see the Metabase login page. To log in, enter the default username admin and the default password admin. It is recommended to change the password immediately after logging in.
Conclusion
In this article, we have shown you how to install Metabase on Ubuntu 22.04 LTS. Metabase is a powerful tool for data analysis and visualization, and it is relatively easy to install and use. By following the steps outlined in this article, you should be able to get Metabase up and running in no time.