
Today in this article I am going to talk about LibreNms, an open-source network monitoring tool. Here I will explain what LibreNms is and how to install it.
- What is LibreNMS?
LibreNms is a network monitoring tool like cacti, Nagios. It is a free and open-source tool released under GPLv3. Also, this is very user friendly and that’s why LibreNms is easy for anyone to understand and use.
Simply put, LibreNms works and supports protocols such as SNMP, LLDP, OSPF, ARP, CDP, BGP and FDP to auto-discover the network. You can also use LibreNms to monitor many network hardware (such as Cisco, Juniper, Foundry, FreeBSD, Brocade) and even operating systems such as Windows, Linux, and FreeBSD.
As the features of LibreNms include customizable alerts, API access and mobile app (Android and iOS).
- Install LibreNMS
Let’s see how to install LibreNms. First I will log in to the root user here or I will always have to type sudo. Next, let’s update the system.
su
apt update
apt upgrade
Next, we will install Required Packages. This will install the required packages for LibreNms such as apache, MariaDB-server and python. So we do not need to install apache and MariaDB separately.
apt install software-properties-common
add-apt-repository universe
apt update
apt install acl curl apache2 composer fping git graphviz imagemagick libapache2-mod-fcgid mariadb-client mariadb-server mtr-tiny nmap php7.4-cli php7.4-curl php7.4-fpm php7.4-gd php7.4-json php7.4-mbstring php7.4-mysql php7.4-snmp php7.4-xml php7.4-zip rrdtool snmp snmpd whois python3-pymysql python3-dotenv python3-redis python3-setuptools
By default, the root user of MariaDB does not receive a password. Now let’s enter a password and do the other basic config.
mysql_secure_installation
After typing this and pressing Enter, a list like the one below will appear. You can change it to Y or N as you like.
Here I give Yes (Y) to everything.
- Enter a good password for the root user.
- Remove anonymous users.
- Disallow remotely root log.
- Remove the test database.
- Reload privilege tables.
Set root password? [Y/n] y
New password:
Re-enter new password:
Password updated successfully!
Reloading privilege tables..
 ... Success!

Remove anonymous users? [Y/n] y
 ... Success!

Disallow root login remotely? [Y/n] y
 ... Success!

Remove test database and access to it? [Y/n] y
 - Dropping test database...
 ... Success!
 - Removing privileges on test database...
 ... Success!

Reload privilege tables now? [Y/n] y
 ... Success!

Cleaning up...

Thanks for using MariaDB!
Next, we add the librenms user.
useradd librenms -d /opt/librenms -M -r -s "$(which bash)"
Now go to /opt location and then download LibreNMS.
cd /opt
git clone https://github.com/librenms/librenms.git
Next, you need to give the permissions in the /opt/librenms directory to the librenms user.
chown -R librenms:librenms /opt/librenms
chmod 771 /opt/librenms
setfacl -d -m g::rwx /opt/librenms/rrd /opt/librenms/logs /opt/librenms/bootstrap/cache/ /opt/librenms/storage/
setfacl -R -m g::rwx /opt/librenms/rrd /opt/librenms/logs /opt/librenms/bootstrap/cache/ /opt/librenms/storage/
Next, we should log in to the librenms user and install PHP dependencies.
su - librenms
./scripts/composer_wrapper.php install --no-dev
exit
If you use a proxy, it may not work as mentioned earlier. At that time you should manually install the composer package.
wget https://getcomposer.org/composer-stable.phar
mv composer-stable.phar /usr/bin/composer
chmod +x /usr/bin/composer
Next, you should create a timezone. First, go to this link (https://php.net/manual/en/timezones.php) and check the matching timezone (eg -: “America / New_York”, “Australia / Brisbane”, ” Etc / UTC ”). Now put it in front of the date.timezone in the bottom php.ini file. It is very important to use the timezone correctly because things like system alerts need to have time exactly.
nano /etc/php/7.4/fpm/php.ini
nano /etc/php/7.4/cli/php.ini
Here I am using a nano editor so you can search with Ctrl + w (I will use Etc / UTC timezone as an example here).
[Date]
; Defines the default timezone used by the date functions
; http://php.net/date.timezone
date.timezone = Etc/UTC
Also, the system timezone should be used correctly.
timedatectl set-timezone Etc/UTC
Now you need to configure MariaDB and create a database.
To configure MariaDB, You should log in to the 50-server.conf file.
nano /etc/mysql/mariadb.conf.d/50-server.cnf
Then add the following to the [mysqld] section here.
innodb_file_per_table=1
lower_case_table_names=0
Where bind-address is, the address of the database is “127.0.0.1”. That’s because this VPS has the same DB here. If you are using a separate DB server, add the server IP address there.
# this is only for the mysqld standalone daemon
[mysqld]

#
# * Basic Settings
#
innodb_file_per_table=1
lower_case_table_names=0

# localhost which is more compatible and is not less secure.
bind-address = 127.0.0.1
Now you should restart the DB
systemctl enable mariadb
systemctl restart mariadb
Next we login to the DB by giving the password given before root use.
mysql -u root
Next, you should create a DB. Here I will set the password as “password” easily. But when using this, know a good password.
CREATE DATABASE librenms CHARACTER SET utf8 COLLATE utf8_unicode_ci;
CREATE USER 'librenms'@'localhost' IDENTIFIED BY 'password';
GRANT ALL PRIVILEGES ON librenms.* TO 'librenms'@'localhost';
FLUSH PRIVILEGES;
exit
Next, you need to configure PHP-FPM (FastCGI Process Manager).
Here we first need to create the librenms.conf file.
cp /etc/php/7.4/fpm/pool.d/www.conf /etc/php/7.4/fpm/pool.d/librenms.conf
nano /etc/php/7.4/fpm/pool.d/librenms.conf
Here we need to make some changes below.
Add [librenms] there instead of [www]
[librenms]
Now, Add “librenms” to both user and group.
user = librenms
group = librenms
Add the one below to the listen field.
listen = /run/php-fpm-librenms.sock
; pool name ('www' here)
[librenms]

; Unix user/group of processes
; Note: The user is mandatory. If the group is not set, the default user's group
;       will be used.
user = librenms
group = librenms

; Note: This value is mandatory.
listen = /run/php-fpm-librenms.sock
Next, we need to configure the webserver. I first installed the Apache Web Server so I configure it.
First, you should create librenms.conf file.
nano /etc/apache2/sites-available/librenms.conf
Let’s configure that file. If you want the server name in this you can know the name of the server.
<VirtualHost *:80>
   DocumentRoot /opt/librenms/html/
   ServerName librenms.example.com

   AllowEncodedSlashes NoDecode
   <Directory "/opt/librenms/html/">
     Require all granted
     AllowOverride All
     Options FollowSymLinks MultiViews
   </Directory>

  # Enable http authorization headers
  <IfModule setenvif_module>
    SetEnvIfNoCase ^Authorization$ "(.+)" HTTP_AUTHORIZATION=$1
  </IfModule>

  <FilesMatch ".+\.php$">
    SetHandler "proxy:unix:/run/php-fpm-librenms.sock|fcgi://localhost"
  </FilesMatch>
</VirtualHost>
Next, disable the default site and enable the librenms site. Then restart the Apache Web Server.
a2dissite 000-default
a2enmod proxy_fcgi setenvif rewrite
a2ensite librenms.conf
systemctl restart apache2
systemctl restart php7.4-fpm
Next, let us enable the lines to command completion.
This allows you to complete the lines command type just as you would a normal tab when typing a Linux command.
ln -s /opt/librenms/lnms /usr/bin/lnms
cp /opt/librenms/misc/lnms-completion.bash /etc/bash_completion.d/
Next, let’s configure SNMP. This will enable SNMP on this installed VPS.
cp /opt/librenms/snmpd.conf.example /etc/snmp/snmpd.conf
nano /etc/snmp/snmpd.conf
Edit the text which says RANDOMSTRINGGOESHERE and set your own community string.
curl -o /usr/bin/distro https://raw.githubusercontent.com/librenms/librenms-agent/master/snmp/distro
chmod +x /usr/bin/distro
systemctl enable snmpd
systemctl restart snmpd
Next, create a Cron job.
cp /opt/librenms/librenms.nonroot.cron /etc/cron.d/librenms
Now run the web installer and go to the IP or domain name of the server.
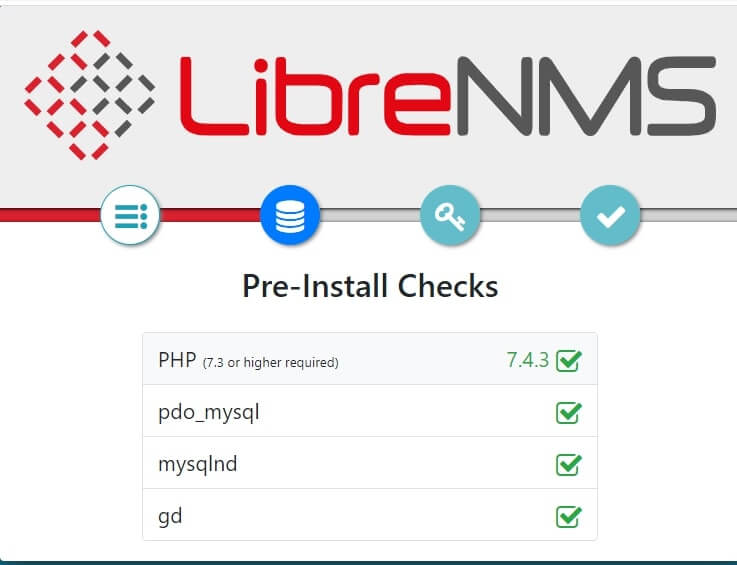
Now we can see if everything we need is installed properly.
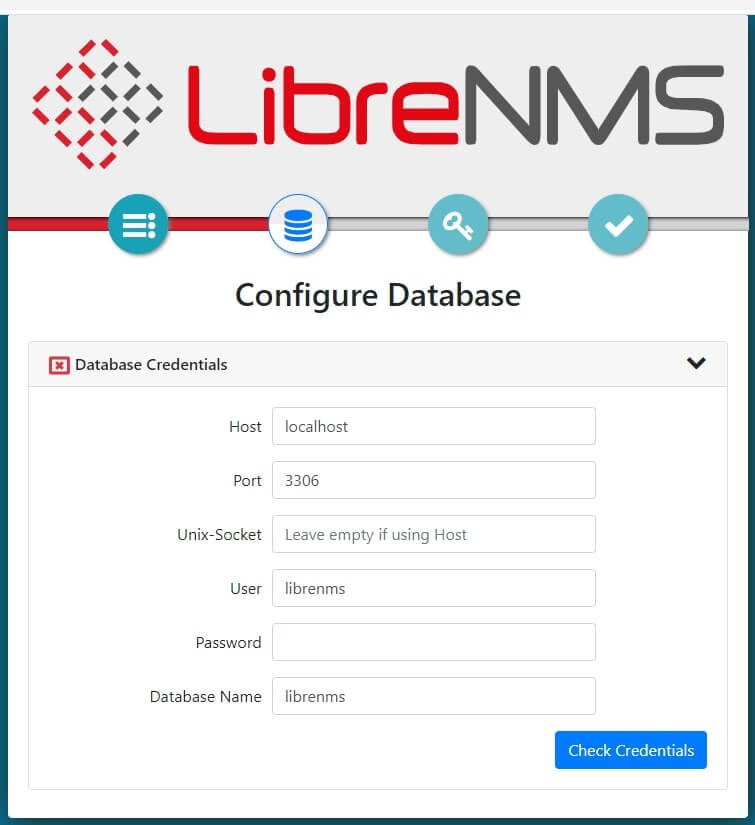
We need to give the password we gave to the librenms user earlier.
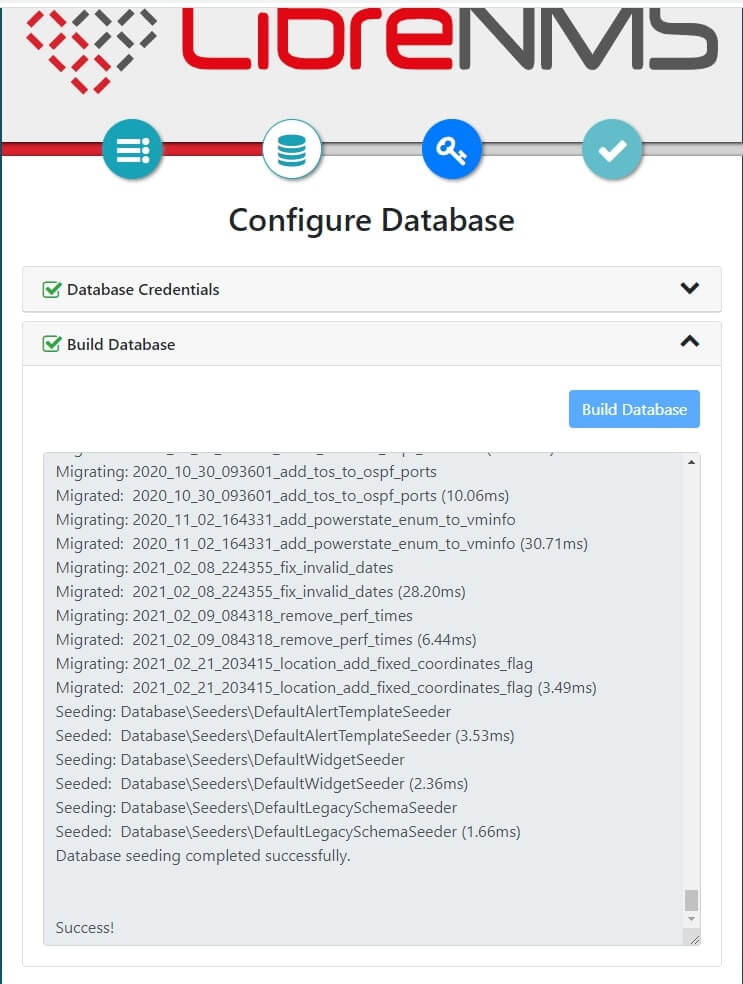
Now, it is built like this when you click Build Database.
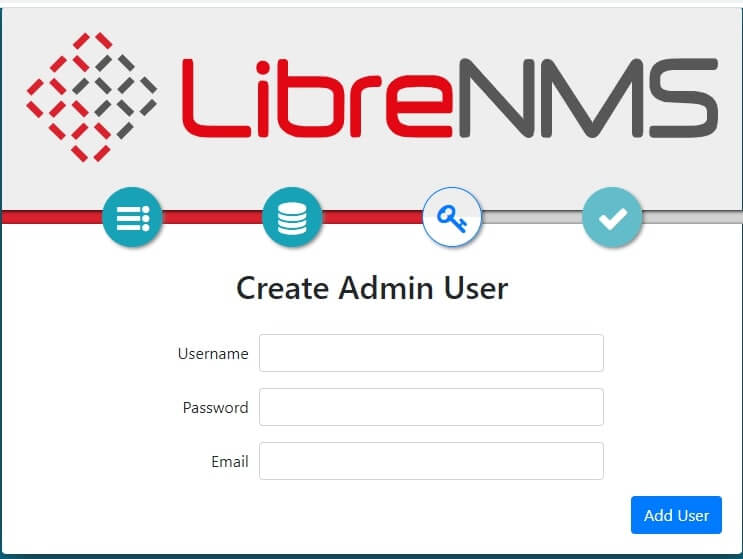
This is where we create an admin user. (Remember to know the password well.)
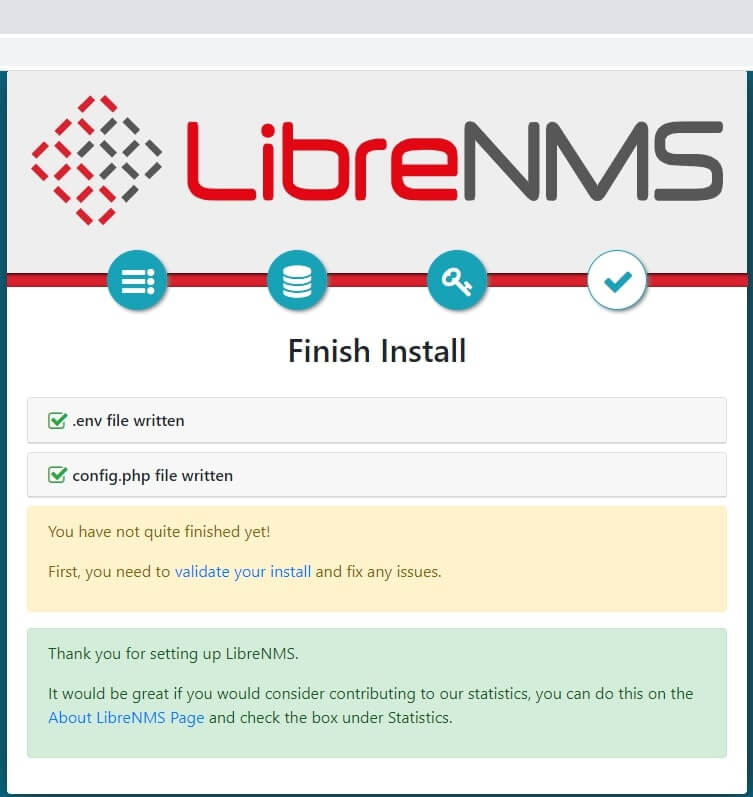
Click here to validate your install.
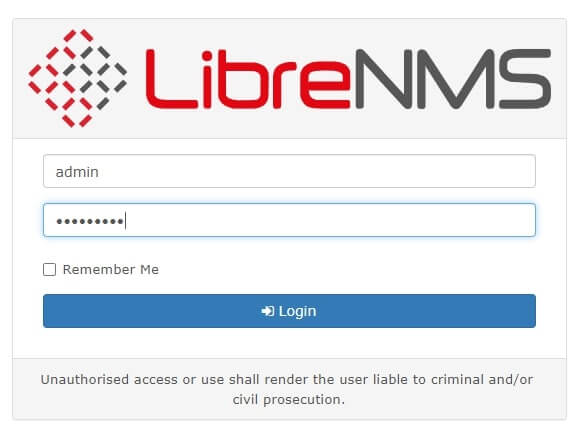
Log in with admin user name and password.
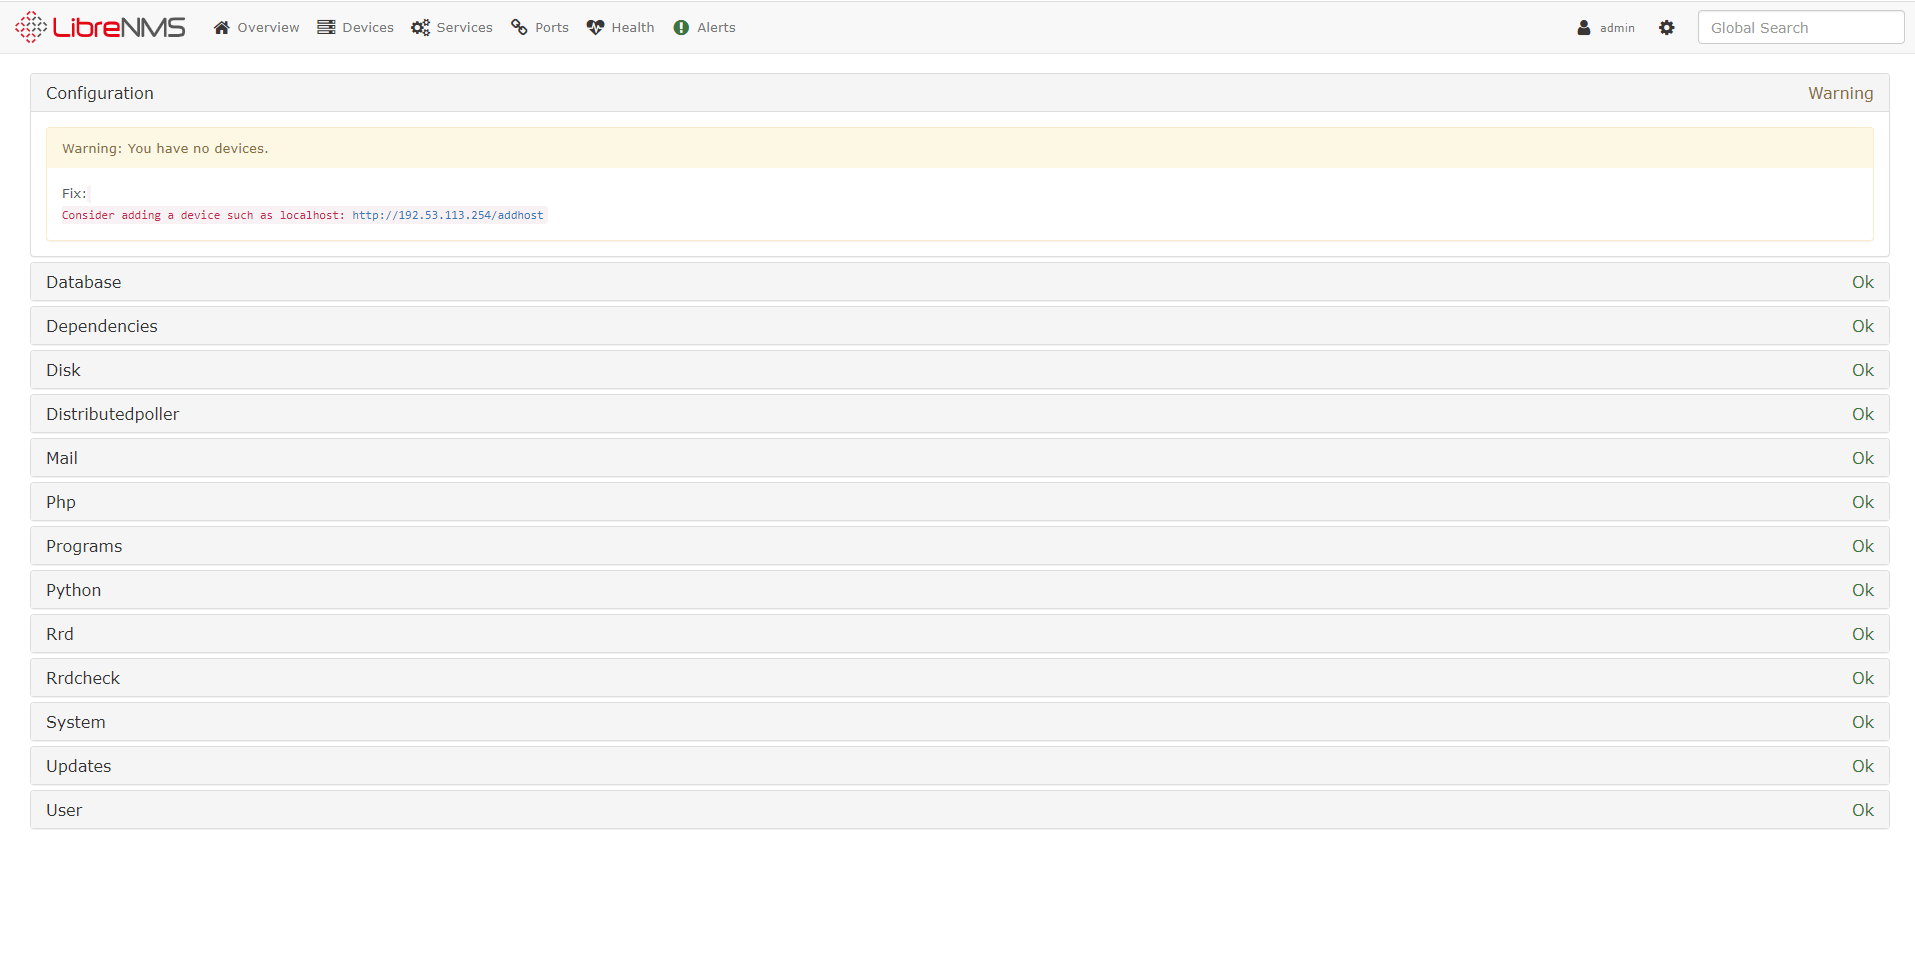
Now all you have to do is add the on-device.
Next, you need to give permissions to the config.php file.
chown librenms:librenms /opt/librenms/config.phpSee if there is any trouble with Troubleshooting.
sudo su - librenms
./validate.php
Congratulations! Now we have installed LibreNMS to ubuntu 20.04.
I think this article will be useful. So see you in another article.
Took me 3 days, but I finally got Librenms working with Oxidized. Thanks for taking the time to write this post. It was really helpful for a linux newcomer.
great Article and to the point but However being a unix newbie i keep getting an error
fatal: unable to access ‘https://github.com/librenms/librenms.git/’: gnutls_handshake() failed: The TLS connection was non-properly terminated.
any help is much appreciated
Next, we should log in to the librenms user and install PHP dependencies.
su – librenms
./scripts/composer_wrapper.php install –no-dev
exit
where is the password