
Today I am going to talk about the LEMP stack in this article. Here in this article, we will talk about, What is a LEMP Stack? How to install LEMP Stack? and also, How to configure it.
So first, let us look at what is LEMP briefly.
What is LEMP stack
LEMP Server is one of the most widely used web servers today. LEMP means Linux, Nginx, MySQL and PHP in detail. This is the same as the LAMP server (Linux, Apache, MySQL and PHP), but differs in that it uses Nginx (“Engine-X”) instead of Apache. (You can see how to install the LAMP server here.)
Next, we will see how to install LEMP.
Installation and Configurations of LEMP stack
Here I will start installing L E M P (Linux, Nginx, MySQL and PHP) in the same order.
L- Linux
The first meaning of the L is the Linux OS, then I choose a VPS running Ubuntu 20.04 (it can use Linode, Digital Ocean, Vultr, Upcloud, AWS or even Google VPS). Next, we need to ssh login to the VPS.
ssh your_username@host_ip_addressE- Nginx ( “Engine-X”)
Now we have the letter E which means Nginx (“Engine-X”), first, we have to log in to the root (because when we didn’t do this we always have to put sudo in front) to update and upgrade. Next, we will install Nginx.
sudo su
apt update
apt upgrade
apt install nginxTo see if Nginx is installed or running properly, you can use the status command or go to the server IP (domain).
service nginx status| http://server_domain_or_IP |
Here we can see the Nginx config file by going to /etc/nginx/ location.
| root@localhost:~# cd /etc/nginx/ root@localhost:/etc/nginx# ls conf.d fastcgi_params koi-win modules-available nginx.conf scgi_params sites-enabled uwsgi_params fastcgi.conf koi-utf mime.types modules-enabled proxy_params sites-available snippets win-utf |
You can also check the default website location by going to /var/www/html.
| root@localhost:/etc/nginx# cd /var/www/html root@localhost:/var/www/html# ls index.nginx-debian.html |
Log in to the index.nginx-debian.html file and you will see there is a line “welcome to Nginx!”, then we can change it to “Welcome to unixcop! ” Let’s change that. (just for fun).
Here I am using the nano editor as the editor to edit the file.
nano index.nginx-debian.htmlGNU nano 4.8 index.nginx-debian.html Modified
<!DOCTYPE html>
<html>
<head>
<title>Welcome to nginx!</title>
<style>
body {
width: 35em;
margin: 0 auto;
font-family: Tahoma, Verdana, Arial, sans-serif;
}
</style>
</head>
<body>
<h1>Welcome to unixcop!</h1>
</body>
</html>Once done we can use Ctrl + O to save and Ctrl + X to exit.
Now when we go to the server IP (domain) we can see this.

M- MySQL
The next letter in LEMP, M.
M stands for MySQL. So the next thing we need to do is install MySQL.
apt install mysql-serverHere too we can use the status command to see if MySQL is installed or running.
service mysql statusNow MySQL is installed. But we still need to build security for this. So to make security like that we should run this command.
mysql_secure_installationHere you can easily change the changes you want by using Y or N as you like. (For example, if you want to remotely root login, you can use N there) I will give Y the idea of yes to all the steps to show you here.
- Also, make sure you use a strong password for the root user. (here it is better to choose 2 = “STRONG” and enter a complex password).
Securing the MySQL server deployment.

Connecting to MySQL using a blank password.

VALIDATE PASSWORD COMPONENT can be used to test passwords
and improve security. It checks the strength of password
and allows the users to set only those passwords which are
secure enough. Would you like to setup VALIDATE PASSWORD component?

Press y|Y for Yes, any other key for No: y

There are three levels of password validation policy:

LOW Length >= 8
MEDIUM Length >= 8, numeric, mixed case, and special characters
STRONG Length >= 8, numeric, mixed case, special characters and dictionary     file

Please enter 0 = LOW, 1 = MEDIUM and 2 = STRONG: 2
Please set the password for root here.

New password:

Re-enter new password:

Estimated strength of the password: 50
Do you wish to continue with the password provided? (Press y|Y for Yes, any other key for No) : y- Remove anonymous users.
By default, a MySQL installation has an anonymous user, |
- Disallow remotely root log.
Normally, root should only be allowed to connect from |
- Remove the test database.
By default, MySQL comes with a database named 'test' that anyone can access. This is also intended only for testing, and should be removed before moving into a production environment. |
- Reload privilege tables.
| Reloading the privilege tables will ensure that all changes made so far will take effect immediately. Reload privilege tables now? (Press y|Y for Yes, any other key for No) : y Success. All done! |
Then check the MySQL version. Run the command mysql --version.
| root@localhost:~# mysql –version mysql Ver 8.0.23-0ubuntu0.20.04.1 for Linux on x86_64 ((Ubuntu) |
P- PHP
The last letter P. P stands for Php. The next step here is to install PHP. When we install PHP, we will only install the package related to the FastCGI Process Manager (FPM) and MySQL. More packages can be added to this depending on the method used.
apt install php-fpm php-mysqlCheck the PHP version and run the command php --version.
| root@localhost:~# php –version PHP 7.4.3 (cli) (built: Oct 6 2020 15:47:56) ( NTS ) Copyright (c) The PHP Group Zend Engine v3.4.0, Copyright (c) Zend Technologies with Zend OPcache v7.4.3, Copyright (c), by Zend Technologies |
As a final step, let’s create a PHP file and test the PHP configuration.
First, go to /var/www/html and create the info.php file. How to do it is in the command below. We can run this command and create the desired file.
nano /var/www/html/info.phpNow you can open that file called info.php file with the nano editor. Run it using the PHP code below.
| <?php phpinfo(); ?> |
As before, use Ctrl + O to save and Ctrl + X to exit.
Then go to /etc/nginx/sites-available/ and edit the default config file there.
Add the parts highlighted below here. (Know the version number that comes up when you check the version before php7.4.)

Now restart the Nginx server.
systemctl reload nginxThen go to the domain name or IP address of the server and go to the /info.php page and you will see a description like below.
| http://server_domain_or_IP/info.php |
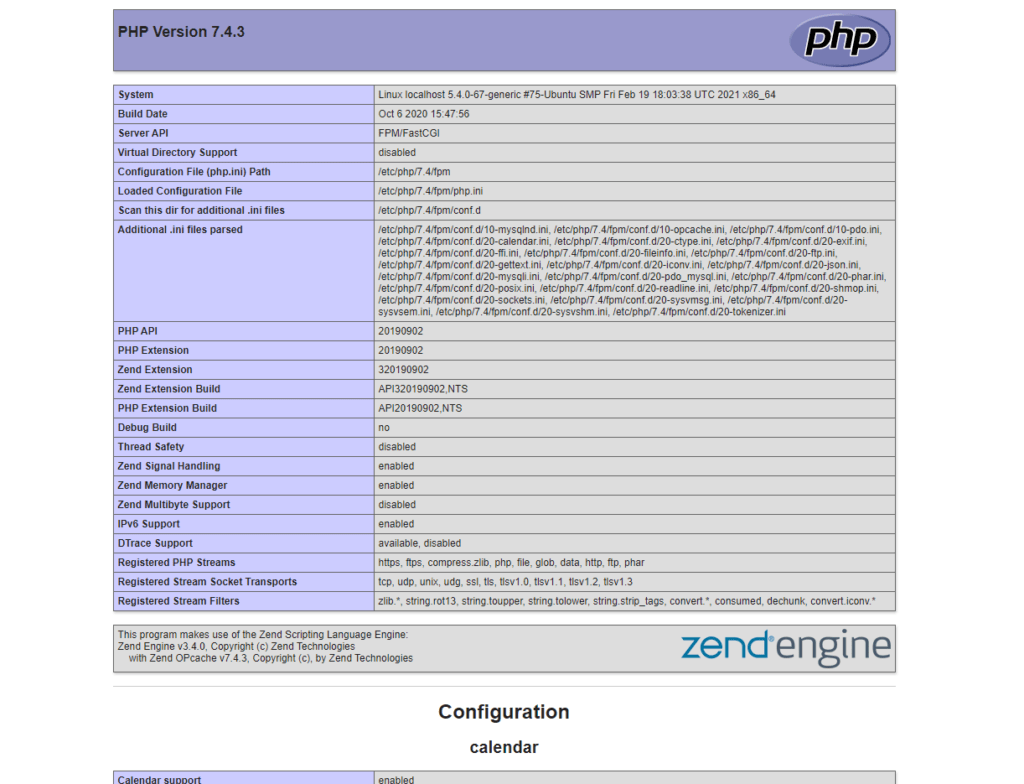
Please remove this info.php file after testing the configuration.
sudo rm /var/www/html/info.phpRight now we have installed the LEMP stack and done some basic configuration.
I think this article will be useful. If there are any mistakes, leave a comment below and let us know.
See you in the next article