
Hello, friends. In this post, you will learn how to install KVM on Ubuntu 22.04 and not only that, but we will get it ready for you to use.
Introduction to KVM
KVM is an open-source virtualization technology integrated into Linux. Specifically, with KVM, you can turn Linux into a hypervisor that allows a host machine to run several isolated virtual environments called virtual machines (VMs) or guests.
KVM stands for Kernel-based Virtual Machine, with which we can make virtual machines on Linux without too much effort.
KVM is a solid alternative to the virtualization of other proprietary solutions such as Oracle or VMWare.
Let’s install it and get it ready to use.
Install KVM on Ubuntu 22.04
As it is a technology inherent to the kernel, the kvm package is present in the official Ubuntu repositories.
So open a terminal and update the whole system:
sudo apt update
sudo apt upgrade
If you have a recent computer, you should have no problems to install KVM, but it is always a good idea to check if your computer is capable.
The best thing to do is to run this command and if the output per screen is greater than 0 then yes:
egrep -c '(vmx|svm)' /proc/cpuinfoSample Output:
4Then, you can start the installation of the necessary packages:
sudo apt install qemu-kvm libvirt-daemon-system virtinst libvirt-clients bridge-utilsIn this command, we have installed not only KVM, but also the daemons and utilities to create a bridge network.
Once the packages have been installed correctly, it is necessary to enable the services to virtualize.
sudo systemctl enable libvirtd
Synchronizing state of libvirtd.service with SysV service script with /lib/systemd/systemd-sysv-install.
Executing: /lib/systemd/systemd-sysv-install enable libvirtd
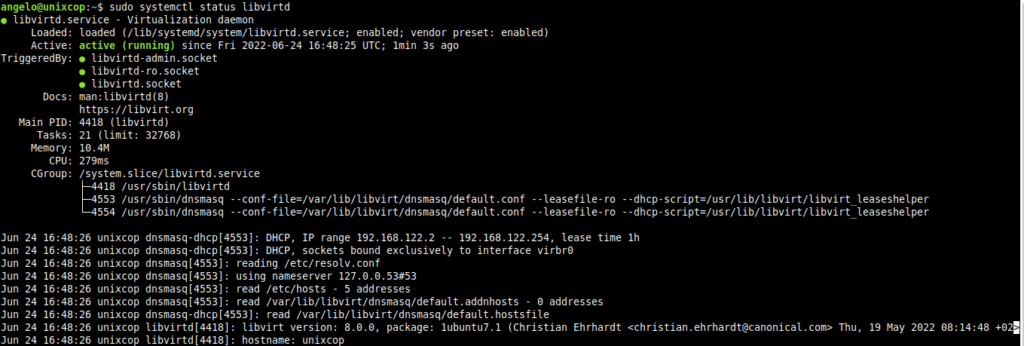
sudo systemctl start libvirtdIt is a good idea to check the status of the service:
sudo systemctl status libvirtdIf all goes well, you will see a screen output like this:
To get KVM up and running without too many problems, add your user to the kvm and libvirt groups
sudo usermod -aG kvm $USER
sudo usermod -aG libvirt $USER
Create a Bridge network for the virtual machines
The next step is to create a bridge network. To achieve this, create a netplan configuration file.
sudo nano /etc/netplan/01-netcfg.yamlAnd add the following content:
network:
  ethernets:
    eth0:
      dhcp4: false
      dhcp6: false
  bridges:
    br0:
      interfaces: [eth0]
      dhcp4: false
      addresses: [192.168.1.150/24]
      macaddress: 01:26:3b:4b:1d:43
      routes:
        - to: default
          via: 192.168.1.1
          metric: 100
      nameservers:
        addresses: [8.8.8.8]
      parameters:
        stp: false
      dhcp6: false
  version: 2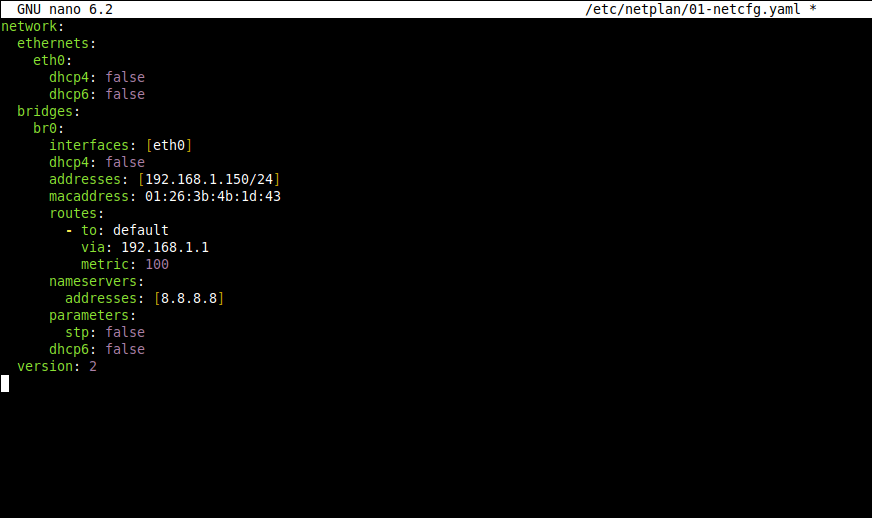
You are welcome to modify anything you need, for example, the network interface name, the nameserver, and the address next to the mac.
Save the changes and close the editor.
To apply the changes, run:
sudo netplan applyFinally, review the changes.
ip addr show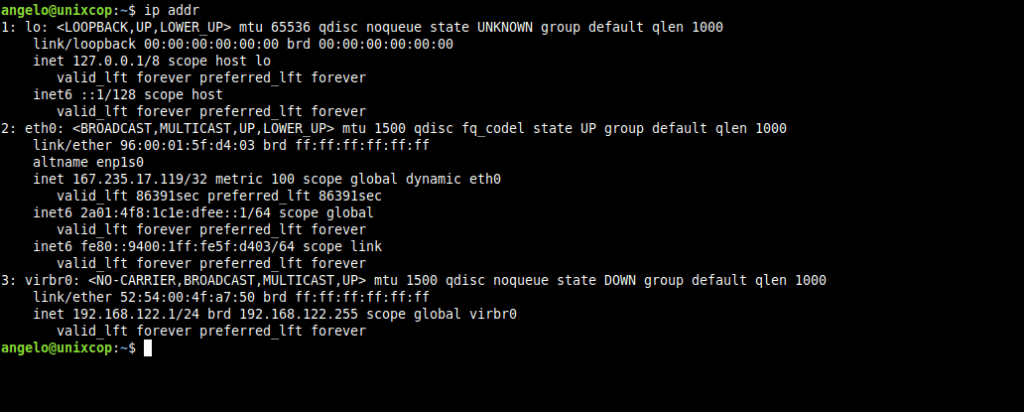
That’s all.
Creating a new Virtual Machine with KVM
KVM, we will be able to use it as a command and its options. But in the case of Ubuntu 22.04 we can use a graphical interface that will help us with the whole process.
To install it, you just need to run
sudo apt install virt-managerThen, you can start it from the main menu.
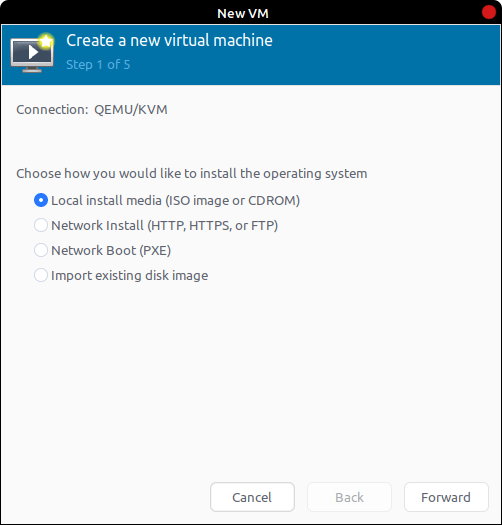
After starting it, you will see a simple interface. To create the virtual machine, just go to menu File > New Virtual Machine.
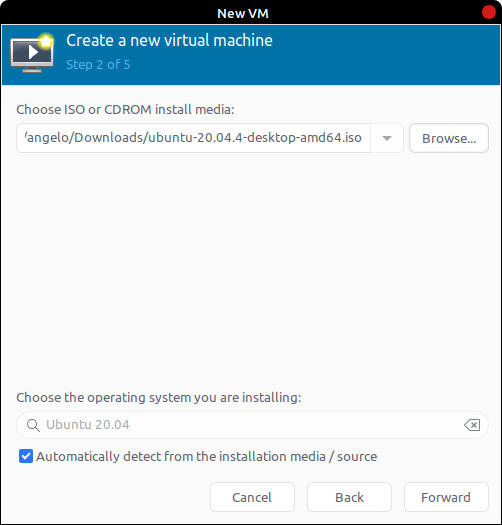
You will see a screen like this one where you will be asked to choose how you want to install the new virtual machine. The normal way is to do it through an ISO image that we will be able to select locally.
In the next screen, you will be asked to find the ISO image of the system. I have used an Ubuntu 20.04 image as an example.
Next, set the amount of RAM and processor cores you are going to use.

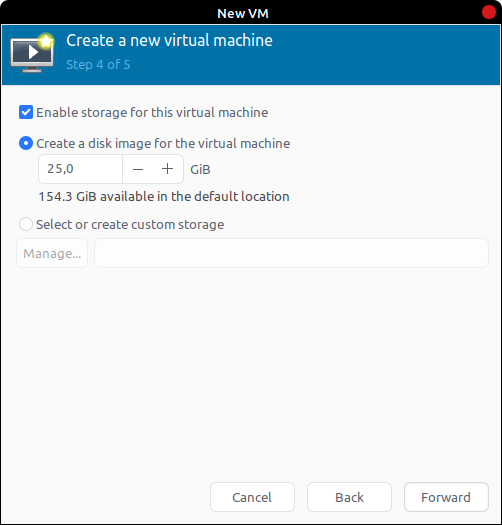
The next thing is to define the storage of the new virtual machine. Normally, we create a new disk for it. So, you can do it and assign the value in GB to it.
Finally, you will see this screen where you can see a summary and also configure the network. Select the bridge interface that we have created.
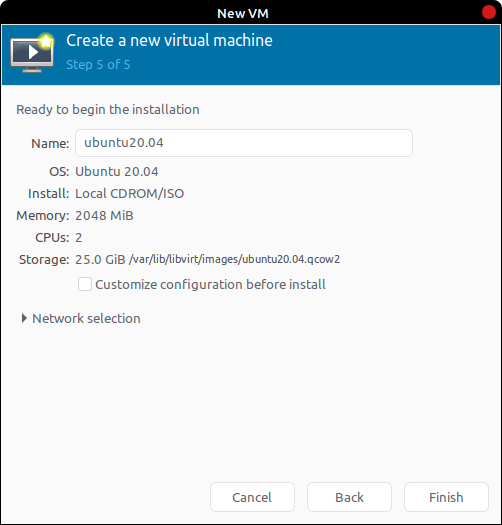
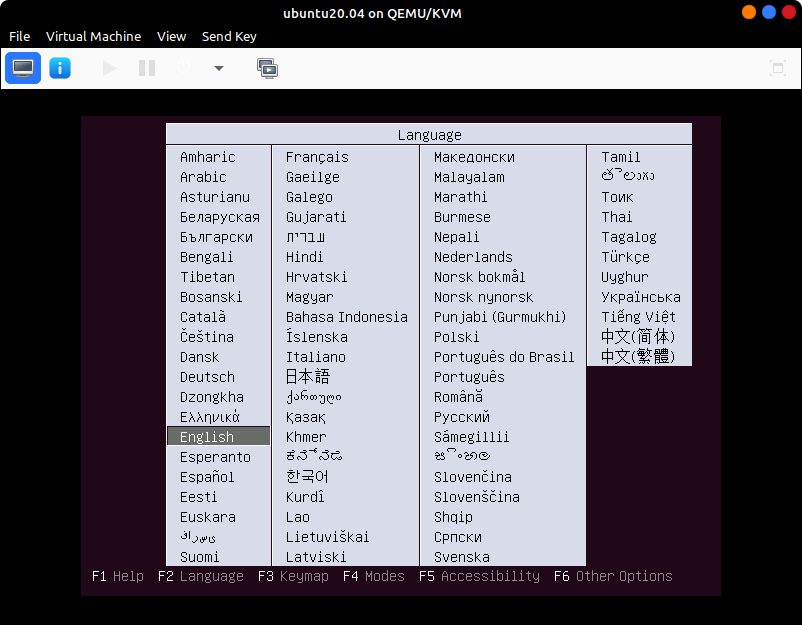
And this will start the execution of the same.
Conclusion
KVM is a vital technology for Linux virtualization. It is simple to use and install, as you saw today.