
Hello, friends. The web is incredibly important. That’s why today, you will learn how to install Jekyll on Ubuntu 22.04. This tool is a static website generator with which you will be able to create websites quickly.
Introduction
According to the project website,
Jekyll is a static site generator. It takes text written in your favorite markup language and uses layouts to create a static website. You can tweak the site’s look and feel, URLs, the data displayed on the page, and more.
One of the main reasons for Jekyll’s success is that it is very fast and focused on blogging. So, it supports Permalinks, categories, pages, posts. In addition to this, you can write the site using Markdown or Liquid.
As it is built with Ruby, the resource consumption in the system is quite low, building websites in a very short time.
As you would expect, it is open source, so you will have no problem using it for a variety of projects from educational to more modern.
Install Jekyll static website generator on Ubuntu 22.04
As Jekyll is created in Ruby, the first thing we have to do is to install the language on the system.
Install Ruby on Ubuntu 22.04
First, update the system completely
sudo apt update
sudo apt upgrade
Then yes, some more dependencies like git or tree.
sudo apt install make build-essential curl git treeAnd now yes, install Ruby
sudo apt install ruby ruby-dev
Reading package lists... Done
Building dependency tree... Done
Reading state information... Done
The following additional packages will be installed:
  fonts-lato javascript-common libgmp-dev libgmpxx4ldbl libjs-jquery libruby3.0 rake ruby-net-telnet ruby-rubygems ruby-webrick ruby-xmlrpc ruby3.0 ruby3.0-dev
  ruby3.0-doc rubygems-integration unzip zip
Suggested packages:
  apache2 | lighttpd | httpd gmp-doc libgmp10-doc libmpfr-dev ri bundler
The following NEW packages will be installed:
  fonts-lato javascript-common libgmp-dev libgmpxx4ldbl libjs-jquery libruby3.0 rake ruby ruby-dev ruby-net-telnet ruby-rubygems ruby-webrick ruby-xmlrpc ruby3.0
  ruby3.0-dev ruby3.0-doc rubygems-integration unzip zip
0 upgraded, 19 newly installed, 0 to remove and 56 not upgraded.
Need to get 11.4 MB of archives.
After this operation, 59.7 MB of additional disk space will be used.
Do you want to continue? [Y/n]
Once Ruby is installed, it is necessary to define in the bashrc file the variables of this language.
So, open the file in question
nano ~/.bashrcAnd at the end of the whole file, add these two lines:
export GEM_HOME=$HOME/gems
export PATH=$HOME/gems/bin:$PATH
Save the changes and close the text editor.
To apply the changes, run
source ~/.bashrcInstall Jekyll on Ubuntu 22.04
So with Ruby and all dependencies covered, you can install Jekyll by running
gem install jekyll bundlerSample Output:
Installing ri documentation for jekyll-4.3.0
Done installing documentation for unicode-display_width, terminal-table, safe_yaml, rouge, forwardable-extended, pathutil, mercenary, liquid, kramdown, kramdown-parser-gfm, ffi, rb-inotify, rb-fsevent, listen, jekyll-watch, sassc, jekyll-sass-converter, concurrent-ruby, i18n, http_parser.rb, eventmachine, em-websocket, colorator, public_suffix, addressable, jekyll after 23 seconds
Fetching bundler-2.3.24.gem
Successfully installed bundler-2.3.24
Parsing documentation for bundler-2.3.24
Installing ri documentation for bundler-2.3.24
Done installing documentation for bundler after 0 seconds
27 gems installed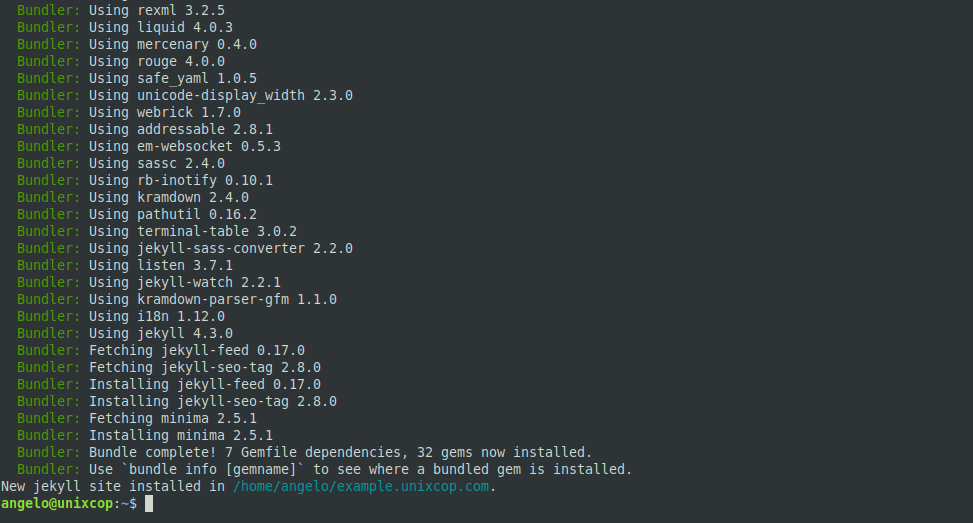
The next step is to create a new website
jekyll new example.unixcop.comOf course, you can replace the name with the name of your project. This will create a new folder with the project name. You can check the directory structure.
tree example.unixcop.com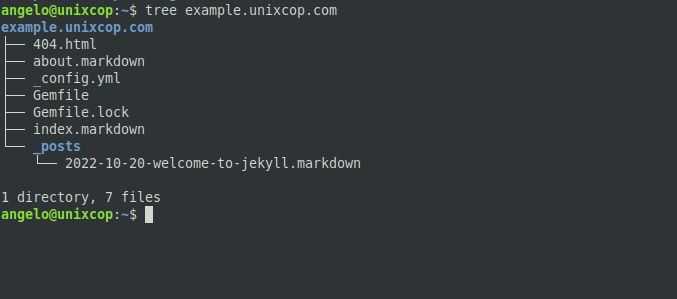
Then, access it,
cd example.unixcop.comAnd add the webrick dependency to make it work.
bundle add webrickFinally, you can serve the project to check how everything is running
jekyll serve --host=0.0.0.0.0
Configuration file: /home/angelo/example.unixcop.com/_config.yml
            Source: /home/angelo/example.unixcop.com
       Destination: /home/angelo/example.unixcop.com/_site
 Incremental build: disabled. Enable with --incremental
      Generating...
       Jekyll Feed: Generating feed for posts
                    done in 0.235 seconds.
 Auto-regeneration: enabled for '/home/angelo/example.unixcop.com'
    Server address: http://0.0.0.0:4000/
  Server running... press ctrl-c to stop.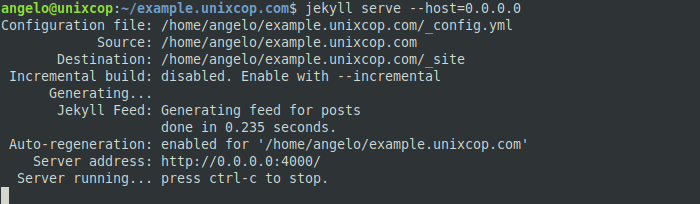
It only remains to open your favorite web browser and visit http://server:4000 to see the result
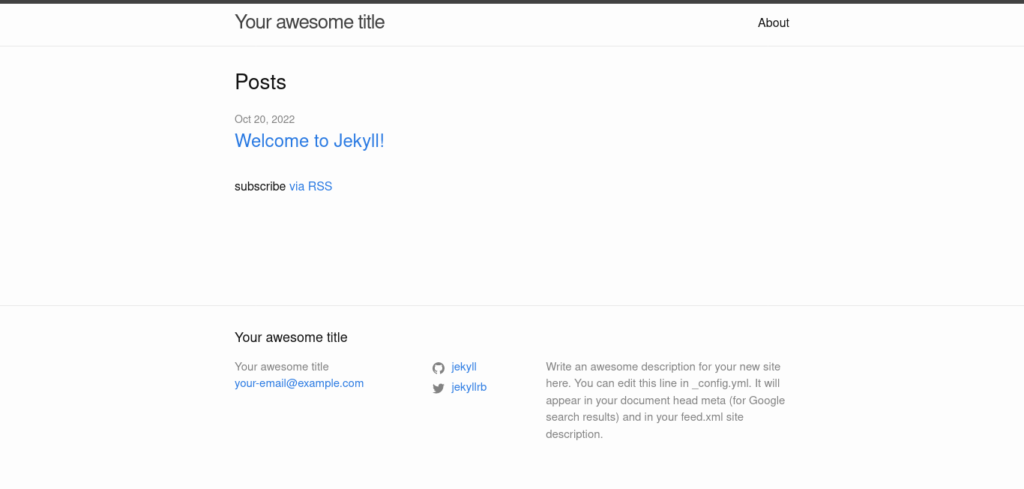
Just continue editing and adding content.
Conclusion
In this post, you learned how to install Jekyll static website generator on Ubuntu 22.04