
Grub Customizer is a handy graphical tool that allows you to configure and customize the GRUB bootloader in Ubuntu. With Grub Customizer, you can modify the boot menu entries, change the default operating system, rearrange menu entries, set timeout values, and more. In this article, we will guide you through the steps to install Grub Customizer on Ubuntu.
First steps…
Step 1: Update System Packages Before installing any software, it’s always recommended to update the system packages to their latest versions. Open the terminal by pressing Ctrl+Alt+T and run the following command:
sudo apt updateStep 2: Add the Grub Customizer PPA Grub Customizer is not available in the official Ubuntu repositories, but it can be easily installed from a Personal Package Archive (PPA). To add the Grub Customizer PPA, enter the following command in the terminal:
sudo add-apt-repository ppa:danielrichter2007/grub-customizerWhen prompted, press Enter to confirm adding the PPA, and then enter your sudo password if required.
Step 3: Update System Packages Again After adding the PPA, you need to update the system packages once again to include the packages from the newly added repository. Run the following command:
sudo apt updateInstall Grub Customizer on Ubuntu 20.04 | 22.04 LTS
Step 4: Install Grub Customizer Now that the PPA is enable and the system packages are ready. So, you can install Grub Customizer using the apt package manager. Execute the following command to install Grub Customizer:
sudo apt install grub-customizer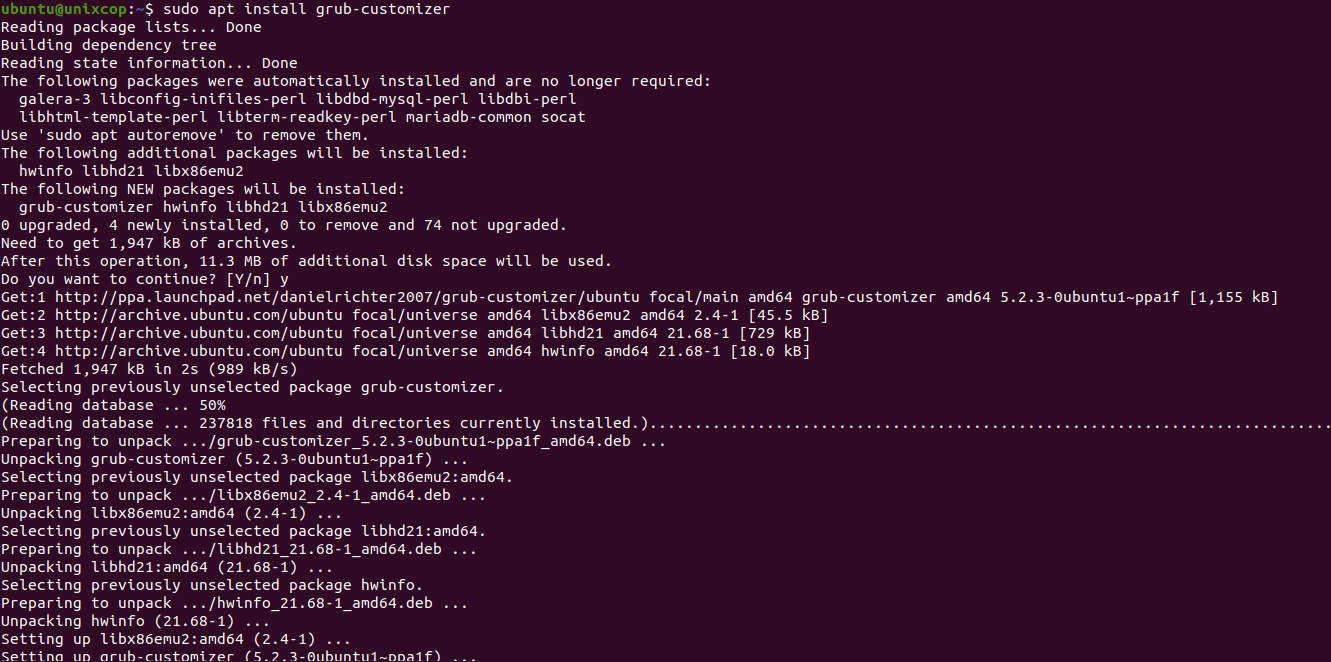
Review the packages and type ‘Y’ when prompted to proceed with the installation. The package manager will download and install Grub Customizer and its dependencies.
Step 5: Launch Grub Customizer Once the installation is complete, you can launch Grub Customizer by searching for it in the applications menu, or you can run the following command in the terminal:
grub-customizer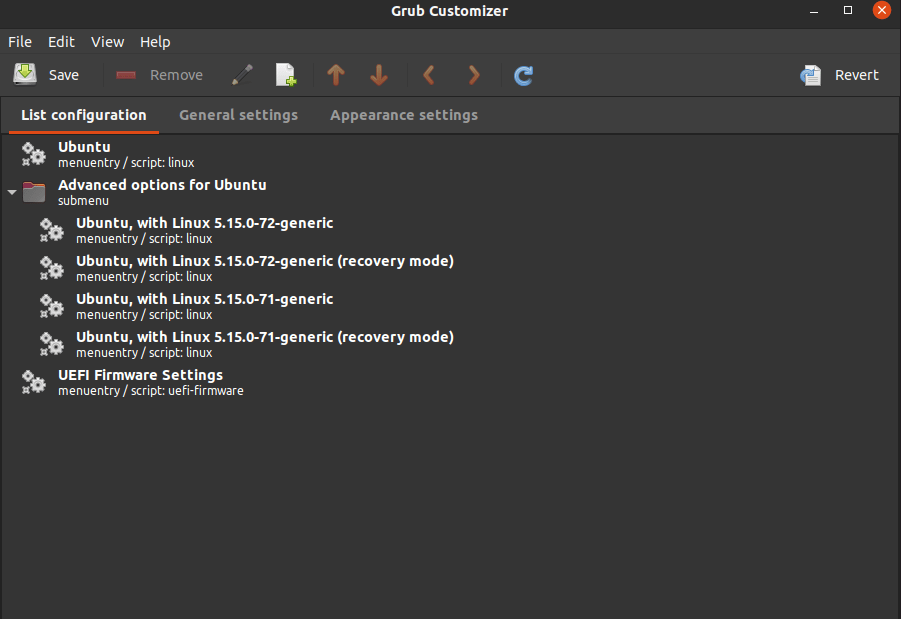
Grub Customizer will open, displaying the GRUB bootloader configuration interface.
Step 6: Customize GRUB Bootloader In the Grub Customizer interface, you can make various changes to the GRUB bootloader. You can reorder the boot menu entries, change the default operating system, set the timeout for menu display, and configure other options as per your requirements.
Remember, modifying the GRUB bootloader settings can affect the system’s boot process, so be cautious while making changes. It is a good idea to create a backup or take note of the default settings before applying any modifications.
Step 7: Apply Changes Once you have made the desired changes, click on the “Save” button in the Grub Customizer interface to apply the modifications to the GRUB configuration.
Conclusion
Grub Customizer is a powerful tool that simplifies the customization of the GRUB bootloader in Ubuntu. With its user-friendly interface, you can easily reorder boot menu entries, change default operating systems, and configure various other options according to your preferences. By following the steps outlined in this article, you should now have Grub Customizer installed on your Ubuntu system, allowing you to customize the GRUB bootloader with ease.