
Hello, friends. In this post, we will show you how to install GLPI on Ubuntu 22.04.
GLPI is a web application that allows us to deploy a fleet management system. It has also evolved and with it, you can also manage hardware, software, and data centers by linking the asset inventory to the helpdesk.
Let’s get started.
Install GLPI on Ubuntu 22.04
As it is a web application, we have to deploy a functional web server along with a database handler such as MySQL or MariaDB.
Install Apache and PHP on Ubuntu 22.04
The first thing is to deploy the web server and PHP. Fortunately, recent versions of GLPI support PHP 8.1 natively so we don’t have to do much.
First, open a terminal or connect via SSH to the server and update the system
sudo apt update
sudo apt upgrade
Then, you can install Apache and PHP together with the necessary modules.
sudo apt install apache2 php8.1 php8.1-curl php8.1-zip php8.1-gd php8.1-intl php8.1-intl php-pear php8.1-imagick php8.1-imap php-memcache php8. 1-pspell php8.1-tidy php8.1-xmlrpc php8.1-xsl php8.1-mbstring php8.1-ldap php8.1-ldap php-cas php-apcu libapache2-mod-php8.1 php8.1-mysql php-bz2This way, you already have the basics. Next, set up the rules in the firewall.
sudo ufw allow 80
sudo ufw allow 443
Now we can continue.
Install MariaDB on Ubuntu 22.04
Currently, GLPI supports only MySQL and MariaDB, so we have to install one of them. So, let’s install MariaDB.
How to install MariaDB on Ubuntu 22.04?
After it is installed and configured, you can create the database and the user for GLPI.
Access the console:
sudo mysql -u root -pCreate the new database:
CREATE DATABASE glpidb;You can change the database name. Then, it is the user’s turn. Again, you can assign another username and password.
GRANT ALL PRIVILEGES ON glpidb.* TO 'user'@'localhost' IDENTIFIED BY 'pas';Now refresh the permissions and finally exit the console:
FLUSH PRIVILEGES;
EXIT;
Download GLPI on Ubuntu 22.04
Now we can download the latest stable version of GLPI.
cd /tmp/
wget https://github.com/glpi-project/glpi/releases/download/10.0.2/glpi-10.0.2.tgz
Now unzip the archive
tar -xvf glpi-10.0.2.tgzMove it to the Apache root directory:
sudo mv glpi /var/www/html/Assign appropriate permissions
sudo chmod 755 -R /var/www/html/And make Apache the owner of it:
sudo chown www-data:www-data -R /var/www/html/Now create a new virtualhost for GLPI
sudo nano /etc/apache2/sites-available/glpi.confAdd the following:
<VirtualHost *:80>
   ServerAdmin admin@your_domain.com
   DocumentRoot /var/www/html/glpi
   ServerName your-domain.com

   <Directory /var/www/html/glpi>
        Options FollowSymlinks
        AllowOverride All
        Require all granted
   </Directory>

   ErrorLog ${APACHE_LOG_DIR}/your-domain.com_error.log
   CustomLog ${APACHE_LOG_DIR}/your-domain.com_access.log combined

</VirtualHost>
This is a very basic configuration that clearly can be improved. The important things are the ServerAdmin, ServerName and the logs.
Save the changes and close the editor.
Finally, enable the new site and the rewrite module
sudo a2ensite glpi
sudo a2enmod rewrite
sudo systemctl restart apache2
Optional: Enable HTTPS
Optionally and highly recommended is to enable HTTPS on the server. To achieve this, install Let’s Encrypt certificates with Certbot.
sudo apt install certbot python3-certbot-apacheNow generate and install these certificates:
certbot --apache -d [domain] --email [your-email]And finally, you can restart Apache to apply all the changes
sudo systemctl restart apache2Install GLPI on Ubuntu 22.04
Now open a web browser and go to https://your-domain and the installation will start.
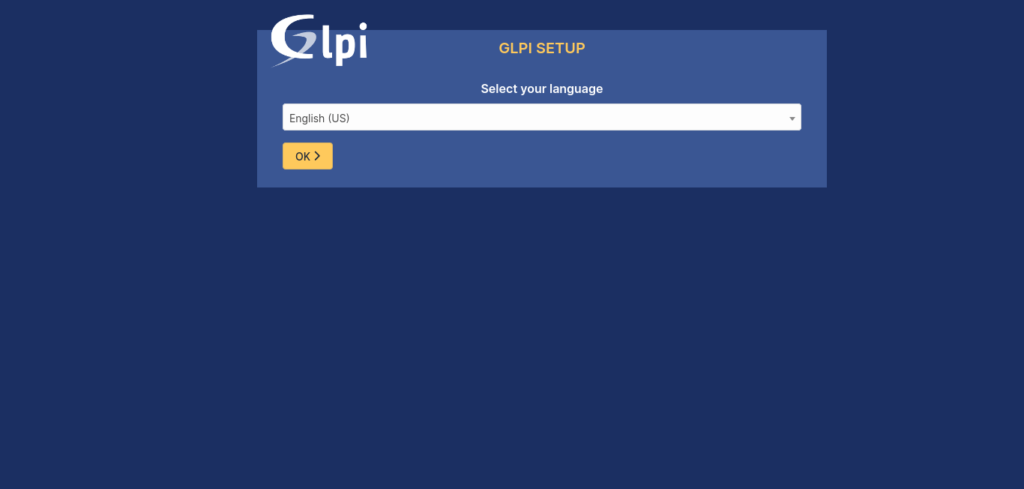
First, with the language
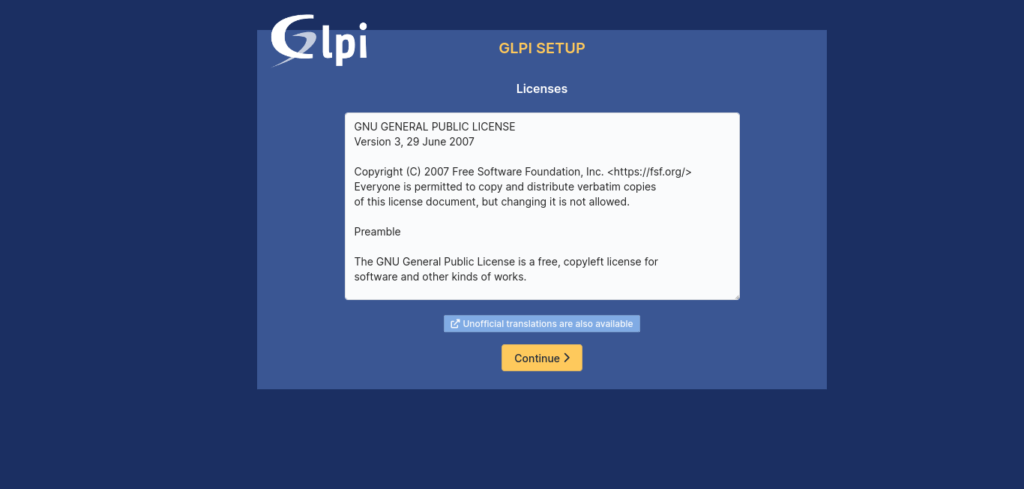
Then with the license which you will have to accept.
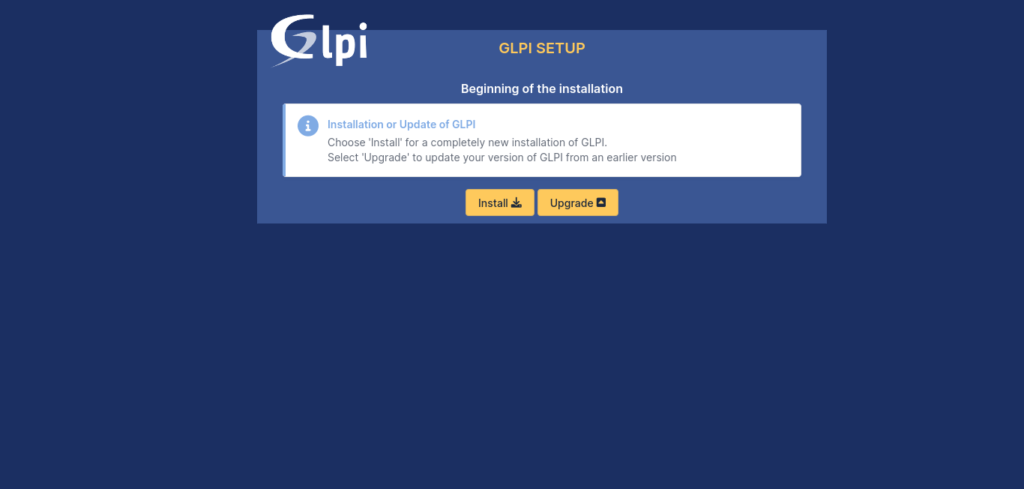
Then you will be given the option to do a fresh install or upgrade from a previous one. In this case, it is an installation from scratch.
Next, you will be shown a screen where the installer will verify all the dependencies.

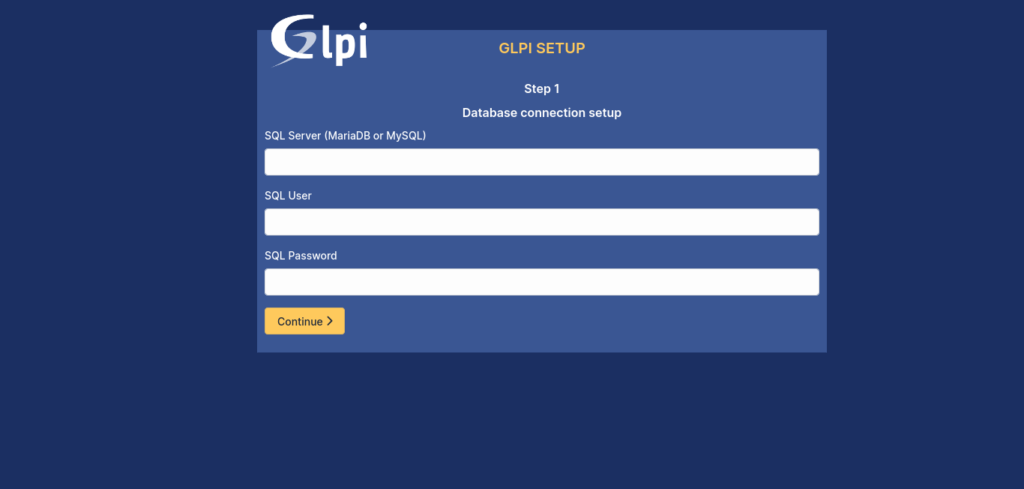
Next, it is time to connect to the database. First the server (localhost) and then the user with the password.
When connecting, you will be given the option to create a new database or use the one we have created.
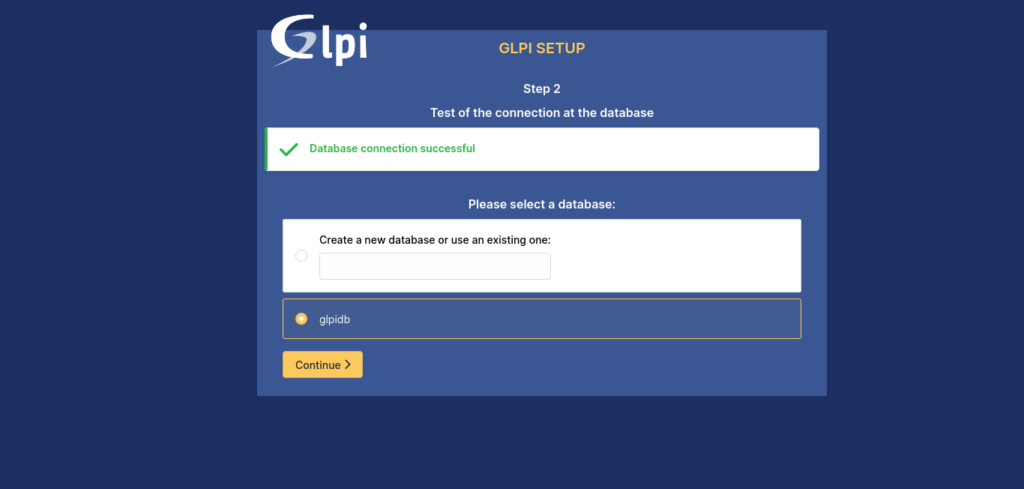
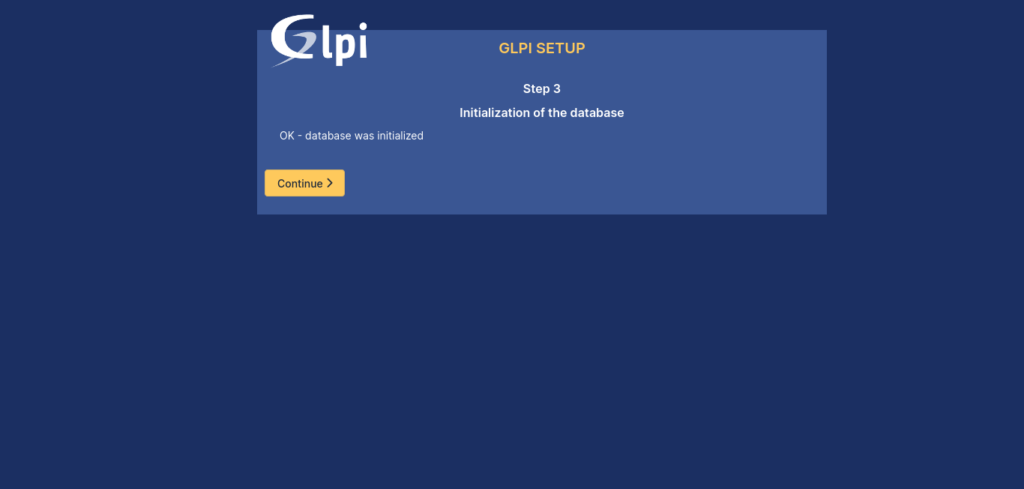
You will be informed that everything went well with the database.
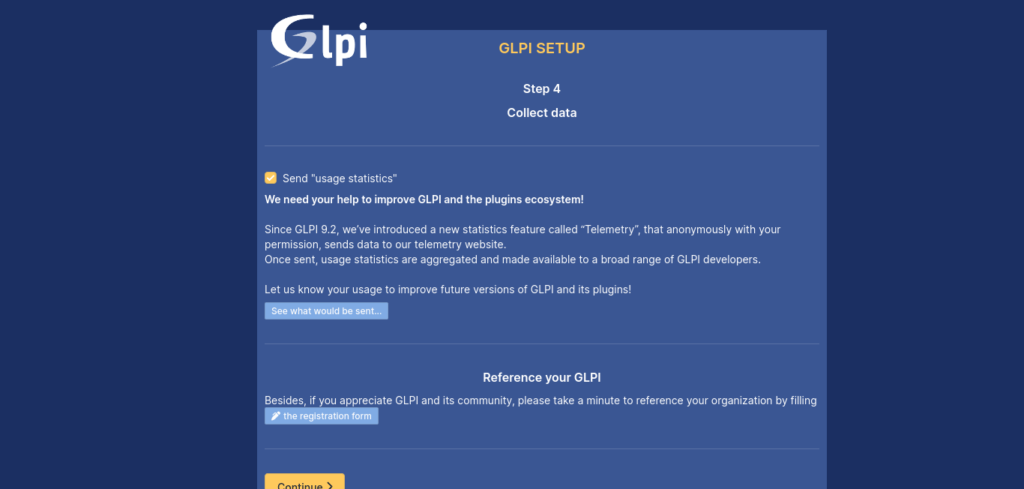
You will then be asked if you wish to contribute to the project by submitting anonymous usage statistics.
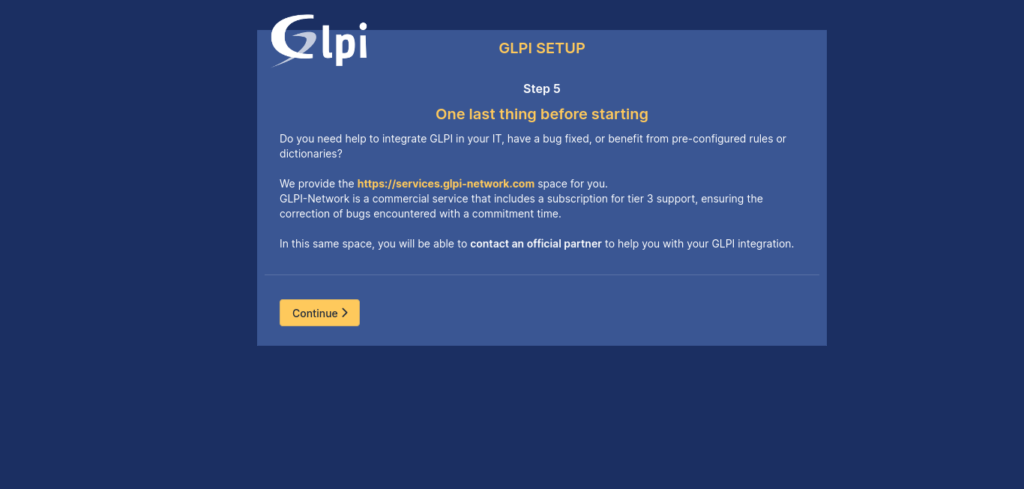
Likewise, you will then be offered information about GLPI.
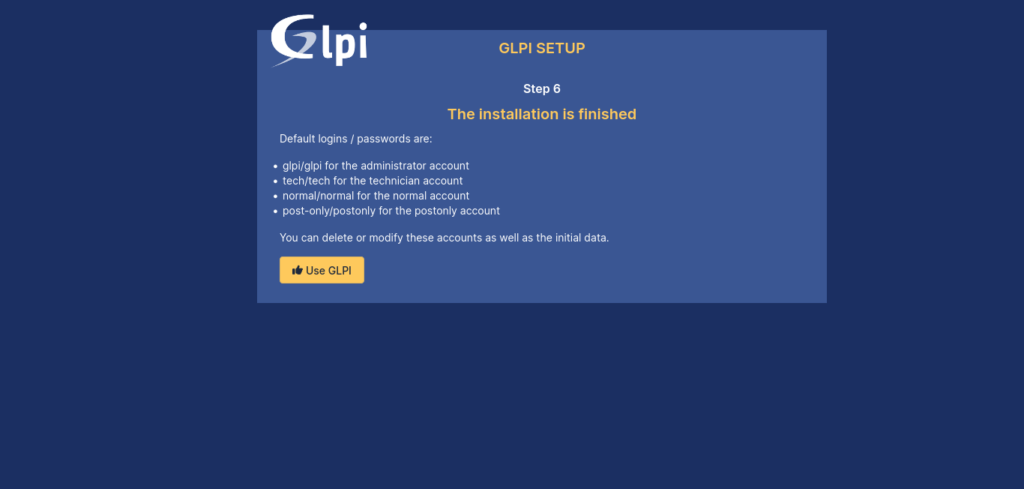
Finally, you will see the login credentials indicating that everything went well.
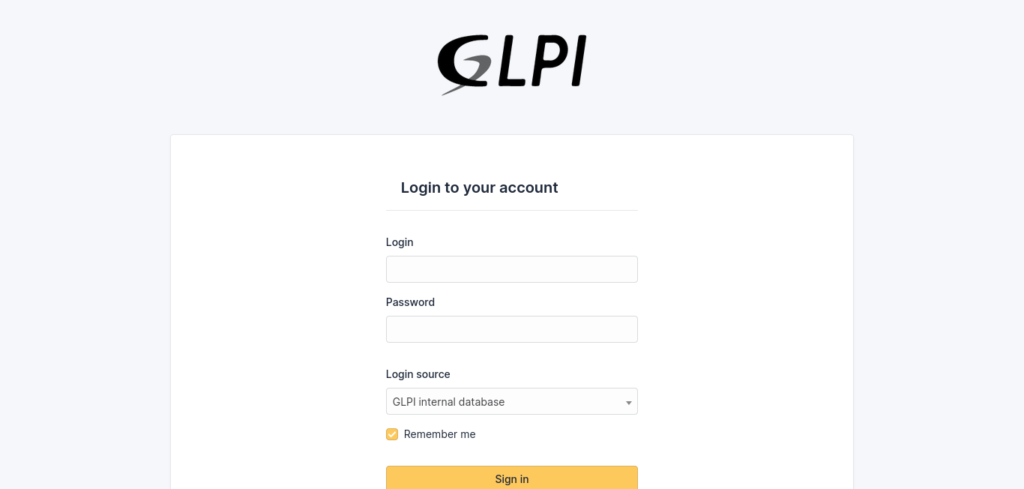
You will see the login screen.
Log in with the administrator profile, and you will see the whole panel.
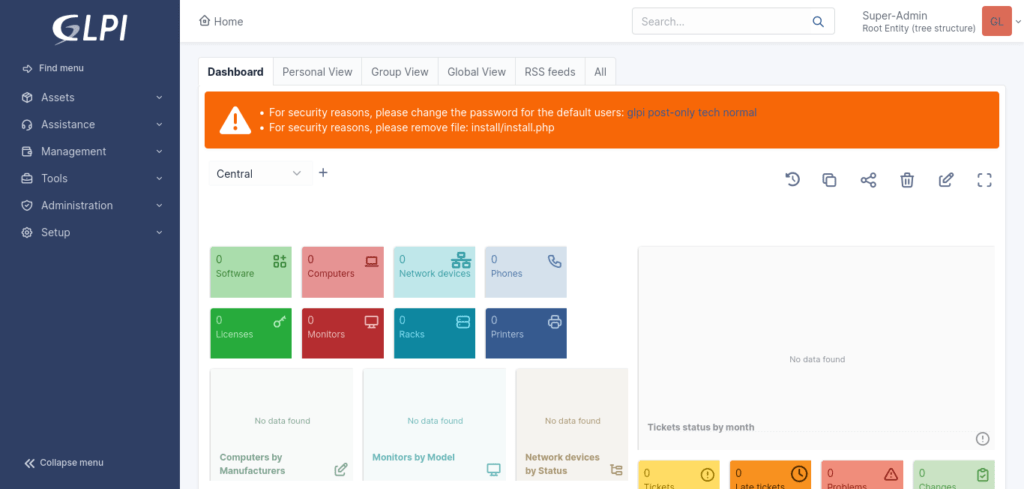
Enjoy it.
Conclusion
Thanks to this post, you learned how to install GLPI on Ubuntu 22.04 is an excellent tool for any organization.
Hi good article.
There is an error (typo) about certbot.
sudo apt install cerbot python3-cerbot-apache.
Have a good day.
Hi, good guide.
According to what I have read, in version 10, the invetory is native, it uses port 161. Does it need to be activated manually? or is already activated with any new installation?
In any case, do I need to add a rule for port 161 in ufw?
Regards.
Eric
Thanks!
Impossible de se connecter à la base de données
Le serveur a répondu : php_network_getaddresses: getaddrinfo for glpidb failed: Temporary failure in name resolution
Thank you Angelo,
I did it successful…!!
You are welcome!
intl extension
Required for internationalization.
intl extension is missing.
Angelo, I am not able to install due to this error, please help me.
Hello, my friend. In the command where LAMP is installed is the `intl` extension.
sudo apt install apache2 php8.1 php8.1-curl php8.1-zip php8.1-gd php8.1-intl php8.1-intl php8.1-intl [..]`php8.1-intl` this is the extension. I do not understand why it does not appear to install.
Hi, good guide!
For me it is showing the following error in the orange bar right after the installation, where it says to delete the install/install.php folder and change the user passwords:
Web server root directory configuration is not safe as it permits access to non-public files. See installation documentation for more details.
Can you help me?