
In this guide, we will show you how to install Glassfish on CentOS 9/AlmaLinux 9/ RockyLinux 9
GlassFish is an open-source Jakarta EE platform application server project started by Sun Microsystems, then sponsored by Oracle Corporation, and now living at the Eclipse Foundation and supported by Payara, Oracle and Red Hat. The supported version under Oracle was called Oracle GlassFish Server. GlassFish is free software and was initially dual-licensed under two free software licences: the Common Development and Distribution License (CDDL) and the GNU General Public License (GPL) with the Classpath exception. After having been transferred to Eclipse, GlassFish remained dual-licensed, but the CDDL license was replaced by the Eclipse Public License (EPL).
Also read: Install Glassfish on Ubuntu 22.04
Install GlassFish on AlmaLinux:
Follow the steps below to get started with GlassFish:
- Update your AlmaLinux system packages with running the below command:
sudo dnf clean all && sudo dnf update
sudo dnf groupinstall "Development Tools"
sudo dnf install epel-release -y- Now install Java by running the below command:
sudo dnf install java-11-openjdk-devel -y
Verify the Java installation:
java -version

- Create a user for Glassfish:
sudo useradd -s /sbin/nologin glassfish
- Glassfish package is not available on AlmaLinux base repository. So You can run the following command to download and install add Glassfish installer to your AlmaLinux system as follows:
wget https://download.eclipse.org/ee4j/glassfish/glassfish-6.2.5.zip
- Extract your downloaded file:
sudo unzip -d /opt/ glassfish-6.2.5.zip
- Give the appropriate permissions to the GlassFish user as follows:
sudo chown -R glassfish:glassfish /opt/glassfish6/
- Create GlassFish systemd daemon service to control on GlassFish:
vim /usr/lib/systemd/system/glassfish.service
Then add the following
[Unit]
Description = GlassFish
After = syslog.target network.target

[Service]
User = glassfish
ExecStart = /usr/bin/java -jar /opt/glassfish6/glassfish/lib/client/appserver-cli.jar start-domain
ExecStop = /usr/bin/java -jar /opt/glassfish6/glassfish/lib/client/appserver-cli.jar stop-domain
ExecReload = /usr/bin/java -jar /opt/glassfish6/glassfish/lib/client/appserver-cli.jar restart-domain
Type = forking

[Install]
WantedBy = multi-user.target- Start and enable the GlassFish service using the commands below:
sudo systemctl daemon-reload
sudo systemctl start glassfish
sudo systemctl enable glassfish
- Check status of the new glassfishservice:
sudo systemctl status glassfish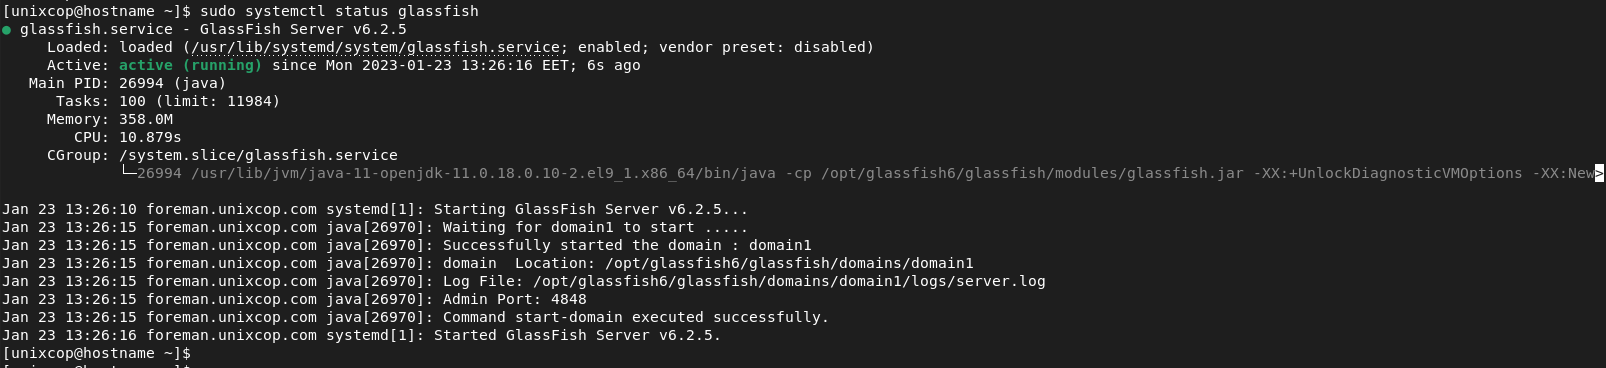
- Default ports for Glassfish are 4848 and 7080. so allow them with the following command:
sudo firewall-cmd --permanent --add-port={4848,7080}/tcp
sudo firewall-cmd --reload
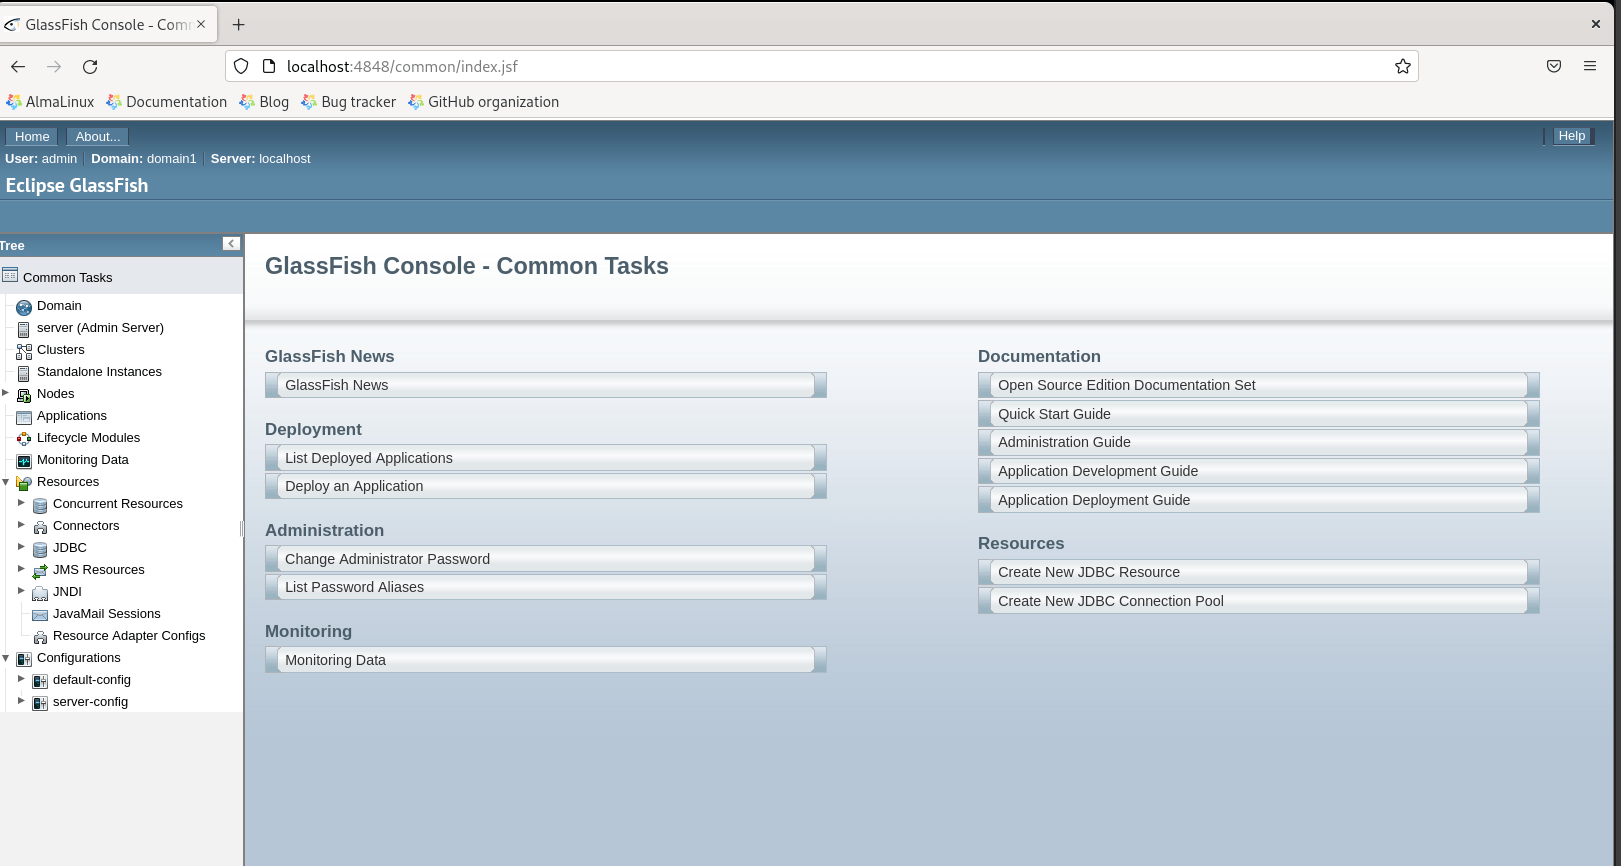
Accessing GlassFish Web Interface
- Now you can access glassfish web interface by opening your fav browser then go to http://Your_server_IP:4848 as shown below in the screenshot.
Notes:
- By default, GlassFish has no password. So you need to set a password for the GlassFish admin user with the following cmmand:
sudo /opt/glassfish6/bin/asadmin --port 4848 change-admin-password
- Then enable the “secure admin” feature with the command below:
sudo /opt/glassfish6/bin/asadmin --port 4848 enable-secure-admin
- After that restart your GlassFish to apply the changes:
sudo systemctl restart glassfish
Install Glassfish -Conclusion
That’s it
Thanks.
Also read: Install Glassfish on Ubuntu 22.04