
Hello, friends. In this post, you will learn how to install Forgejo on Debian 11.
Forgejo is a fork of Gitea. It arose from the fact that Gitea was acquired by a company and this didn’t sit well with the community who preferred to make a fork.
According to Forgejo’s website
Forgejo is a self-hosted lightweight software forge. Easy to install and low maintenance, it just does the job.
Obviously, it is open source, so don’t worry about that. It also offers an advantage that can be key for many, and that is that it is very lightweight and easy to maintain.
Why is it so light? Because it is made in GO and with just the right features to work well.
Installing Forgejo on Debian 11
The first thing we have to do is to upgrade the system. Open a terminal and as root user run.
apt update
apt upgrade
The next step is to install git. It is best to do this via the system repositories.
apt install gitForgejo is a marvel in data management, since it supports MySQL / MariaDB, PostgreSQL and SQLite. In this case, we have opted for MariaDB.
Installing MariaDB on Debian 11 and preparing it for Forgejo
To complete this, you can install MariaDB by running:
apt install mariadb-serverWhen you finish, you can set a root password
mysql_secure_installationThen, you can configure it in the same configuration script. To each question, you can answer Y and configure it.
The next step is to create the database, the user, and the password for it.
To achieve this, access the MariaDB console
mysql -u root -pThen, create the database:
CREATE DATABASE forgejo;Of course, it can have any name you want.
Now the user, with his password and permissions on the new database:
GRANT ALL PRIVILEGES ON forgejo.* TO 'forg'@'localhost' IDENTIFIED BY 'pass';Refresh the granted permissions and exit the console:
FLUSH PRIVILEGES;
EXIT;
This will suffice.
Downloading and installing Forgejo on Debian 11
The next step is to create a new system user named git.
adduser --system --shell /bin/bash --gecos 'Git control' --group --disabled-password --home /home/git gitYou can add a few more options, but the basics are to create a user for Forgejo.
Then, using wget you can download Forgejo without much trouble.
wget -O /tmp/forgejo https://codeberg.org/forgejo/forgejo/releases/download/v1.18.5-0/forgejo-1.18.5-0-linux-amd64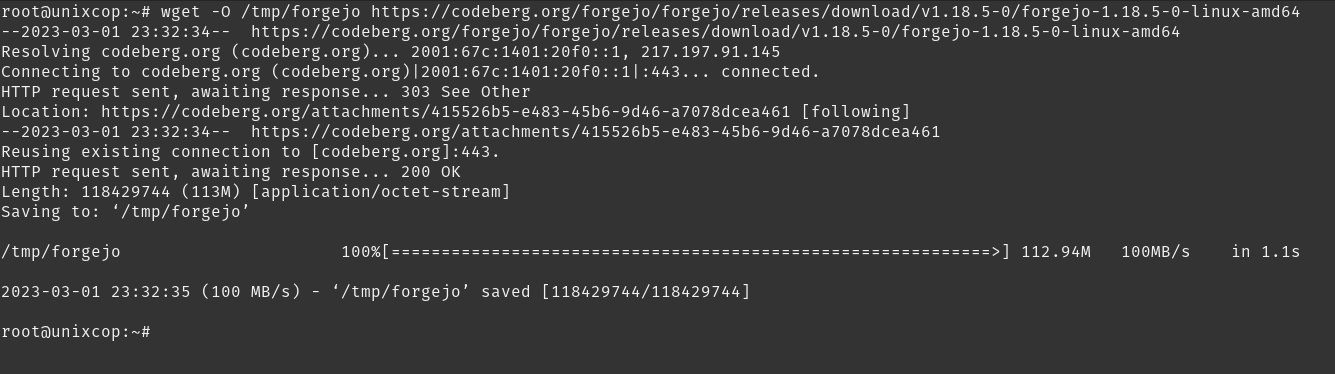
At the time of writing this post, the latest stable version is 1.18.5.
Now move the Forgejo binary to a place that is added to the PATH and give it run permissions
mv /tmp/forgejo /usr/local/bin
chmod +x /usr/local/bin/forgejo
Next, create the necessary directory structure for Forgejo. At once make it belong to the previously created user, in this case git and with the necessary permissions.
mkdir -p /var/lib/forgejo/{custom,data,log}
chown -R git:git /var/lib/forgejo/{custom,data,log}
chmod -R 750 /var/lib/forgejo/
Now create the configuration directory and, likewise, assign permissions to it and make git the owner of the folder:
mkdir /etc/forgejo
chown root:git /etc/forgejo
chmod 775 /etc/forgejo
The best way to manage Forgejo is as a system service. To achieve this, just download a template and apply it to the system.
wget https://codeberg.org/forgejo/forgejo/raw/branch/forgejo/contrib/systemd/forgejo.service -P /etc/systemd/system/Then, refresh the system services
systemctl daemon-reloadThen enable and start the Forgejo service
systemctl enable --now forgejo.serviceSample output:
Created symlink /etc/systemd/system/multi-user.target.wants/forgejo.service → /etc/systemd/system/forgejo.service. Configuring Nginx as a reverse proxy for Forgejo
First install Nginx
apt install nginxThen create a configuration file for Forgejo
nano /etc/nginx/sites-enabled/forgejoAdd the following
server {
    listen 80;
    server_name git.example.com;

}

server {

    server_name git.unixcop.com;

    proxy_read_timeout 720s;
    proxy_connect_timeout 720s;
    proxy_send_timeout 720s;

    client_max_body_size 50m;

    proxy_set_header X-Forwarded-Host $host;
    proxy_set_header X-Forwarded-For $proxy_add_x_forwarded_for;
    proxy_set_header X-Forwarded-Proto $scheme;
    proxy_set_header X-Real-IP $remote_addr;


    access_log /var/log/nginx/git.unixcop.com.access.log;
    error_log /var/log/nginx/git.unixcop.com.error.log;

    location / {
       proxy_redirect off;
       proxy_pass http://127.0.0.1:3000;
    }
}
From there, you have to modify the server_name value and change it to the value of your domain.
Save the changes and close the editor.
Apply the changes by restarting nginx and forgejo.
systemctl reload nginx
systemctl restart forgejo
Note: you can optionally enable HTTPS using certbot or modify the Nginx configuration file to adapt it to your certificates.
Completing the Forgejo installation
Now with a web browser access http://your-server.
The first thing you will see is the database configuration. There you only have to enter the credentials you have created and that’s it.
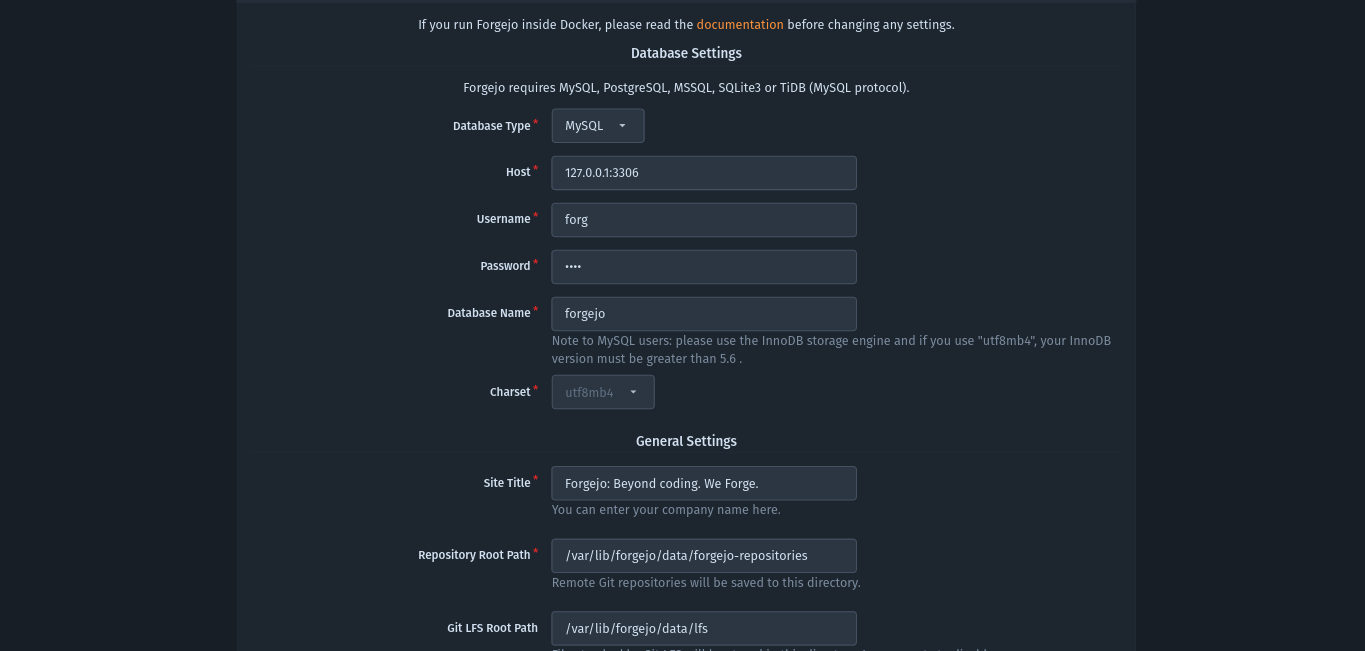
You can also enter other options such as the site title and so on.
Below, you can create an admin user. It is recommended to get started.
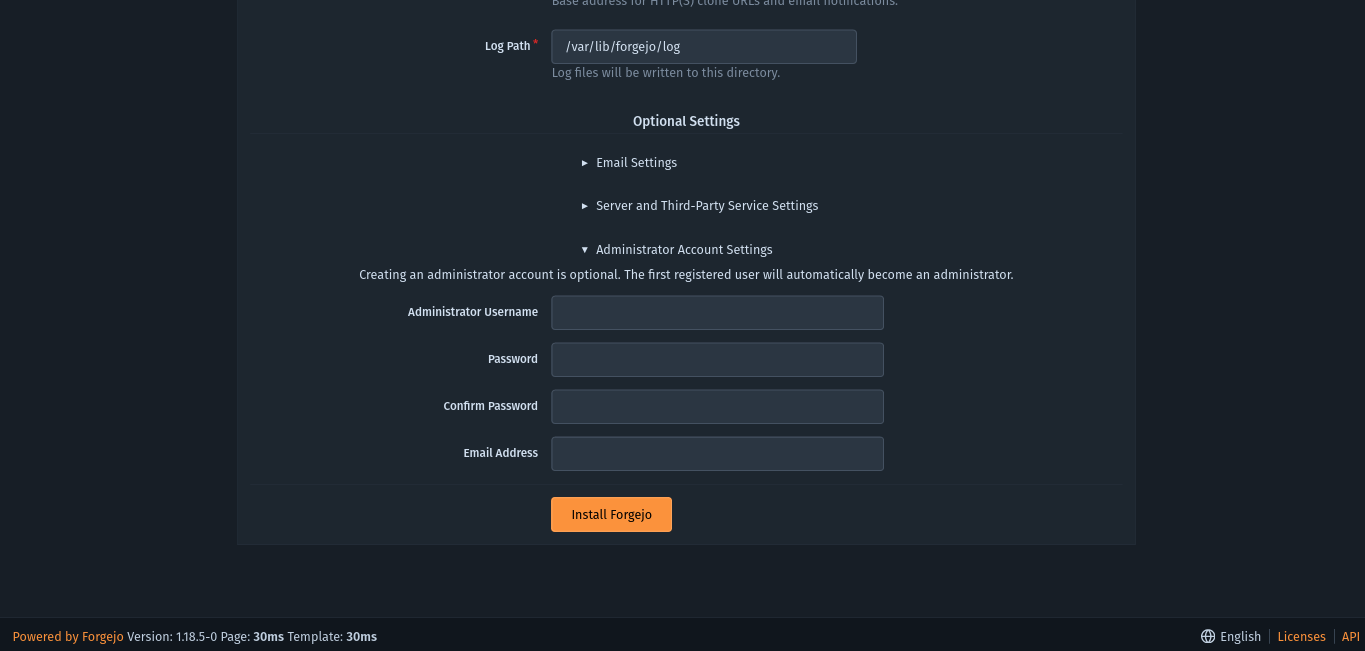
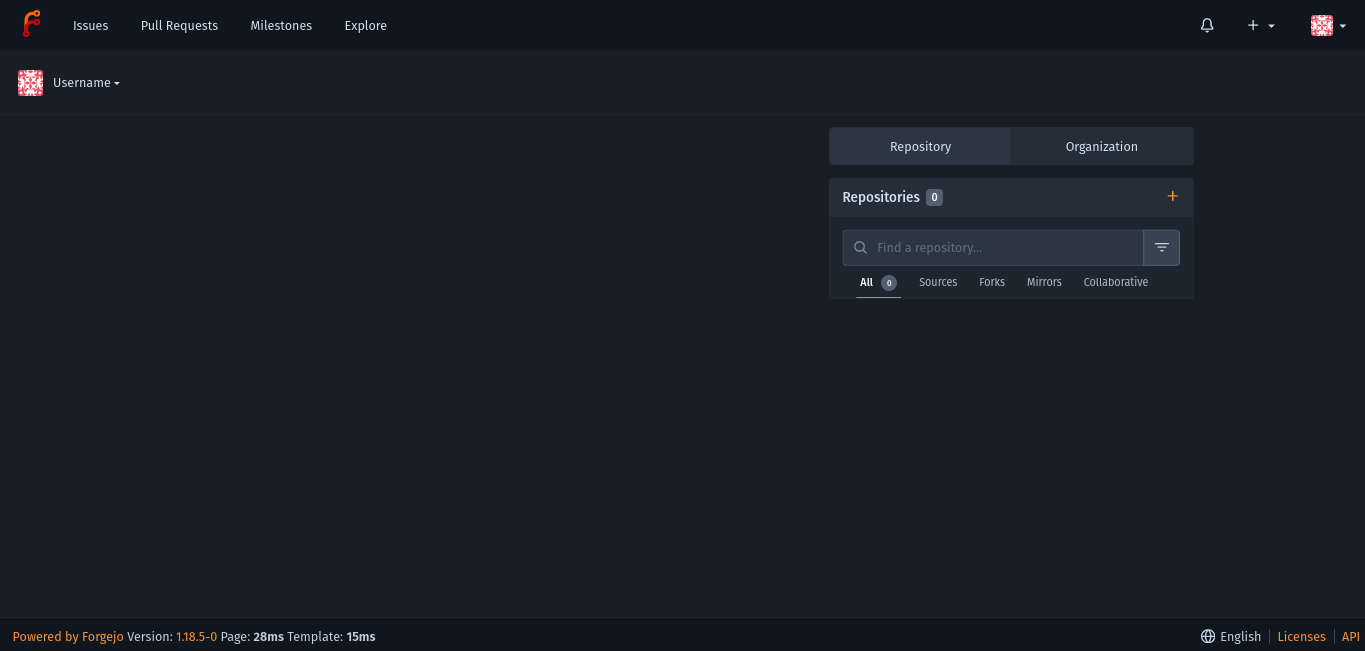
Then, you can start using Forgejo.
Conclusion
In this post, you learned how to install Forgejo on Debian 11. This fork of Gitea aims to keep all the good things of Gitea without losing the community spirit.