
Everything Linux, A.I, IT News, DataOps, Open Source and more delivered right to you.
"The best Linux newsletter on the web"
Introduction
Elgg is an award-winning open source social networking engine that provides a robust framework on which to build all kinds of social environments, from a campus wide social network for your university, school or college or an internal collaborative platform for your organization through to a brand-building communications tool for your company and its clients.
In this installation guide, we will show you how to install elgg.
Just follow the steps below:
- Install apache web server and enable it.
dnf install httpd -y
systemctl enable httpd.service
systemctl start httpd.service- Open ports 80 and 443 ports to be able to access the server.
firewall-cmd --permanent --zone=public --add-service=http
firewall-cmd --permanent --zone=public --add-service=https
firewall-cmd --reload- Install MySQL-Server.
dnf install mysql-server -y- Complete the MySQL secure installation.
sudo mysql_secure_installation- You will be asked to enter a root password. Enter a safe password. then follow the answers below:
Set root password? [Y/n] Y
New password:    #enter a strong password
Re-enter new password:
Remove anonymous users? [Y/N] Y
Disallow root login remotely? [Y/N] Y
Remove test database and access to it? [Y/N] Y
Reload privilege tables now? [Y/N] Y- Create MySQL database for Elgg with logging into MySQL console by running the command below:
mysql -u root -p- Then create a mysql database for elgg by running mysql commands below:
mysql> CREATE DATABASE elgg;
mysql> CREATE USER 'unixcop'@'localhost' IDENTIFIED BY 'unixcoppassword';
mysql> GRANT ALL PRIVILEGES ON elgg.* TO 'unixcop'@'localhost';
mysql> FLUSH PRIVILEGES;
mysql> \q;Note: You can change the database name “elgg” and db_user “unixcop” with any names you want.
- Install php and required packages for it.
dnf install -y php php-common php-pgsql php-gd php-json php-pdo php-mbstring php-xml php-cli php-pear php-pecl-apcu php-mysqlnd unzip- Change the directory to /var/www/html and download the latest version of Elgg.
cd /var/www/html
wget https://elgg.org/about/getelgg?forward=elgg-4.0.0.zipNote: You can check updates to download the latest version of elgg from the official website
- Unzip the downloaded archive.
unzip getelgg\?forward\=elgg-4.0.0.zip- Move the files to the root of the Apache server.
mv ./elgg-4.0.0/* .- Create a directory for Elgg .
mkdir -p /var/www/html/dataSet suitable file permissions for elgg files.
chown -R apache:apache /var/www/html/
chmod -R 755 /var/www/html/
chown -R apache:apache /var/www/html/elgg-config- Change the enforcing of SELinux to permissive with command below:
setenforce 0- Configure Apache for Elgg by creating an Apache virtual host.
vim /etc/httpd/conf.d/vhost.conf- Next add the following then save and quit.
<VirtualHost *:80>
     DocumentRoot /var/www/html/
     ServerName elgg.unixcop.com
     <Directory /var/www/html/>
          Options FollowSymlinks
          AllowOverride All
          Require all granted
     </Directory>
     ErrorLog /var/log/httpd/elgg_error.log
     CustomLog /var/log/httpd/elgg_access.log combined
</VirtualHost>- Restart the Apache with command.
systemctl restart httpd.service- Complete the Elgg Installation from the elgg-web-based by opening any browser then enter your server IP:
http://IP_address
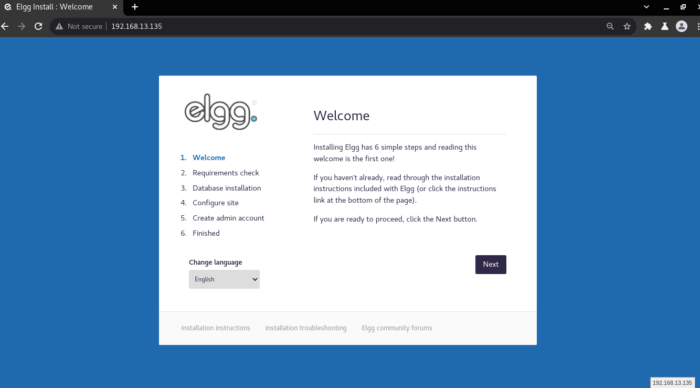
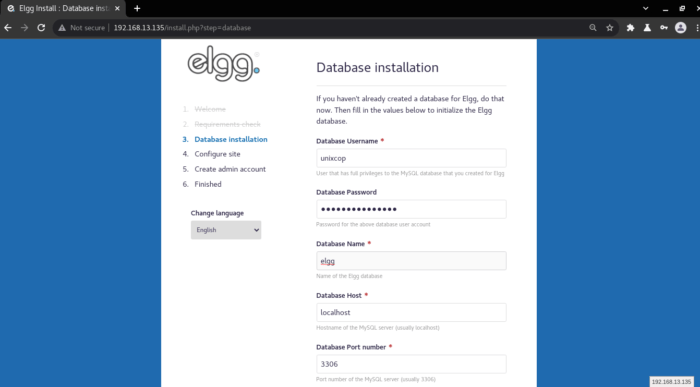
- Click Next and enter the info of the Database details and its credentials.
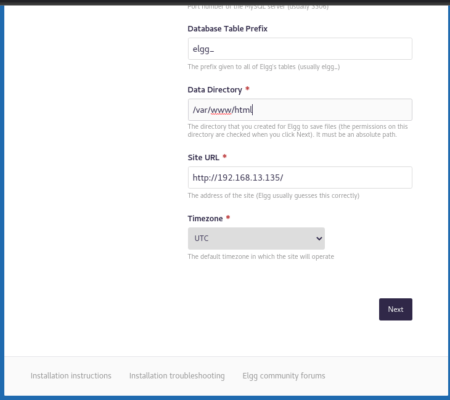
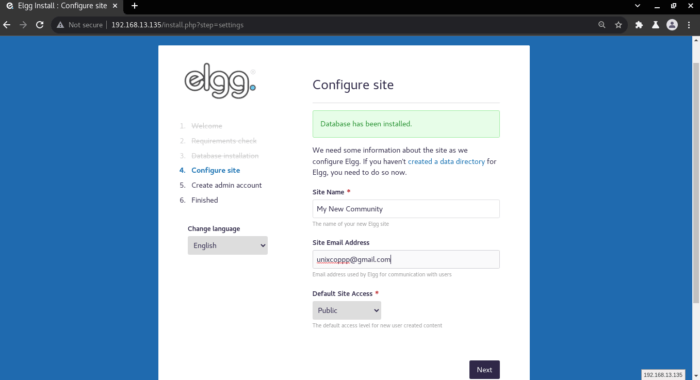
- Also click Next and enter the required details as shown in screenshots.
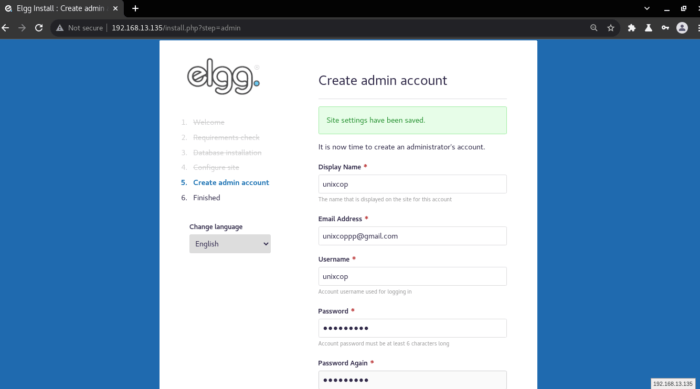
- Create your Admin Account with entering the required details then click next.
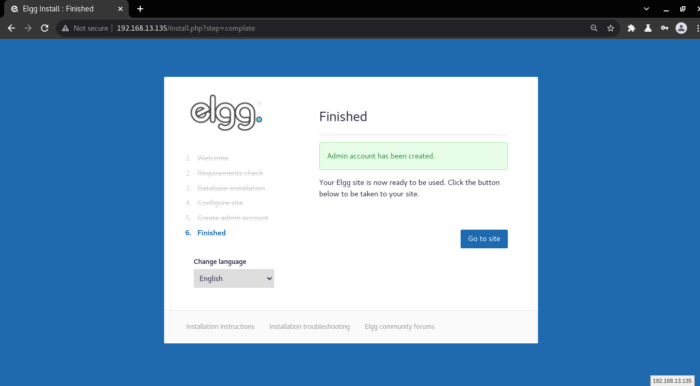
- Finally, you will see that your admin account has been created successfully then Click on Go to Site button to access your site.

That is all, Thank you !!!
Everything Linux, A.I, IT News, DataOps, Open Source and more delivered right to you.
"The best Linux newsletter on the web"