Hello, friends. In this post, you will learn how to install checkmk on Rocky Linux 9 / Alma Linux 9. Let’s go.
Introduction
According to the tool’s website:
Checkmk is a leading tool for Infrastructure and Application Monitoring. Simple configuration, scalable, flexible. Open Source and Enterprise.
Thus, it is oriented to servers and professional environments ready for monitoring.
Checkmk provides powerful monitoring of networks, servers, clouds, containers, and applications. So, you won’t miss a thing.
The tool has two versions, a free and completely open-source version called raw and an enterprise version intended for even gigantic projects, but you have to pay for it.
In this post, you will learn how to install the raw version, which is sufficient for many cases.
Installing Checkmk on Rocky Linux 9 / Alma Linux 9
Linux’s support is guaranteed by Checkmk so installing it on Rocky Linux 9 should not be a problem.
Note: It is assumed that you have already configured your server correctly with a Domain name and hostname.
Step 1: Enable the repositories for installation
Checkmk requires some packages that are not present, so you have to enable some repositories such as EPEL and CRB.
To achieve this, first update the system completely
sudo dnf updateThen, enable the crb repository with this command
sudo dnf config-manager --set-enabled crbAnd the EPEL repository by installing a package with DNF.
sudo dnf install https://dl.fedoraproject.org/pub/epel/epel-release-latest- 9.noarch.rpmNow with EPEL and CRB enabled, we can continue.
Step 2: Install Checkmk on Rocky Linux 9 / Alma Linux 9
Checkmk developers share an RPM package fully compatible with our distribution. So first download it.
wget https://download.checkmk.com/checkmk/2.1.0p25/check-mk- raw-2.1.0p25-el9-38.x86_64.rpm
And then install it as follows:
sudo dnf install check-mk-raw-2.1.0p25-el9-38.x86_64.rpmNow you can check the installed version
omd versionSample output:
OMD - Open Monitoring Distribution Version 2.1.0p25.creStep 3: Prepare Checkmk for first use
Now that it is installed, the next step is to create a new instance.
omd create monitorThis way you will get a screen output like this
Adding /opt/omd/sites/monitor/tmp to /etc/fstab.
Creating temporary filesystem /omd/sites/monitor/tmp...OK
Updating core configuration...
Generating configuration for core (type nagios)...
Precompiling host checks...OK
Executing post-create script "01_create-sample-config.py"...OK
Restarting Apache...OK
Created new site monitor with version 2.1.0p25.cre.

  The site can be started with omd start monitor.
  The default web UI is available at http://unixcop/monitor/

  The admin user for the web applications is cmkadmin with password: JQ0IFAu2
  For command line administration of the site, log in with 'omd su monitor'.
  After logging in, you can change the password for cmkadmin with 'cmk-passwd cmkadmin'.
In the same output screen, you will have the username and password to access the instance.
Now, you have to start that instance as follows
omd start monitorNow you will be able to log in.
Step 4: Accessing Checkmk on Rocky Linux 9 / Alma Linux 9
Open a web browser, and you can access http://your-server/monitor to see the results.
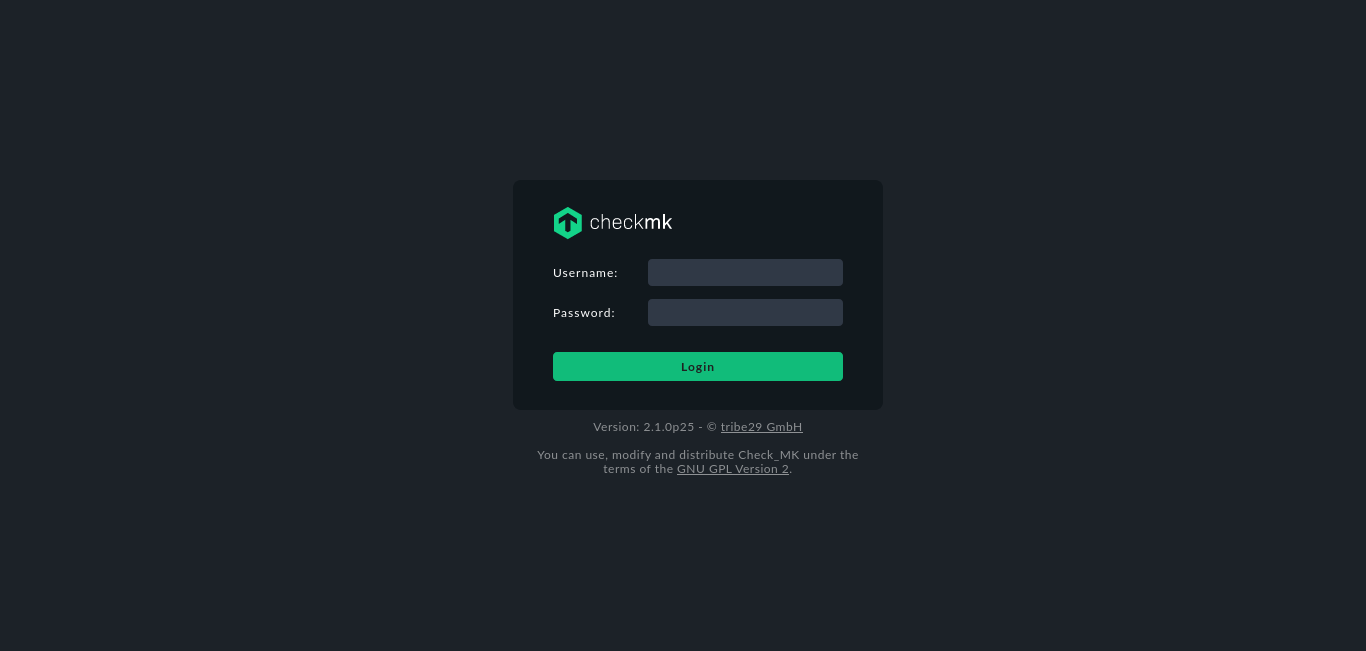
First the login screen

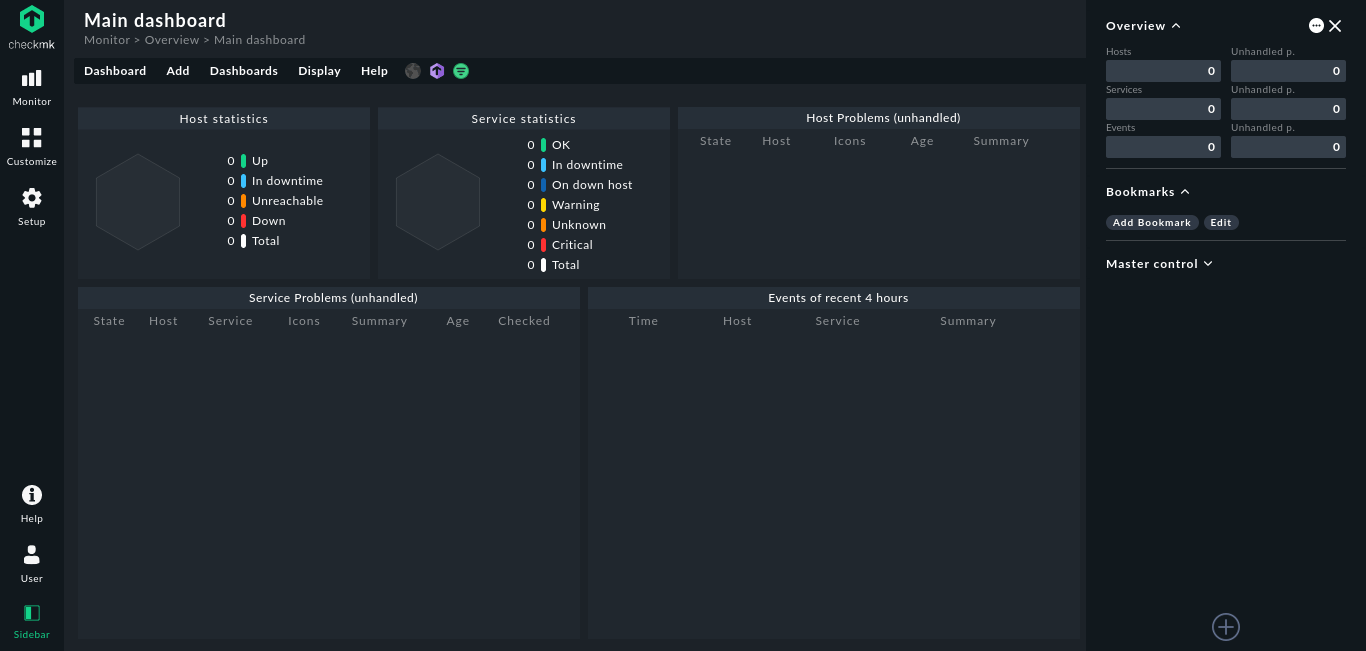
And then the dashboard.

Conclusion
Checkmk is a tool that has become more and more well known, and that is because of its good work.


