
Today , there a lot of distributions of linux spread over the Linux community. Sometimes linux community users find themselves in a confusing situation. That situation exists when they don’t know that which linux distribution would be suitable for them. As we know ,all the linux flavors have different features. So different kind of people need different type of linux as per their needs. So we need a linux distribution that makes our daily life easy. Then came the Bodhi linux .I will help you to explore and install Bodhi linux in this article.
Bodhi linux is an ubuntu based lightweight distribution. We get a fully fast customizable desktop ‘moksha’ to explore it. It fulfills our daily desktop system’s need perfectly with ease. The Bodhi community developers had Built it up on top of ubuntu 20.04. We can call Bodhi linux 6.0.0 as the “Enlightened linux distribution” .
3 Platforms of Bodhi linux
So ,We can use Bodhi linux in three platforms :
- Standard : We can use this platform for Desktop and workstation computers created in the last decade. If our processor is capable of running 64 bit operating system, we can use this platform. We can get this platform as a minimalist base install allowing the user to add exactly what they want. No burden extra unnecessary applications .Now, we get some of the below application and features stuffed up with Bodhi linux 6.0.0 standard platform:
- Terminology terminal emulator
- Chromium Web Browser
- Thunar File Manager
- Leafpad Text Editor
- Synaptic Package Manager
- HWE : we can use the platform HWE (hardware enabled) with the newest hardware technologies. If our processor is capable of running 64 bit operating systems. And if we want to receive further kernel updates and hardware support. Then we can use this platform. However , We get all the applications that are the part of standard platform ,without any doubt.
- AppPack : We can use the AppPack platform to have variety of additional themes and applications. We also get new kernel updates post installation. Additionally , we get the following in the AppPack platform:
- Accesories : calculator , Gnome language selector, geany editor, Thunar file manager
- Games
- Graphics : GIMP graphics tool, ePhoto image viewer
- Internet : Chromium web browser, Filezilla FTP Client, Pidgin ,Hexchat
- Sound and Video : VLC media player
- Office : Libre office, Document viewer
- System tools : Printer support, Synaptic package manager, Update manager
Likewise , we can see as above many thins are included in that platform. Next ,we can select and Download Bodhi linux platform as per our requirement.
System Requirements
Notably , below are the recommended and minimum system requirements.
MINIMUM
- 32bit, 500MHz processor
- 512MB RAM
- 5GB of drive space
RECOMMENDED
- 64bit, 1.0GHz processor
- 768MB of RAM
- 10GB of drive space
In fact ,in this tutorial I will guide you through all the steps to make a clean installation of Bodhi linux 6.0. Now its the time to start our installation. once you have downloaded the ISO of Bodhi linux successfully, then you can go through all these steps , one by one.
STEP(1) Create a VM on virtualbox
Now first of all , create a VM on virtual Box with the recommended system requirements as given above. Then create a Virtual hard disk linked to the new VM. Link the ISO file to its optical disk boot order. now start the VM.
STEP(2) Boot the system
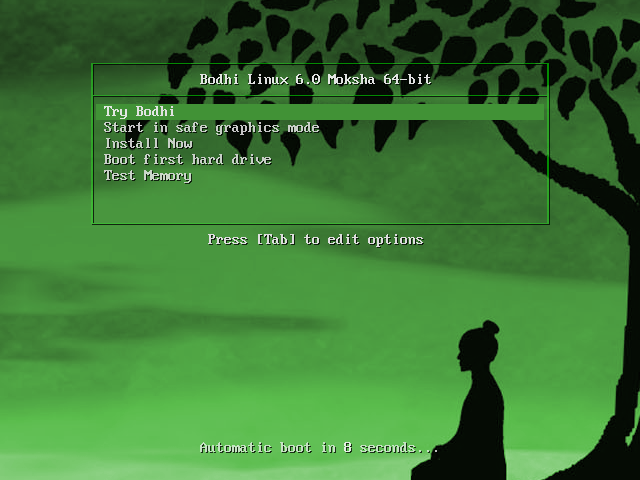
Now on booting the system you will get the screen as shown below. Here , we can see the options. we can use ‘Try Bodhi ‘ if we want to use it without installation. But if we want a proper installation we can hit the ‘Install now option’.
quickly after hitting ‘Install now’, similar screen as shown below would be displayed.

consequently ,installation process to install bodhi linux had started now. However ,we had to wait for sometime , so that the things can get initialized.
STEP(3) Starting the installation
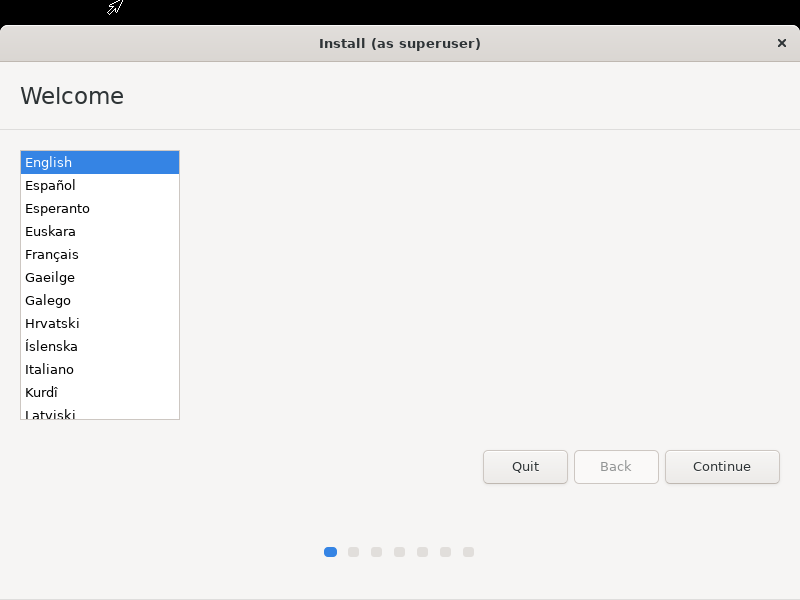
Eventually , after waiting for sometime we will see the screen as shown below. Immediately from here we can choose our language as per our need.
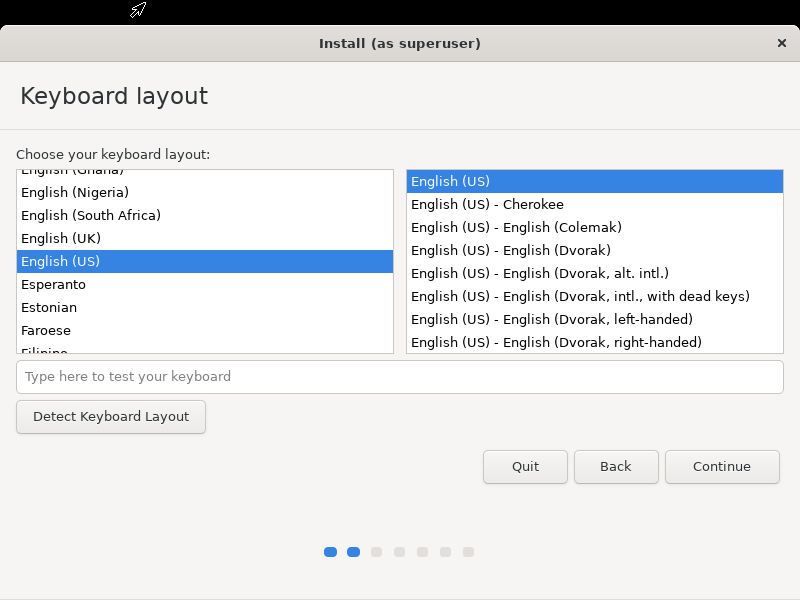
STEP(4) Select the Keyboard layout
Then select the keyboard layout as per our need.
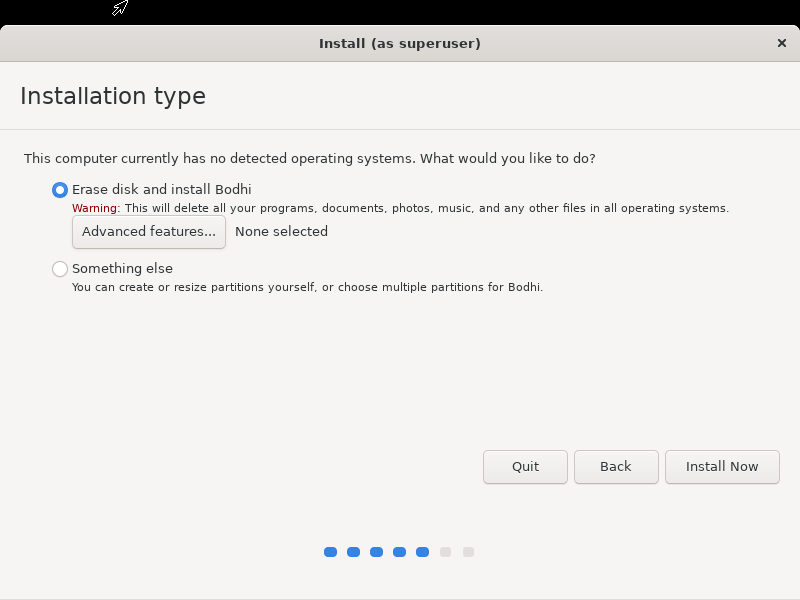
STEP(5) Select Installation type
Further a screen will appear to select the installation type. Then select the ‘Erase Disk and install Bodhi’ by default and hit continue. But if you want to create partition yourself , you can choose another option as shown below.
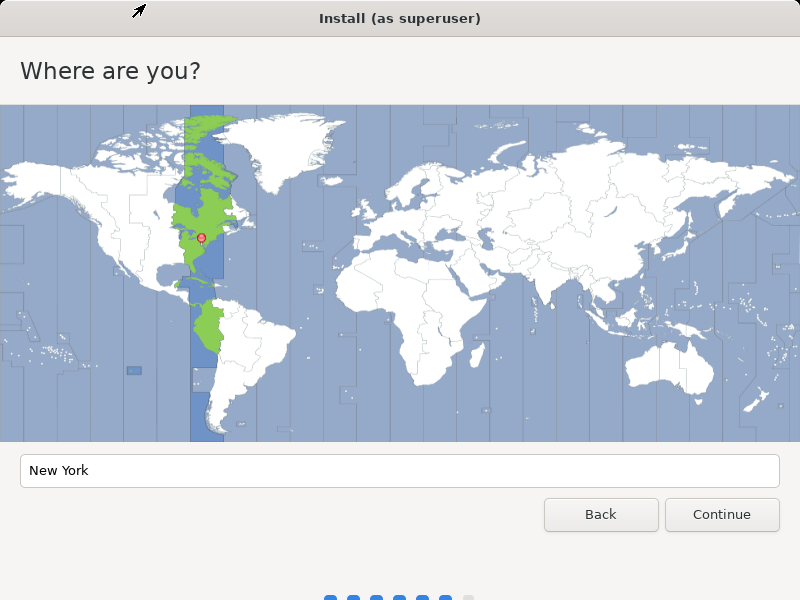
STEP(6) Select the Timezone
So now you have to select the timezone as per your location. Then ,Here you had to click on your area on the map.
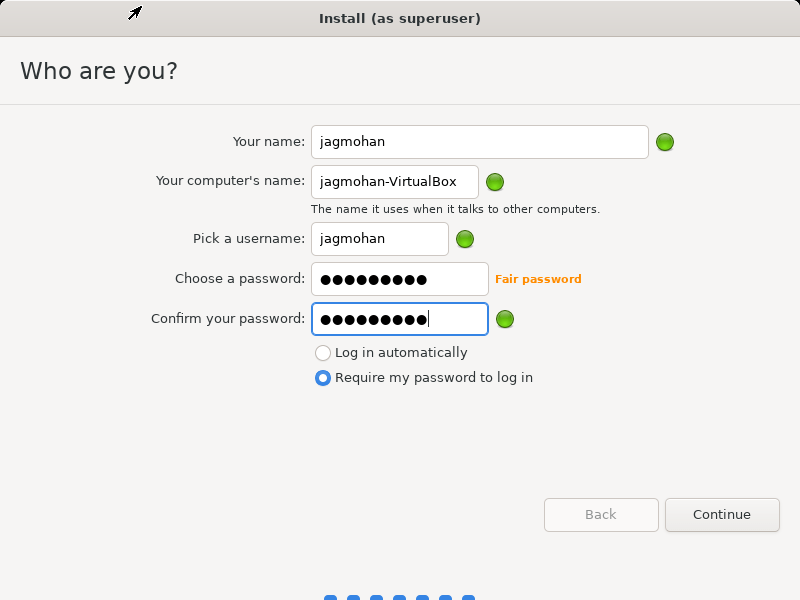
STEP(7) Fill up the user Details
Now , Here you can fill up all the details related to the User such as user name , computer name and password.
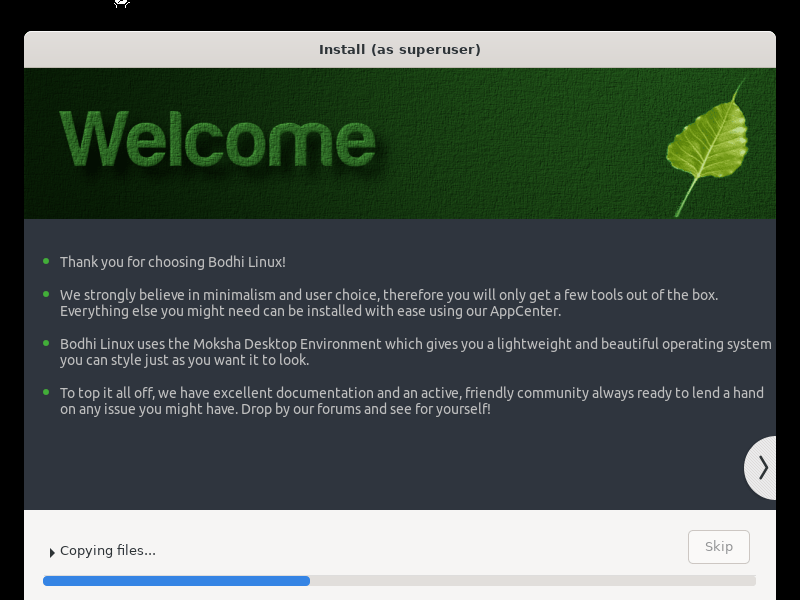
Now the installation would get started as shown below
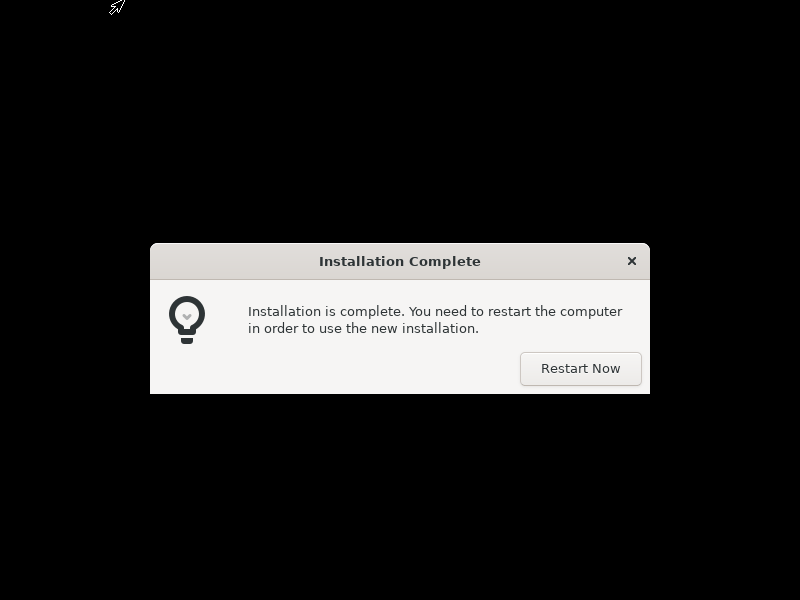
After that a prompt screen as shown below would appear. So now we had sucessfully installed Bodhi linux .Then click on the restart now to restart the system.
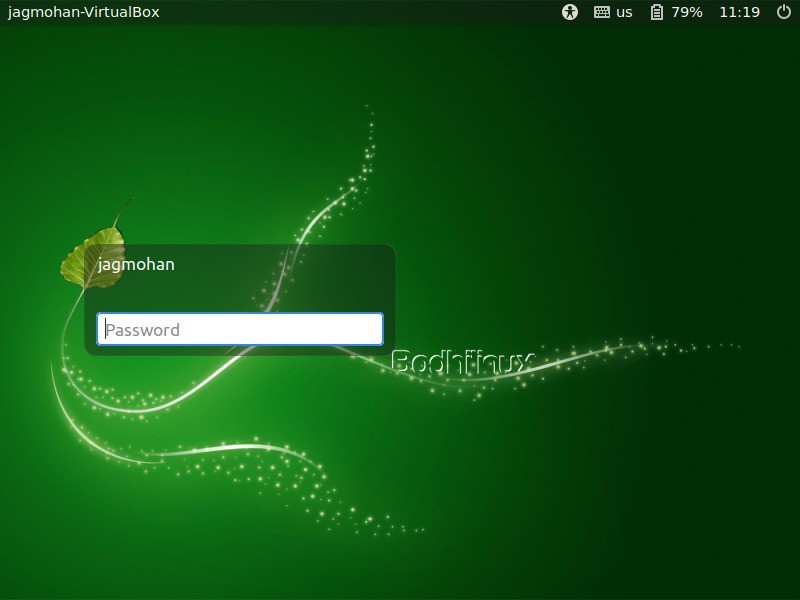
STEP (8) Login to your Bodhi Linux
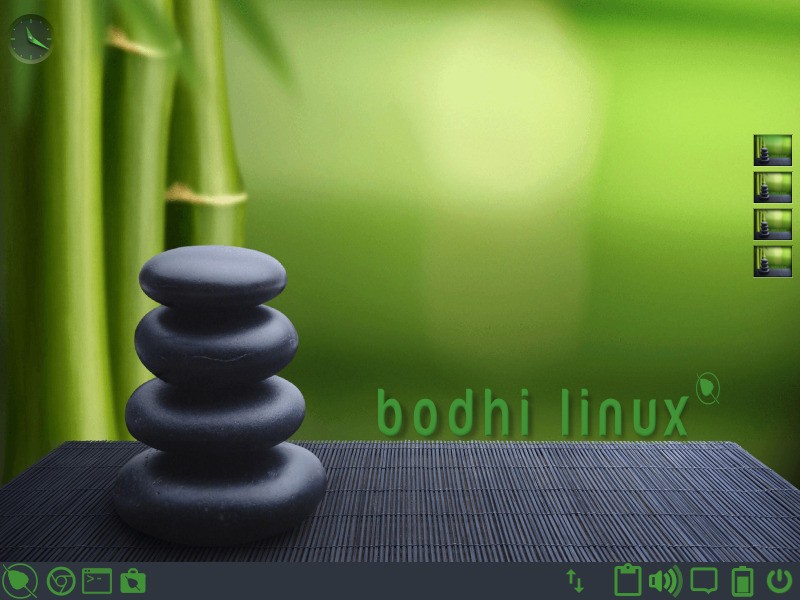
Finally after the successful installation , we can now login to our Bodhi linux and can explore it.
Conclusion
In this article I had tried to make you aware of how you can install Bodhi Linux on virtualbox, so that you can learn and explore this extraordinary flavor of linux.