
Introduction
vnStat is a console-based network traffic monitor for Linux and BSD that keeps a log of network traffic for the selected interface(s). It uses the network interface statistics provided by the kernel as information source. This means that vnStat won’t actually be sniffing any traffic and also ensures light use of system resources regardless of network traffic rate.
Therefore this tool quite well known within the community and among sysadmins. It is quite simple to use and as you will see below it is easy to install.
Install vnStat on Ubuntu 21.04
One of the fastest and most immediate ways to install vnStat on Ubuntu is to install it from the official repositories.
Although this is not the only way to get the program, it is the easiest method for newbies.
So, open a terminal or from an SSH session, install the security patches in the distribution:
sudo apt update && sudo apt upgradeNext, you can install the vnStat package as follows:
sudo apt install vnstat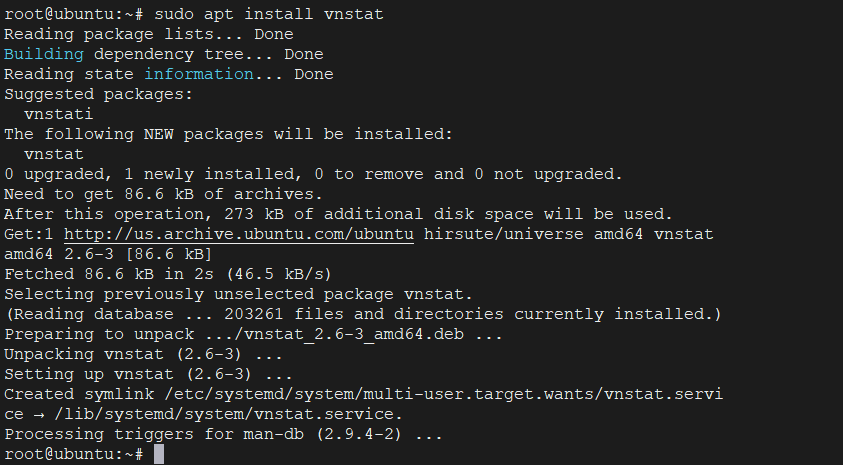
After installation, start the application service.
sudo systemctl start vnstatThis will complete the installation and you will be able to use it.
Install the latest version of vnStat on Ubuntu
The previous method has a big problem and it is that the version that appears in the official repositories of Ubuntu 21.04 , very outdated. So it is advisable to always install the latest version following these steps that I will describe.
First, install the packages needed to do the compilation, as well as some dependencies:
sudo apt install build-essential gcc make libsqlite3-dev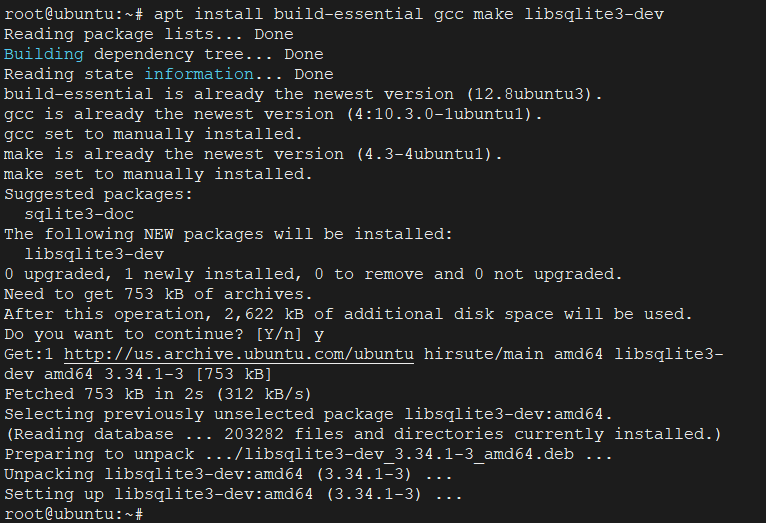
Then download the latest stable version, which at the time of writing this post, is 2.7.
wget https://humdi.net/vnstat/vnstat-2.7.tar.gz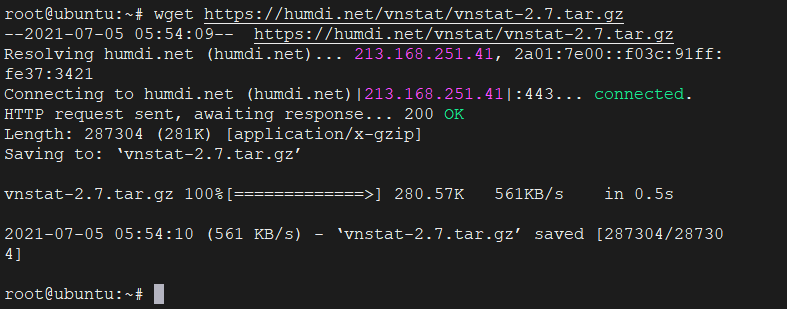
Decompress the downloaded file
tar -xvzf vnstat-2.7.tar.gz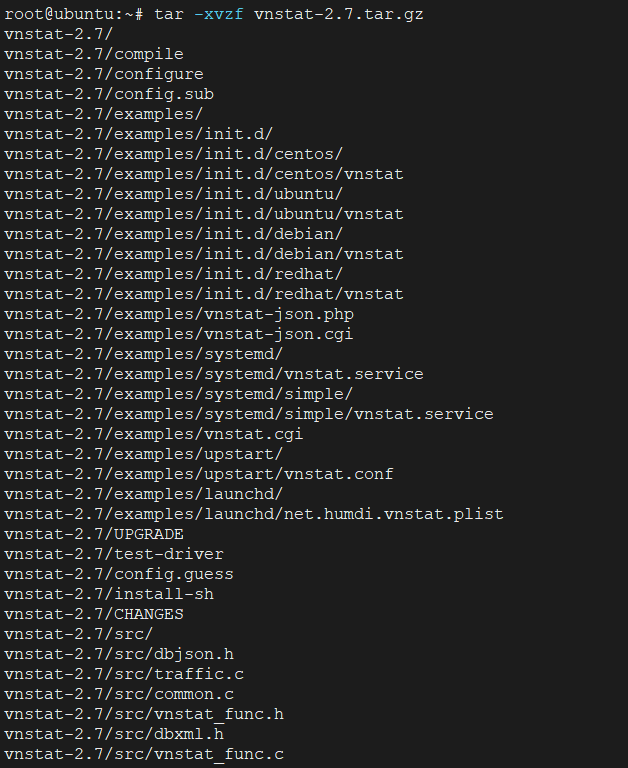
As a result of executing the above command, a folder called vnstat-2.7 will be generated which you will need to access and from there configure the package for compilation:
cd vnstat-2.7
./configure --prefix=/usr --sysconfdir=/etc
Now, compile the package and install it with this pair of commands:
make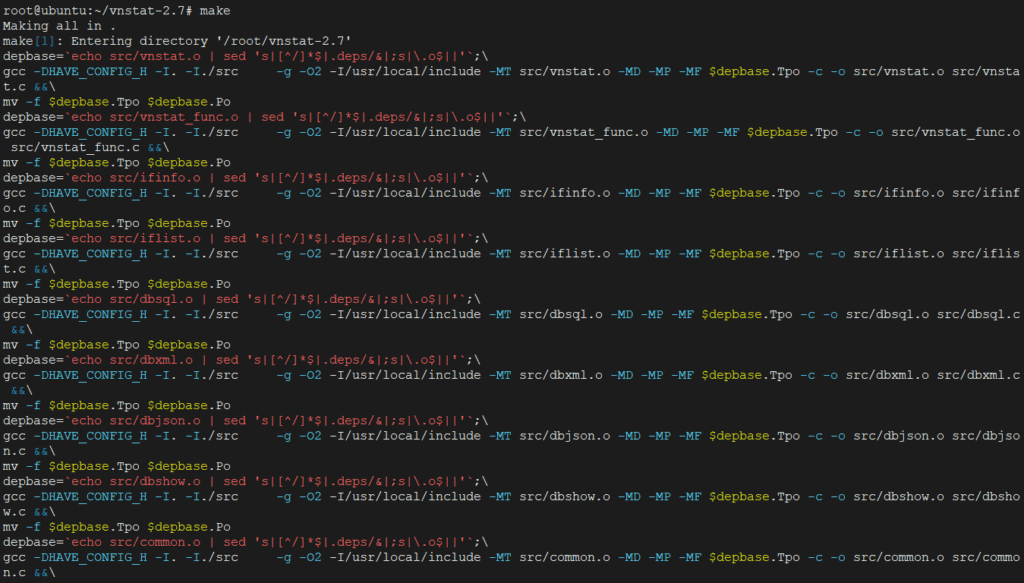
Then
make install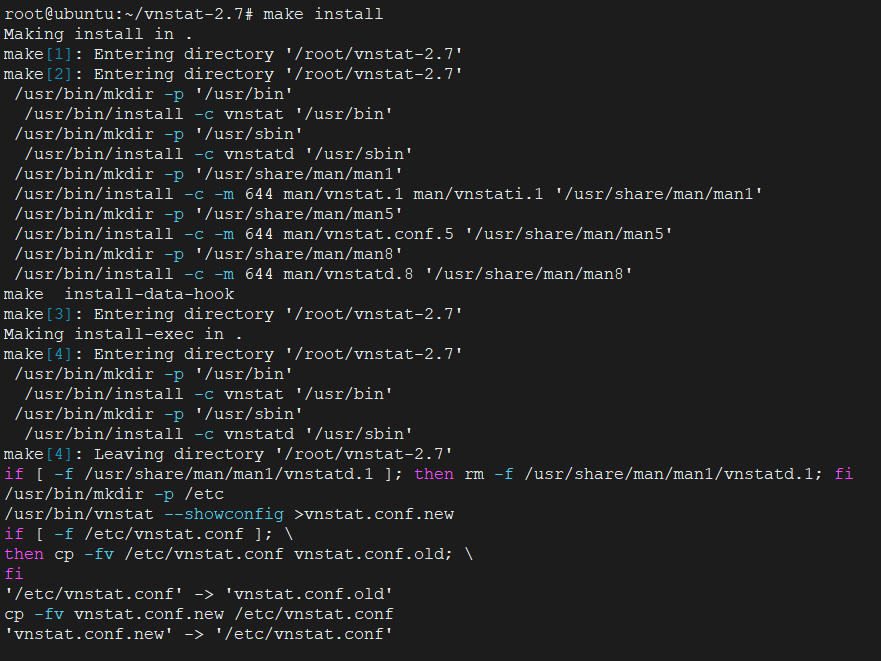
If everything went well, you will be able to run the vnstat command and display, for example, the installed version:
vnstat -v
Using the vnStat command
Before using the tool it is necessary to start the vnStat service. As we have installed it manually, there is no service installed so we have to create it.
Fortunately, to create it we will use the example file that comes with the code we have just compiled then Refresh the list of services.
And now yes, enable it so it can start with the system and start the service
sudo cp -v examples/systemd/vnstat.service /etc/systemd/system/
sudo systemctl daemon-reload
sudo systemctl enable vnstat
sudo systemctl start vnstat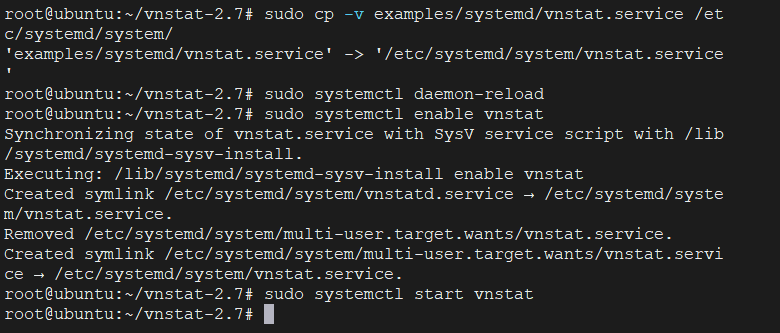
And check the status of the service
sudo systemctl status vnstatAfter waiting a few minutes, you can start using it.
vnstat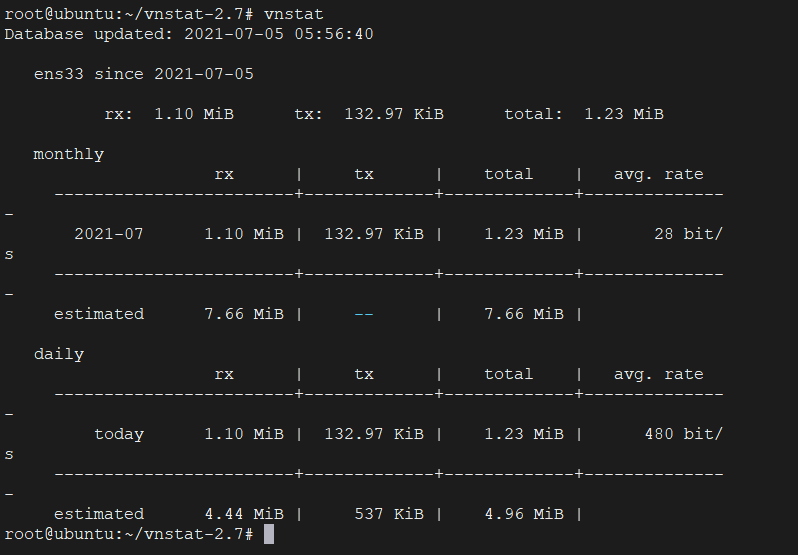
By default, it takes the active interface, but you can change it:
vnstat -i [interface]When an interface is monitored, a new database with logs is created. You can delete it and reset the statistics.
sudo vnstat -i [interface] --remove --forceIn this case, you have to specify the interface to monitor.
Conclusion
So now you know how to install and use vnStat on Ubuntu 21.04 This command although simple allows you to find answers to the operation of a network interface and to know if the behavior is as expected…