
Hello, friends. After reading this post, you will learn how to install an OpenLDAP server on Debian 11. The procedure is simple, but it takes several steps, so I will simplify it as much as I can.
According to the OpenLDAP website
OpenLDAP Software is an open source implementation of the Lightweight Directory Access Protocol.
It is commonly used to centralize user management on a server. The main benefit of OpenLDAP is that by creating a single user in your database, these credentials can be used in other applications or services.
This way, you don’t have to go through each application creating the same user.
So, it is widely used and frequently improved because of its importance.
How To Install OpenLDAP on Debian 11
Before you begin, you will need to introduce some changes to the system to get started.
First update the system completely
sudo apt update
sudo apt upgrade
Next, set an FQDN, to do this run
sudo hostnamectl set-hostname ldap.unixcop.testOf course, you will have to replace this with your FQDN. Now you need to edit the /etc/hosts/ file to add this entry.
sudo nano /etc/hostsAnd at the end add the following
[ip-server] ldap.unixcop.test ldapSave the changes and close the editor.
Install the necessary packages for OpenLDAP
The packages had to deploy an OpenLDAP server are in the official Debian 11 repositories, so we just need to install them.
To achieve this, run the following command:
sudo apt install slapd ldap-utilsThis will calculate the changes
Reading package lists... Done
Building dependency tree... Done
Reading state information... Done
The following additional packages will be installed:
  libgdbm-compat4 libltdl7 libodbc1 libperl5.32 perl perl-modules-5.32 psmisc
Suggested packages:
  libsasl2-modules-gssapi-mit | libsasl2-modules-gssapi-heimdal libmyodbc odbc-postgresql tdsodbc unixodbc-bin perl-doc
  libterm-readline-gnu-perl | libterm-readline-perl-perl make libtap-harness-archive-perl
The following NEW packages will be installed:
  ldap-utils libgdbm-compat4 libltdl7 libodbc1 libperl5.32 perl perl-modules-5.32 psmisc slapd
0 upgraded, 9 newly installed, 0 to remove and 0 not upgraded.
Need to get 9,735 kB of archives.
After this operation, 54.4 MB of additional disk space will be used.
Do you want to continue? [Y/n]
After accepting the changes, the installation process will start.
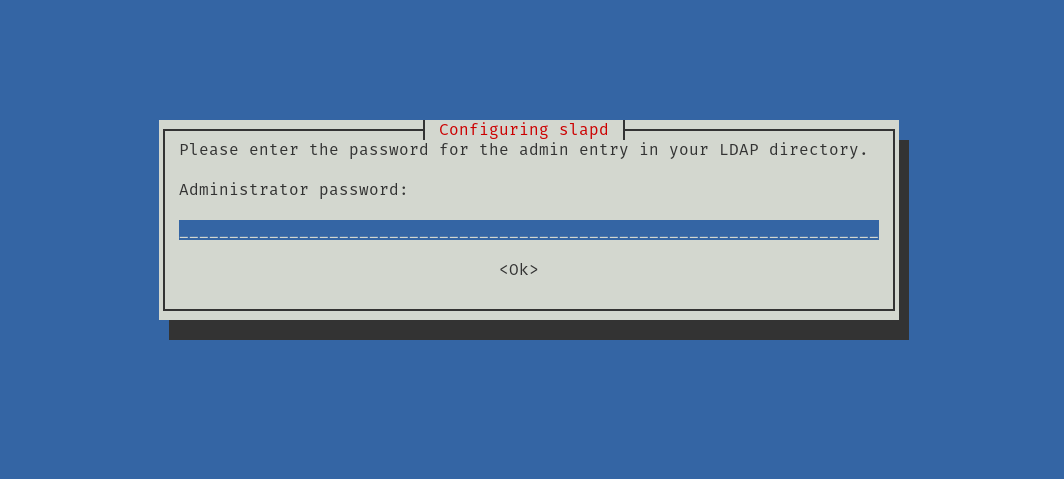
During the installation process, you will be prompted to enter the admin user password. This user is the one who will add users and groups to the server.
Configuring the OpenLDAP server on Debian 11
Although the OpenLDAP server is already running, it is necessary to configure it to set the default options.
To achieve this, reconfigure the slapd package with the following command:
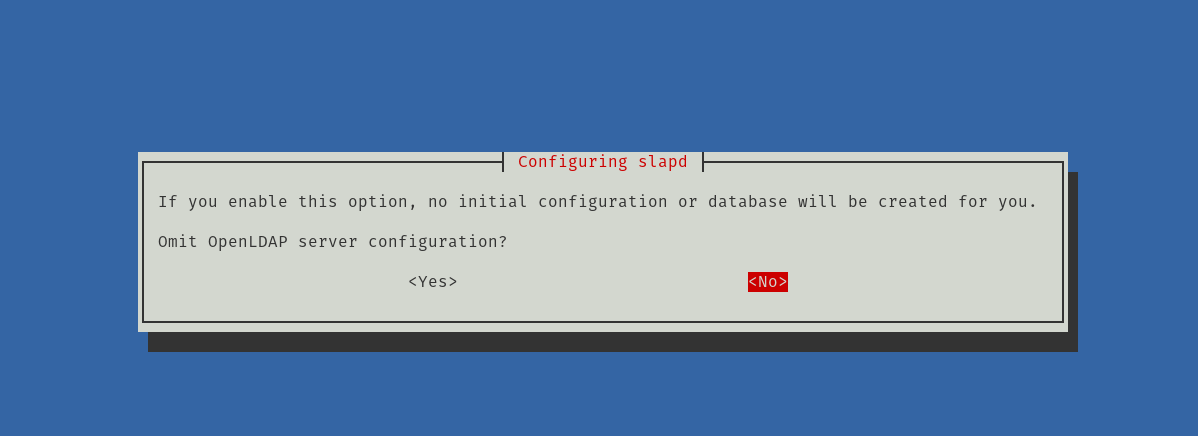
sudo dpkg-reconfigure slapdYou will be presented with some configuration screens. Let’s see. The first one is to ask you if you want to skip the initial configuration. Normally, you should answer no because this will create a friendly default configuration.
On the next screen, you will have to configure the DNS. Choose yours.
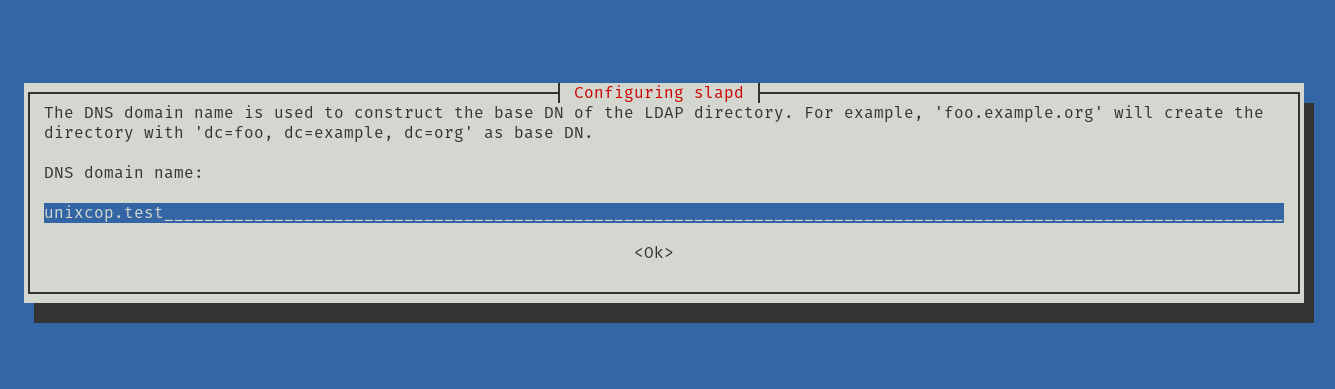
Then, it is time to enter the name of the organization. You can also use the domain name.

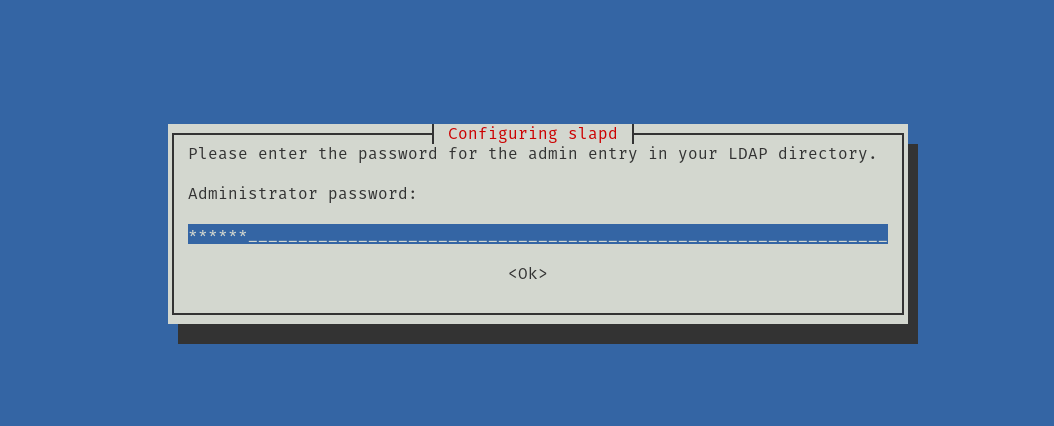
After this, you can change the password of the admin user. Put the one you want, but remember that you have to be strong.
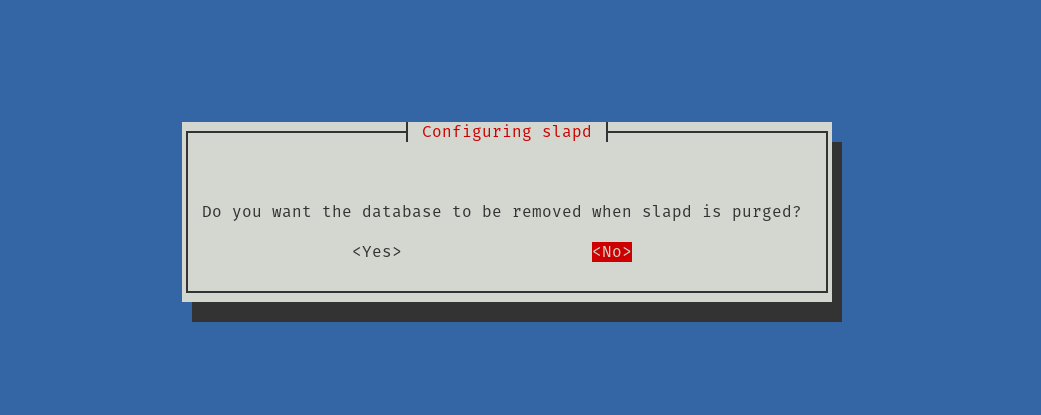
The next step is to indicate if you want the database to be removed when the slapd package is purged. Answer No.
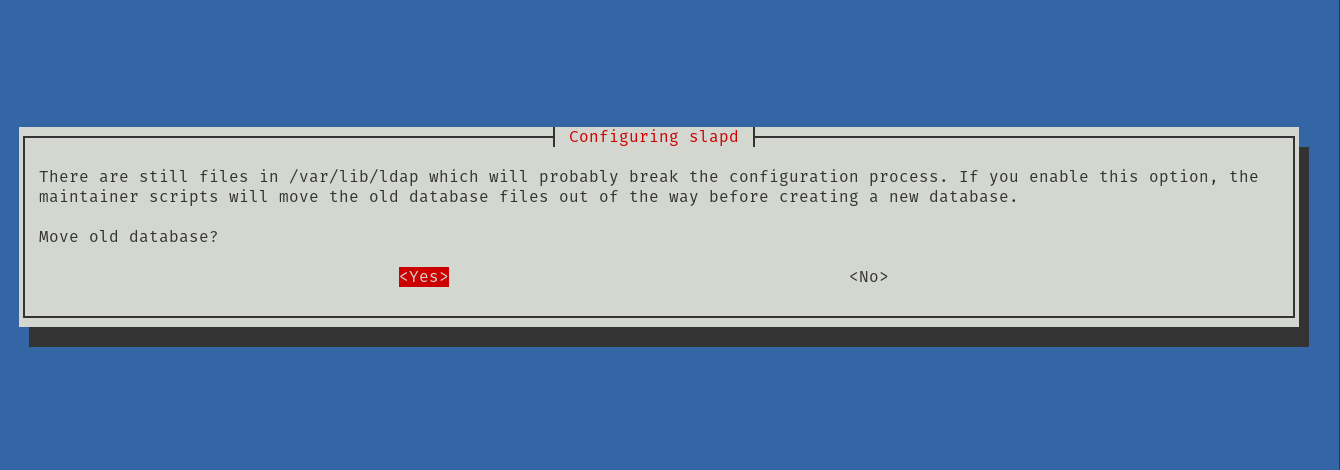
Finally, move the old database to a new one.
You can verify all changes and settings with the following command
sudo slapcatIn my case, there will be an on-screen output like this
dn: dc=unixcop,dc=test
objectClass: top
objectClass: dcObject
objectClass: organization
o: unixcop
dc: unixcop
structuralObjectClass: organization
entryUUID: 335bc082-546f-103d-9ce0-47a13c5200ec
creatorsName: cn=admin,dc=unixcop,dc=test
createTimestamp: 20230311154323Z
entryCSN: 20230311154323.410352Z#000000#000#000000
modifiersName: cn=admin,dc=unixcop,dc=test
modifyTimestamp: 20230311154323Z
If you are happy with the changes, restart slapd to apply them.
sudo systemctl restart slapdIt is not a bad idea to check the status of the service to see if everything is OK.
sudo systemctl status slapdsample output:
● slapd.service - LSB: OpenLDAP standalone server (Lightweight Directory Access Protocol)
     Loaded: loaded (/etc/init.d/slapd; generated)
    Drop-In: /usr/lib/systemd/system/slapd.service.d
             └─slapd-remain-after-exit.conf
     Active: active (running) since Sat 2023-03-11 15:43:56 UTC; 3s ago
       Docs: man:systemd-sysv-generator(8)
    Process: 2248 ExecStart=/etc/init.d/slapd start (code=exited, status=0/SUCCESS)
      Tasks: 3 (limit: 4553)
     Memory: 3.0M
        CPU: 36ms
     CGroup: /system.slice/slapd.service
             └─2254 /usr/sbin/slapd -h ldap:/// ldapi:/// -g openldap -u openldap -F /etc/ldap/slapd.d

Mar 11 15:43:56 ldap.unixcop.test systemd[1]: Starting LSB: OpenLDAP standalone server (Lightweight Directory Access Protocol)...
Mar 11 15:43:56 ldap.unixcop.test slapd[2253]: @(#) $OpenLDAP: slapd 2.4.57+dfsg-3+deb11u1 (May 14 2022 18:32:57) $
                                                       Debian OpenLDAP Maintainers <[email protected]>
Mar 11 15:43:56 ldap.unixcop.test slapd[2254]: slapd starting
Mar 11 15:43:56 ldap.unixcop.test slapd[2248]: Starting OpenLDAP: slapd.
Mar 11 15:43:56 ldap.unixcop.test systemd[1]: Started LSB: OpenLDAP standalone server (Lightweight Directory Access Protocol).
Now set the correct rules in the firewall so that OpenLDAP can run on the network.
sudo ufw allow LDAP
sudo ufw allow LDAPS
And restart the firewall
sudo ufw reloadCreate a group in OpenLDAP
The server at this point is working, but it is necessary to create a group and a user to start it.
First, let’s go with the group, create a file called users.ldif in /etc/ldap/.
sudo nano /etc/ldap/users.ldifInside it, add the following
dn: ou=Group1,dc=unixcop,dc=test
objectClass: organizationalUnit
ou: Group1
Replace Group1 with the name of your group. It can be even more descriptive.
Save the changes and close the editor.
Now add the group as such
sudo ldapadd -D "cn=admin,dc=unixcop,dc=test" -W -H ldapi:/// -f /etc/ldap/users.ldifYou will be prompted for the openldap admin user password.
Enter LDAP Password:
adding new entry "ou=Group1,dc=unixcop,dc=test"
Creating a new user in OpenLDAP
Now it is time to create a new user. In this case, create a file for this user, you can call it whatever you want, but it is good if it is descriptive.
sudo nano andre.ldifAnd inside it, add this content
dn: cn=andre,ou=Group1,dc=unixcop,dc=test
objectClass: top
objectClass: account
objectClass: posixAccount
objectClass: shadowAccount
cn: andre
uid: andre
uidNumber: 10001
gidNumber: 10001
homeDirectory: /home/andre
userPassword: pass123
loginShell: /bin/bash
The first thing we will notice is that the dc line contains the information about the user, the group to which it will belong and the associated domain.
What follows are OpenLDAP configurations up to the homeDirectory line that establishes which will be its home folder, also in the userPassword line the user password is defined and finally, its shell.
The available settings and options vary a lot depending on your needs.
Save the changes and close the editor.
Now add the new user with the ldapadd command
sudo ldapadd -D "cn=admin,dc=unixcop,dc=test" -W -H ldapi:/// -f andre.ldifYou will see an output screen like this
adding new entry "cn=andre,ou=Group1,dc=unixcop,dc=test"Now the server is ready.