
Hello, friends. In this post, you will learn step by step how to install and configure an FTP server on CentOS 9 Stream.
Although it is not as popular as in previous years, an FTP server is still used in many servers and companies for downloading and transferring files on a network. That is why it is still worthwhile to learn how to set one up. To do so, we will use perhaps the best and most secure of its implementations, such as vsftpd.
According to the tool’s website
vsftpd is a GPL licensed FTP server for UNIX systems, including Linux. It is secure and extremely fast. It is stable.
One of the main features of vsftpd is that it is quite secure. So, we will also create a certificate to establish more secure connections to the server.
Installing and configuring an FTP server on CentOS 9 Stream
The tool is available from the official CentOS 9 Stream repositories, so the whole process is made easy.
First, open a terminal or connect via SSH to the server and update it
sudo dnf updateThen, install the vsftpd package from the official repositories
sudo dnf install vsftpd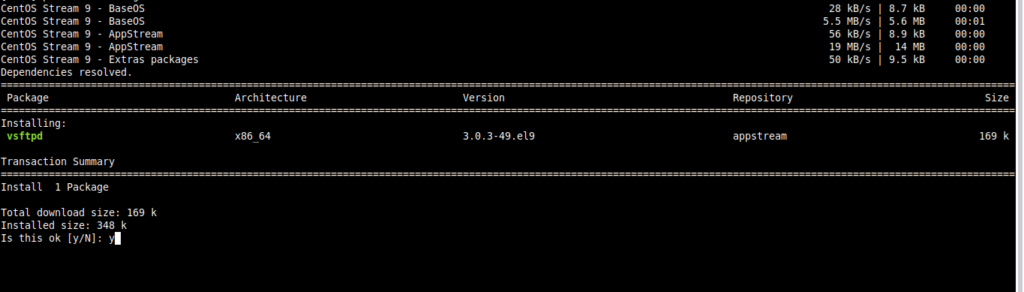
Once it is installed, we have to start the service with the following command
sudo systemctl enable vsftpd --nowYou will get an output screen like this:
Created symlink /etc/systemd/system/multi-user.target.wants/vsftpd.service → /usr/lib/systemd/system/vsftpd.service.Then, you can query the status of the service:
sudo systemctl status vsftpd
● vsftpd.service - Vsftpd ftp daemon
     Loaded: loaded (/usr/lib/systemd/system/vsftpd.service; enabled; vendor preset: disabled)
     Active: active (running) since Tue 2022-06-14 21:02:13 UTC; 4s ago
    Process: 1137 ExecStart=/usr/sbin/vsftpd /etc/vsftpd/vsftpd.conf (code=exited, status=0/SUCCESS)
   Main PID: 1138 (vsftpd)
      Tasks: 1 (limit: 24196)
     Memory: 712.0K
        CPU: 7ms
     CGroup: /system.slice/vsftpd.service
             └─1138 /usr/sbin/vsftpd /etc/vsftpd/vsftpd.conf

Jun 14 21:02:13 unixcop systemd[1]: Starting Vsftpd ftp daemon...
Jun 14 21:02:13 unixcop systemd[1]: Started Vsftpd ftp daemon.
Configuring the FTP server in CentOS 9 Stream
The installation is done, but it needs to be configured. First, we have to create a new user who is authorized to use the server
sudo useradd -m -d "/home/ftpuser" ftpuserOf course, you have to change the values given for your values, such as the username and HOME folder of that user.
Assign a password to the newly created user
sudo passwd ftpuserNow we have to create the folder for the user and assign the necessary permissions to it
sudo mkdir -p /home/ftpuser/shared
sudo chmod -R 750 /home/ftpuser/shared
sudo chown ftpuser: /home/ftpuser/shared
Remember that you have to change shared to the name of the folder you have designated.
Now we need to add this user to the list of users allowed to use the FTP server.
sudo vi /etc/vsftpd/user_listAnd at the end of the file, add the username:
ftpuserSave the changes and close the editor.
Now we have to open the tool configuration file.
sudo vi /etc/vsftpd/vsftpd.confIn this file, we have to modify several things.
First, disable anonymous access and only allow access to local users.
anonymous_enable = NO
local_enable = YES
Now set write permissions to the user who will connect and cage him in his home directory.
write_enable = YES
chroot_local_user = YES
It is recommended that users have to write permissions on their home directories:
allow_writeable_chroot=YESAlso set ports for passive FTP connections.
pasv_min_port=31500
pasv_max_port=32500
Now you have to allow access only to the users declared in the user_list file
userlist_file=/etc/vsftpd/user_list
userlist_deny=NO
Save the changes and close the editor
To apply the changes, simply restart the service.
sudo systemctl restart vsftpdOptional: Securing the connection to the FTP server
If you are going to use the FTP server on a local network where there is no output to the internet, I think what we have done is sufficient. But if it will be on the Internet, then we have to take precautions.
One of them is to create SSL certificates so that the whole process is encrypted. To create your own, you can run this command.
sudo openssl req -x509 -nodes -days 3650 \
-newkey rsa:2048 -keyout /etc/vsftpd.pem \
-out /etc/vsftpd/vsftpd.pem
There you will be asked some certificate configuration questions that you have to answer. It is not difficult at all because they are questions concerning your organization.
Now we have to open the vsftpd configuration file again.
sudo vi /etc/vsftpd/vsftpd.confAnd at the end of the file, add these lines:
rsa_cert_file=/etc/vsftpd/vsftpd.pem
rsa_private_key_file=/etc/vsftpd.pem
ssl_enable=YES
Save the changes and close the editor. To apply the changes, restart the server:
sudo systemctl restart vsftpdIf you have an active firewall, then open the necessary ports:
sudo firewall-cmd --permanent --add-port=20-21/tcp
sudo firewall-cmd --permanent --add-port=31500-32500/tcp
sudo firewall-cmd --reload
And now we can use it.
Test the connection to the FTP server
To test the connection, we need an FTP client. In my case, the mythical FileZilla will be the chosen one.
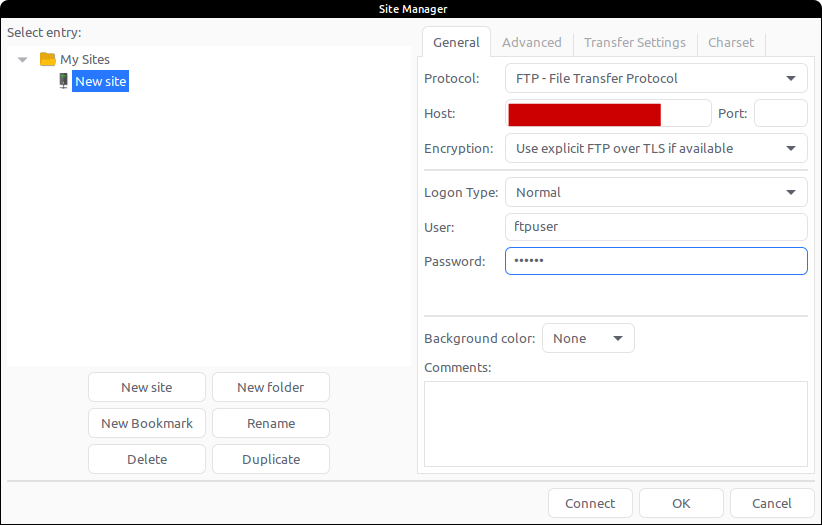
Create a new connection from the main menu and add a new site. Then, set the host, as well as the default port and the username and password we have created.
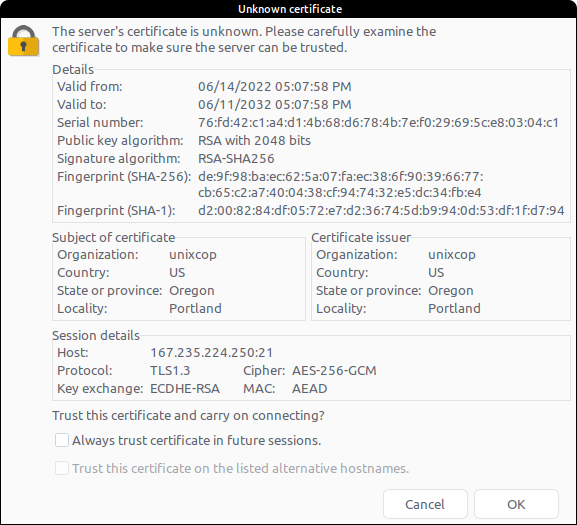
When starting the connection, you will be asked to accept the certificate.
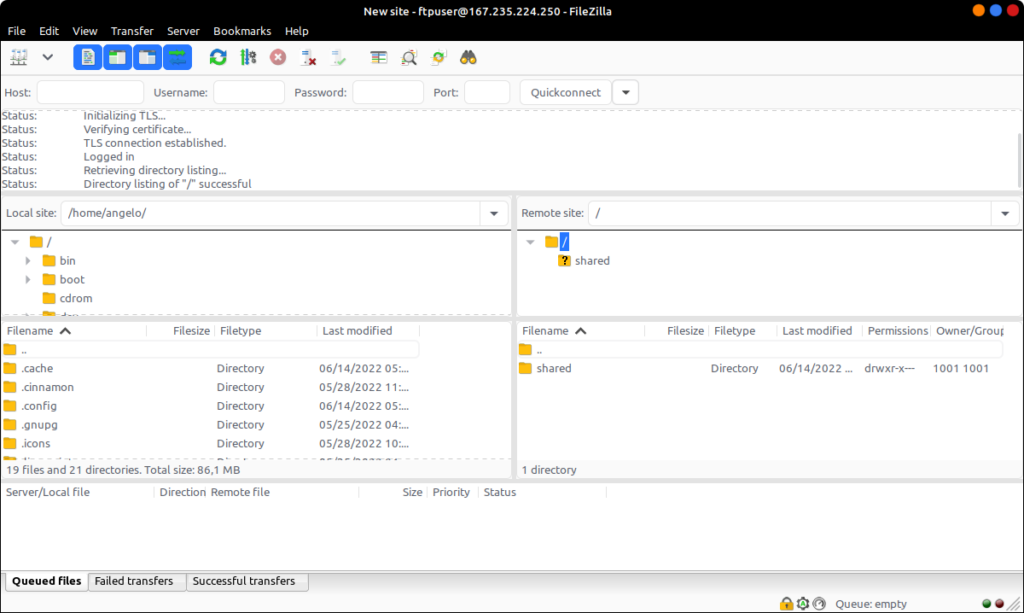
And finally, you will be able to use the FTP server.
Voilà-
Conclusion
So, In this post, you learned how to install and configure an FTP server on CentOS 9 Stream. I hope you find it useful, and I’ll see you soon.