
Today you will learn How to create Users in Kolab
Kolab is an open-source Email server I have configured in my previous tutorial. In this tutorial, we will configure further steps of creating users and the configuration of the email clients.
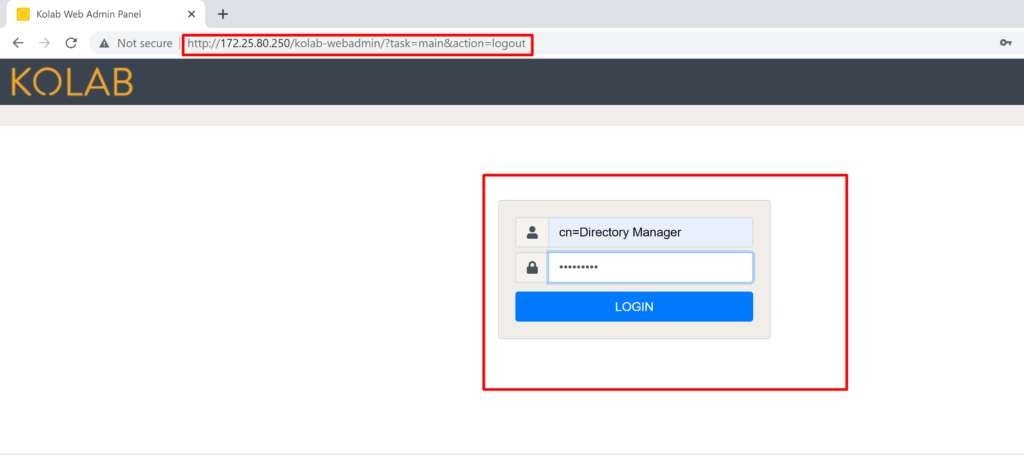
login to Kolab Webadmin portal
http://your kolab server /kolab-webadmin
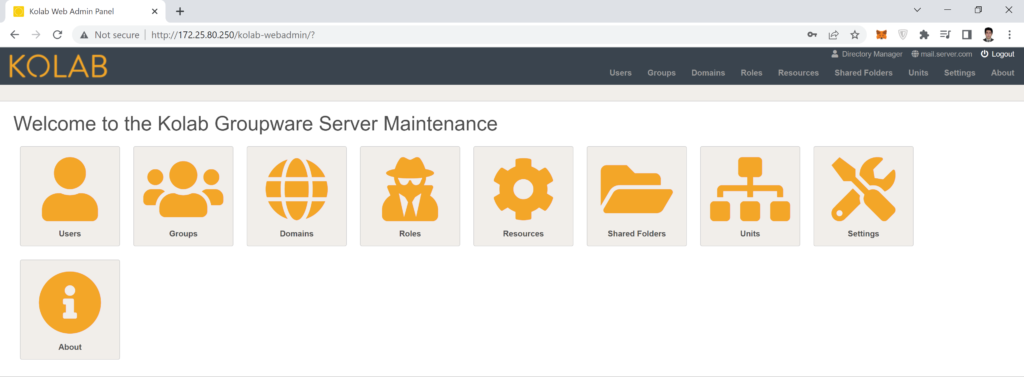
Click on the Users button
provide user information
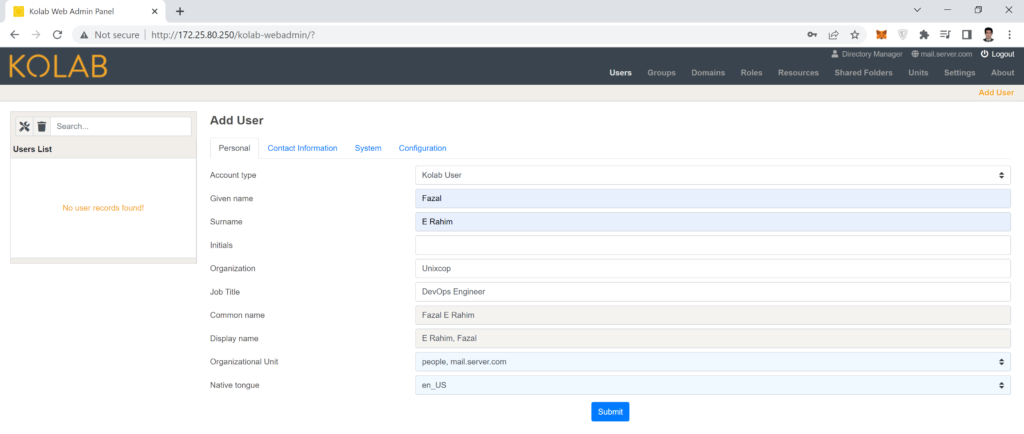
light-blue fields are mandatory,
white fields are optional,
gray fields are disabled for custom entry
provide the contact information
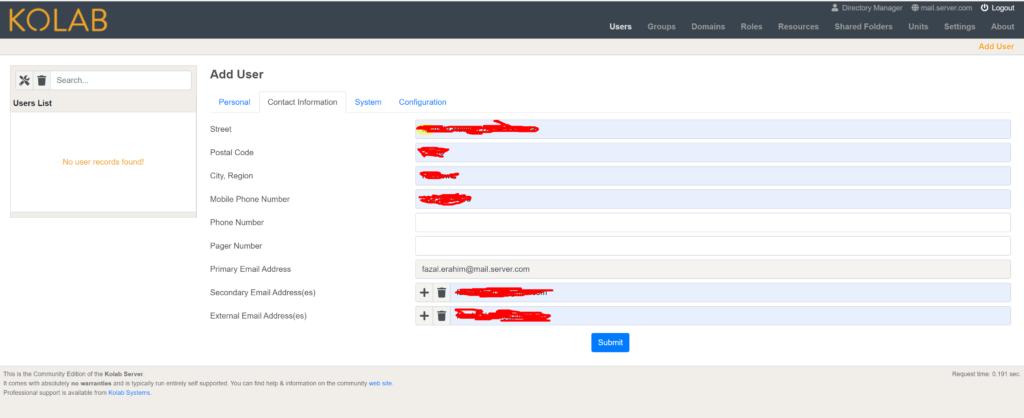
setup your password
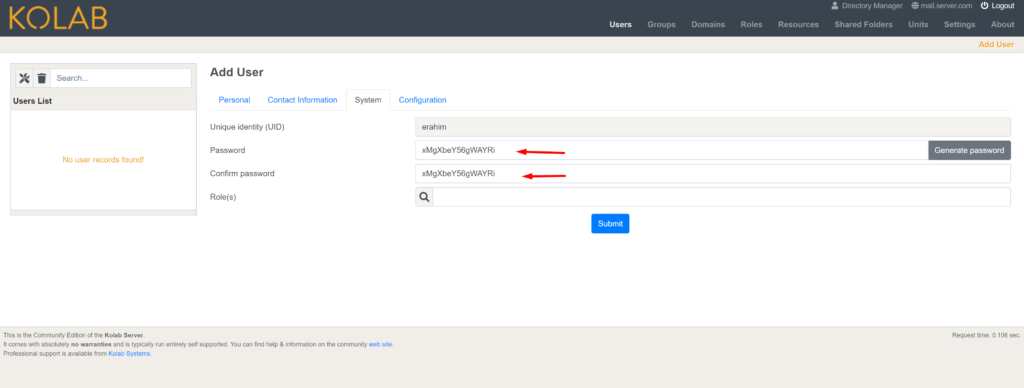
Click on the submit button to create a user
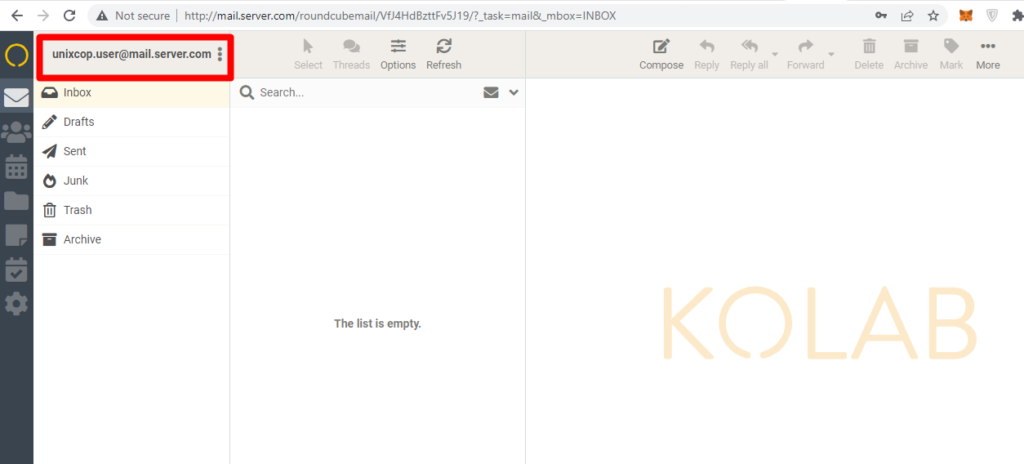
Login using browser
I have created two more email account to check the email
user1: [email protected]
user2: [email protected]
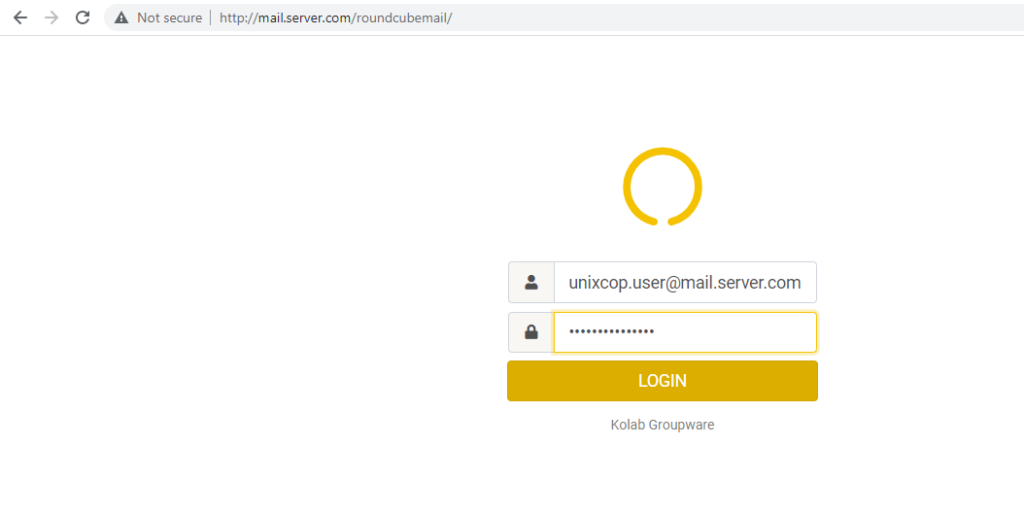
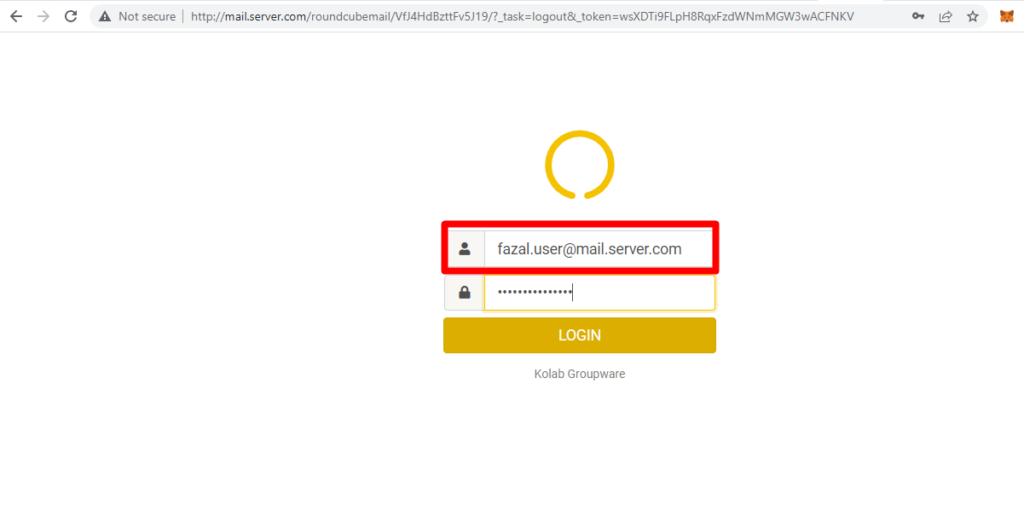
Login User1:
http://your server ip/roundcubemail/
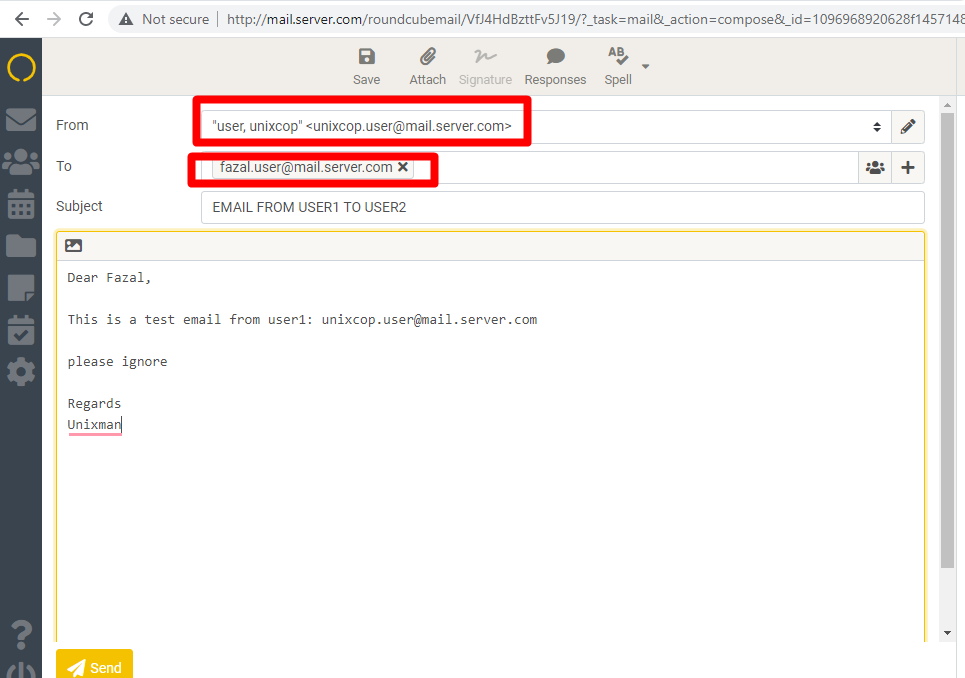
Compose an email from this user to user2.
Login user 2 to check the email sent by user 1
Email received from user1
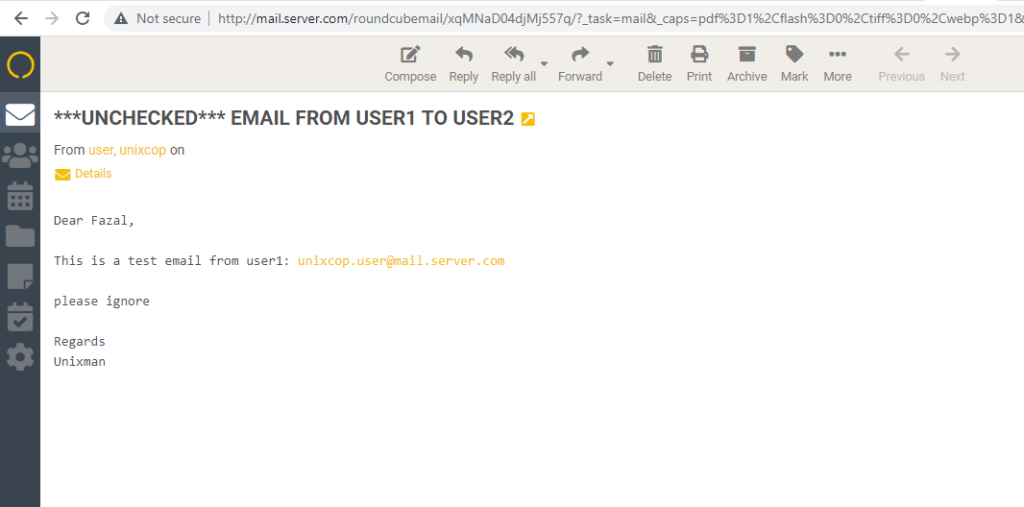
Done!!!