
Introduction
Welcome Again, Today we will discuss how to install LAMP Server with ClearOS Linux. In the previous tutorial, we have discussed a brief introduction of Intel’s Linux OS. Let’s see what we can do with OS. Why not start with the LAPM server which is the very basic requirement for most of the projects.
Install LAMP for Clear Linux
Again we have the desktop version of Clear Linux OS. Check the IP Address of the server, in my example address, is 192.168.43.24.
Update Server
$ sudo swupd update
Install apache package.
# sudo swupd bundle-add httpd
Output
Loading required manifests...
Downloading packs (6.64 MB) for:
 - httpd
 [100%]

Finishing packs extraction...
Validate downloaded files
 [100%]

No extra files need to be downloaded
 [100%]

Installing files...
 [100%]

Calling post-update helper scripts
External command: pacrunner.service: restarted (the binary was updated)
Successfully installed 1 bundle
Enable Service for Clear Linux OS.
# sudo systemctl enable --now httpd.service
Create and change directory as follows
# sudo mkdir -p /etc/httpd/conf.d
Create httpd.conf file into that created directory.
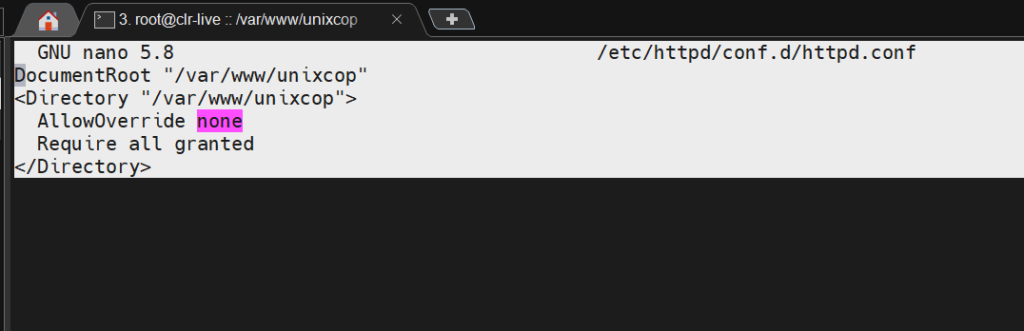
# nano /etc/httpd/conf.d/httpd.conf
Amend file as below.
DocumentRoot "/var/www/unixcop"
<Directory "/var/www/unixcop">
  AllowOverride none
  Require all granted
</Directory>
Create directory mentioned in httpd.conf file.
# sudo mkdir –p /var/www/unixcop
Copy index.html file here.
 # cd /var/www/unixcop
# cp /var/www/html/index.html .
Restart service
# systemctl restart httpd.service
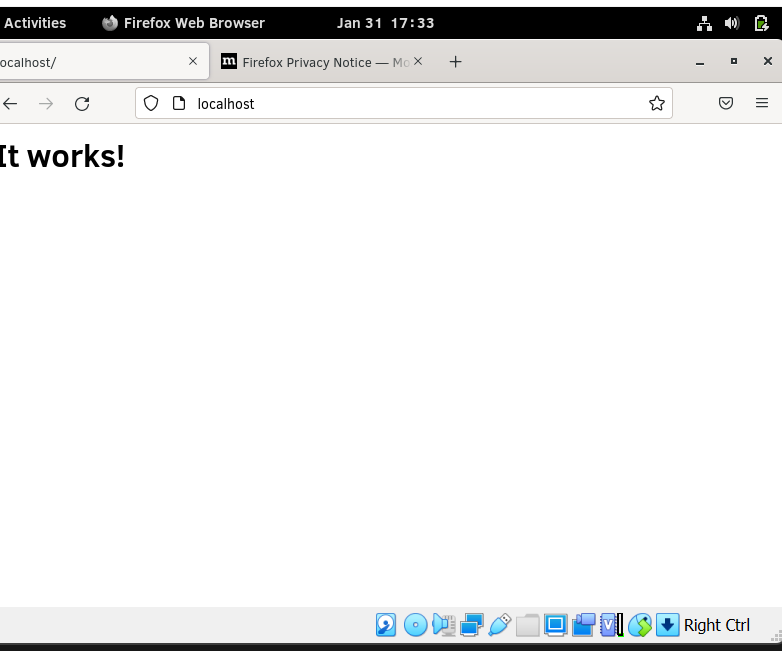
Open Browser and check if apache is working?
Install PHP
# swupd bundle-add php-basic
Output
Loading required manifests...
Downloading packs (33.91 MB) for:
 - php-basic
 [100%]

Finishing packs extraction...
Validate downloaded files
 [100%]

No extra files need to be downloaded
 [100%]

Installing files...
 [100%]

Calling post-update helper scripts
External command: pacrunner.service: restarted (the binary was updated)
External command: systemd-resolved.service: restarted (the binary was updated)
External command: (Took 7 seconds)
Successfully installed 1 bundle
Start Service
# sudo systemctl enable --now php-fpm.service
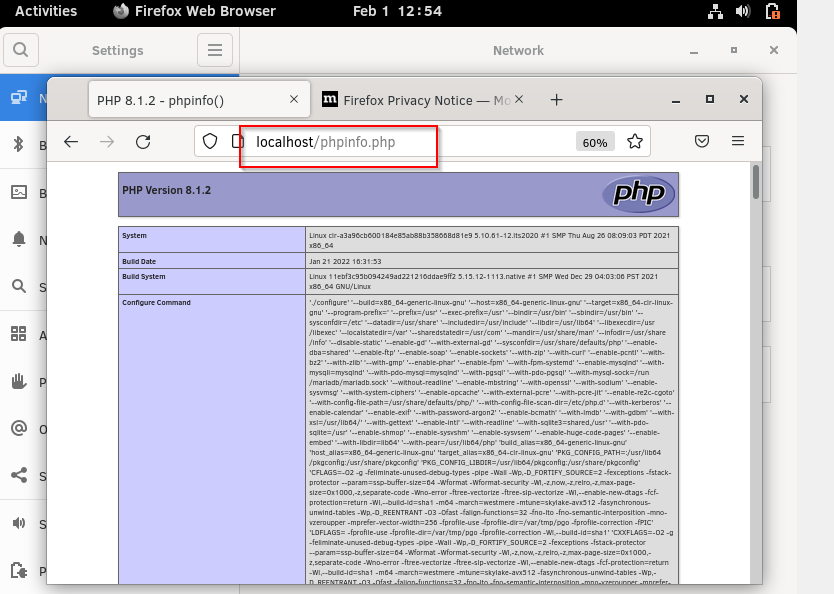
Create phpinfo file and amend as below.
# nano /var/www/unixcop/phpinfo.php

Check if PHP is installed properly or not!
Install MariaDB
# swupd bundle-add mariadb
Start Service
# sudo systemctl enable --now mariadb
Start service and set up things as per your need.
# mysql_secure_installation
Sample output
NOTE: RUNNING ALL PARTS OF THIS SCRIPT IS RECOMMENDED FOR ALL MariaDB
      SERVERS IN PRODUCTION USE!  PLEASE READ EACH STEP CAREFULLY!

In order to log into MariaDB to secure it, we'll need the current
password for the root user. If you've just installed MariaDB, and
haven't set the root password yet, you should just press enter here.

Enter current password for root (enter for none):
OK, successfully used password, moving on...

Setting the root password or using the unix_socket ensures that nobody
can log into the MariaDB root user without the proper authorisation.

You already have your root account protected, so you can safely answer 'n'.

Switch to unix_socket authentication [Y/n] y
Enabled successfully!
Reloading privilege tables..
 ... Success!


You already have your root account protected, so you can safely answer 'n'.

Change the root password? [Y/n] y
New password:
Re-enter new password:
Password updated successfully!
Reloading privilege tables..
 ... Success!


By default, a MariaDB installation has an anonymous user, allowing anyone
to log into MariaDB without having to have a user account created for
them.  This is intended only for testing, and to make the installation
go a bit smoother.  You should remove them before moving into a
production environment.

Remove anonymous users? [Y/n] y
 ... Success!

Normally, root should only be allowed to connect from 'localhost'.  This
ensures that someone cannot guess at the root password from the network.

Disallow root login remotely? [Y/n] n
 ... skipping.

By default, MariaDB comes with a database named 'test' that anyone can
access.  This is also intended only for testing, and should be removed
before moving into a production environment.

Remove test database and access to it? [Y/n] y
 - Dropping test database...
 ... Success!
 - Removing privileges on test database...
 ... Success!

Reloading the privilege tables will ensure that all changes made so far
will take effect immediately.

Reload privilege tables now? [Y/n] y
 ... Success!

Cleaning up...

All done!  If you've completed all of the above steps, your MariaDB
installation should now be secure.

Thanks for using MariaDB!
Congratualtions, we have an up and running LAMP Server now.
