
Introduction
Welcome Back! today we are going to discuss PetaSAN. A storage management solution for day to date backups and data protection. While looking for some good article material, I was able to find a decent and dedicated NAS OS that not only comes with Ubuntu OS as backed but is also easy to manage and install. A storage device that is based on modern storage technology. Highly scalable storage which provides agility and elasticity. Let’s discuss features and installation processes one by one.
Key Features
Key highlights of PetaSAN can be summarised as below:
Protocols: Support all popular protocols like iSCSI, CIFS, SMB, NFS, S3, and Native CEPH.
Easy to use: In spite of the fact that the backup is inherited with complex and multiple underlying technologies. But, with the help of an easy installation method and user-friendly GUI helps to manage things even for Non-Linux admins.
Technological background: PetaNAS is packed with a set of multiple complex techniques to get the best performance.
- Ceph is used as storage engine.
- Consul is used here for cloude scale service management.
- CIFS used with SAMBA services intergrations.
- NFS used with Ganesh.
Ideal for Modern Infra: Ideal for almost all popular virtual environments like HyperV, VMWare VSphear, and even other large-capacity backups.
Installation
An 64 Bit processor Server with 1 TB storage, 8 GB RAM is recommended to start with. Install OS using this link.
Burn image and boot.
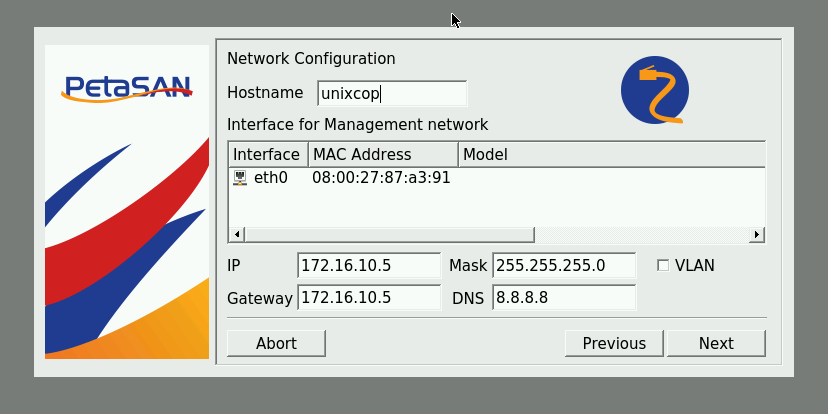
Define IP address for server along with hostname and gateway.
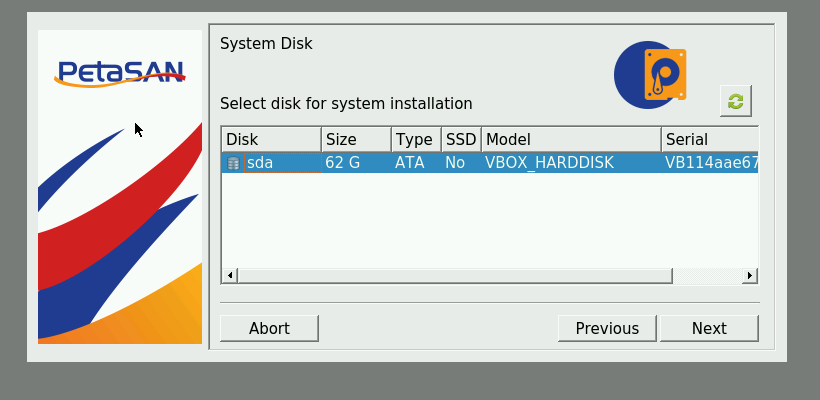
Provide storage details, and click next.
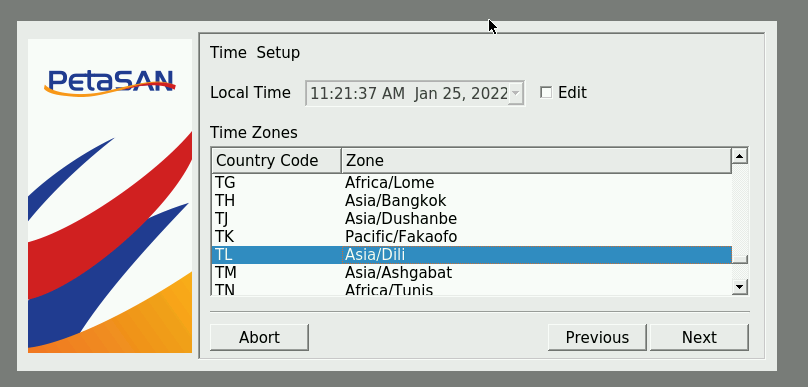
Define time zone and move ahead. Have a look.
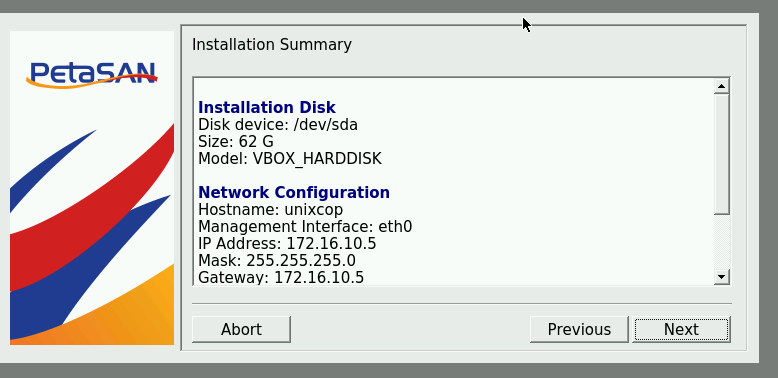
PetaSAN installation summary, go through and amend if any changes are there, or else move ahead.
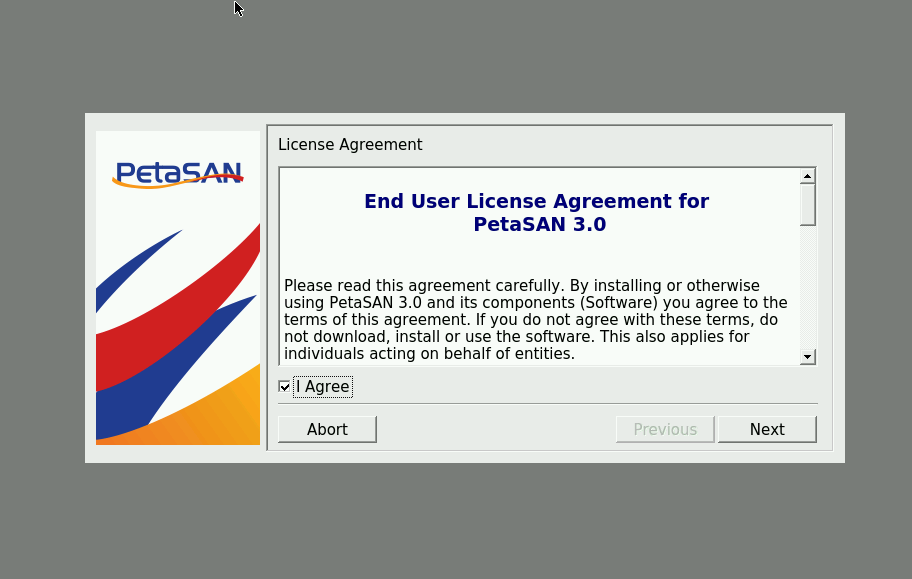
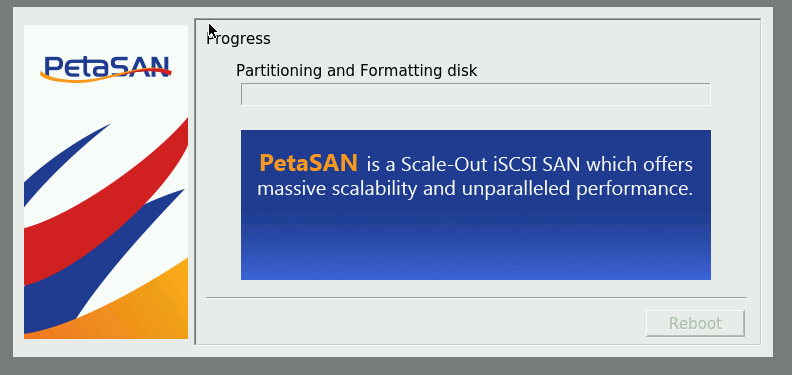
If anything seems proper, install and move to the next stage.
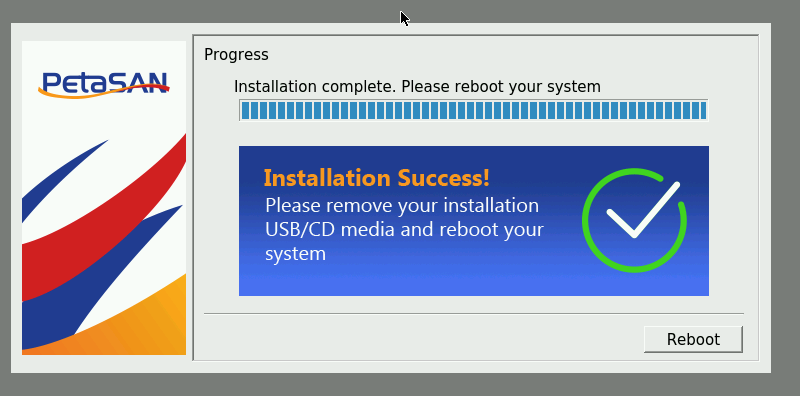
After installation is successful, reboot the system.
Configuration
After PetaSAN is rebooted, it will reflect IP address, and other information is displayed.
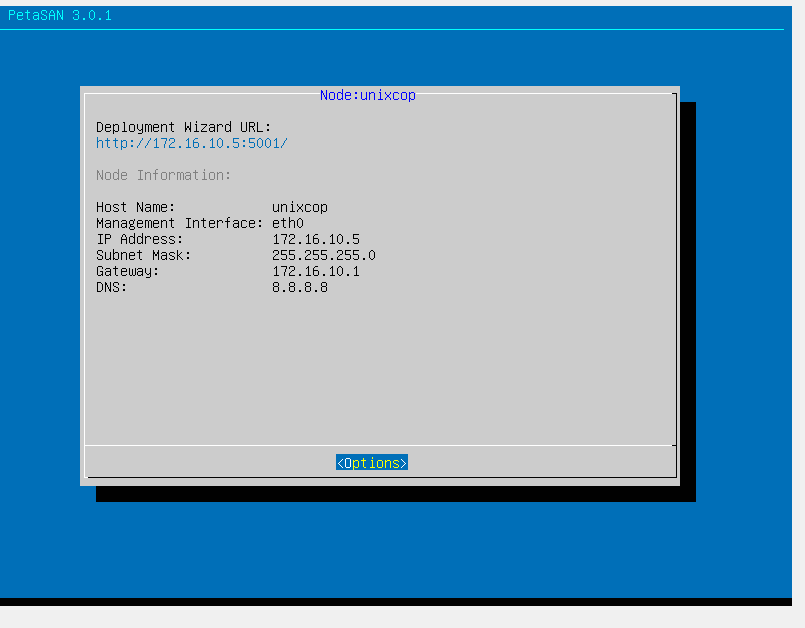
Browse service based on the displayed options.
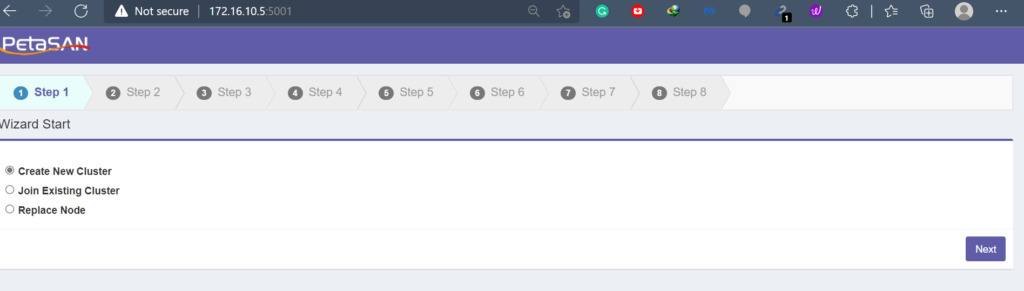
Define your settings, create a cluster based on your requirements. Congratulations you have up-running cluster server storage for your network/cloud-based services. Stay tuned till the next article.