Introduction
FTP server container stands for “File Transfer Protocol” and is an excellent protocol for downloading files from a remote or local server or uploading files onto the server. Using FTP proves to be a primary task after it has been set up correctly. It works by having a server listening for connections (on port 21 by default) from clients. The clients can access a remote directory with their user account and then download or upload files there, depending on the permissions that have been granted to them. It’s also possible to configure anonymous authorization, which means users will not need their account to connect to the FTP server.
On Centos Linux, there are many different FTP server containers and client software packages available. You can even use default GUI and command-line tools as an FTP client. In addition, a stylish and highly-configurable FTP server package is vsftpd, known for many Linux systems, including Centos.
This guide will go over the step-by-step instructions to install vsftpd on Centos. We’ll also see how to configure the container FTP server through various settings, then use the command line, GNOME GUI, or FTP client software to connect to the FTP server. Creating FTP users tutorial.
Environment variables
This image uses environment variables to allow the configuration of some parameters at run time:
- Variable name: FTP_USER
- Default value: admin
- Accepted values: Any string. Avoid whitespaces and special chars.
- Description: Username for the default FTP account. If you don’t specify it through the FTP_USER environment variable at run time, admin will be used by default.
- Variable name: FTP_PASS
- Default value: Random string.
- Accepted values: Any string.
- Description: If you don’t specify a password for the default FTP account through FTP_PASS, a 16 character random string will be automatically generated. You can obtain this value through the container logs.
- Variable name: PASV_ADDRESS
- Default value: Docker host IP / Hostname.
- Accepted values: Any IPv4 address or Hostname (see PASV_ADDRESS_RESOLVE).
- Description: If you don’t specify an IP address to be used in passive mode, You will use the routed IP address of the Docker host. Bear in mind that this could be a local address.
Exposed ports and volumes
The image exposes ports 20 and 21. Also, exports two volumes: /home/vsftpd, which contains users home directories, and /var/log/vsftpd, used to store logs.
When sharing a home directory between the host and the container (/home/vsftpd), the owner user id and group id should be 14 and 50. This corresponds to the container’s FTP user and FTP group but may match something else on the host.
Get the image from repository of your choice
# podman pull fauria/vsftpd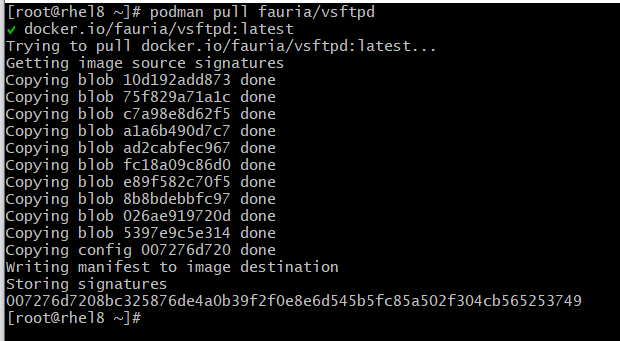
Create a Pod FTP server container:
The FTP protocol listens on port 21 for user authentication and port 20 for data transfer by default. However, we can change this behavior by making a minor edit to the /etc/vsftpd.conf file. At the bottom of the file, use the listen_port directive to specify a different port for vsftpd to use.
# podman pod create --name vsftpdapp -p 21:21 --network bridgeCreate a container in active mode using the default user account, with a binded data directory:
# mkdir /vsftpd_shared
# podman run --pod vsftpdapp --name vsftpd-server -v /vsftpd_shared:/home/vsftpd -d fauria/vsftpd:la
test
To see the user and password you can use the command below.
# podman logs vsftpd-server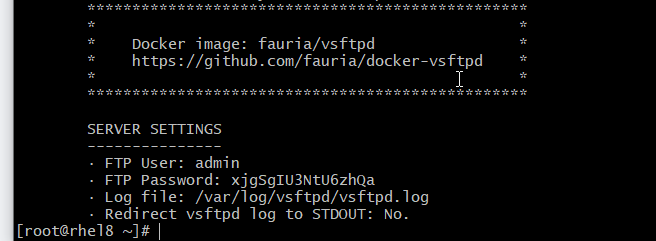
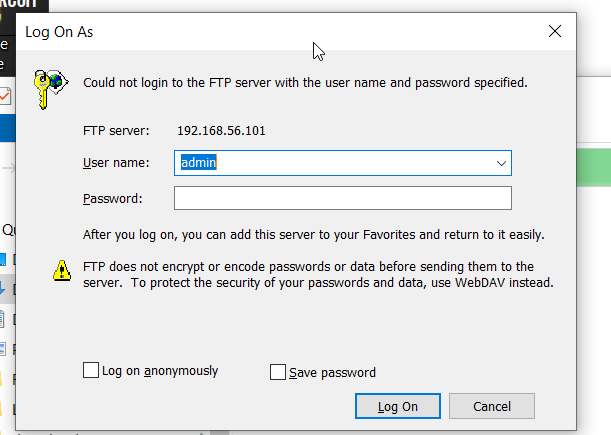
Create a production container with a custom user account, binding a data directory and enabling both active and passive mode:
# podman run --pod vsftpdapp --name vsftpd-server --env FTP_USER=myuser --env FTP_PASS=mypass --env
PASV_ADDRESS=127.0.0.1 --restart=always -d fauria/vsftpd:latest
Manually add a new FTP user to an existing container:
# podman exec -i -t vsftpd-server bash
# mkdir /home/vsftpd/myuser
# chmod +x+o /home/vsftpd/myuser
# echo -e "myuser\nmypass" >> /etc/vsftpd/virtual_users.txt
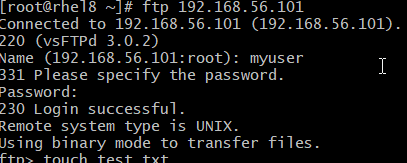
Access ftp server container with ftp command
ftp 192.168.56.101