
The following article describes the process of installing FreeBSD 13.1-RELEASE on the Raspberry Pi. The reader will also learn how to set up a jail on it and run a basic instance of Nginx. The reader will become familiar with flashing custom images on the Raspberry Pi as well as setting up FreeBSD jails in order to configure services.
Pre-requisites
This tutorial has the following prerequisites:
- Familiarity with basic FreeBSD maintenance
- A Raspberry Pi (any model should work)
- A card reader for working with SD cards
- An Ethernet cable
- The
arp-scanutility, here’s an installation tutorial - (Optional) The
xzutility for decompressing images, here’s an installation tutorial
Step 1 – Downloading FreeBSD
The main website for FreeBSD is freebsd.org and there you can find the download links for various releases. For our little ARM computer, I managed to find the link here.
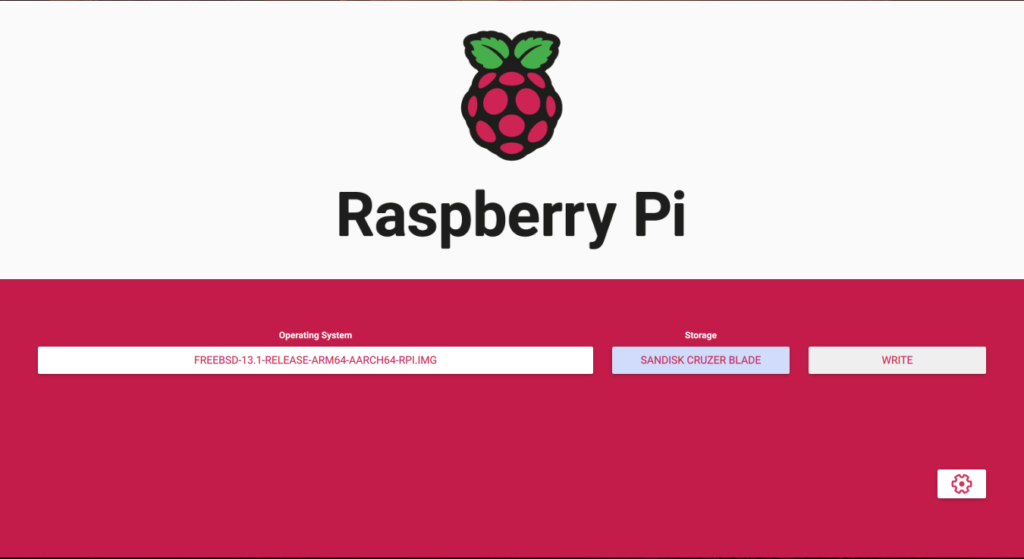
You can download the FreeBSD-13.1-RELEASE-arm64-aarch64-RPI.img.xz image with this link.
Step 2 – Installing FreeBSD on the RPI
Now you need to flash the image. If the image is compressed (i.e. it has something like xz as the extension), then it can be decompressed using the following command:
unxz <filename>Now, insert the card reader loaded with an SD card into your computer so that we can use it as a USB device. You can use the rpi-imager utility for flashing images that comes from the Raspberry Pi team itself (link).

Click on the Choose OS button and select the Use custom option, then proceed with the downloaded image file. Then click on the Choose Storage option and find your SD card. Then click on the Write button.
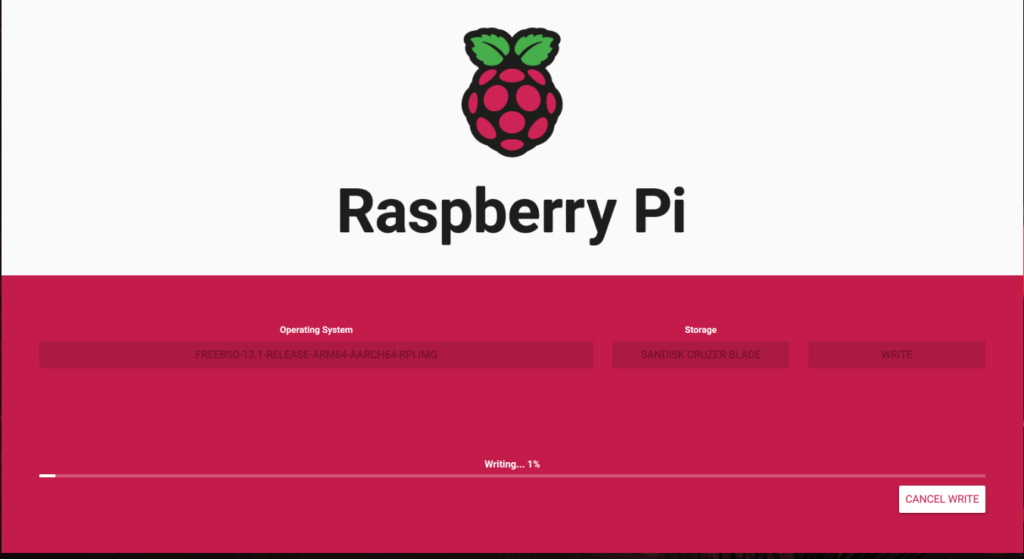
The writing process will take some time. You can skip the verifying process but I suggest you don’t do that.

Step 3 – Booting the RPI
Now insert the SD card into the RPI, give it an Ethernet connection (WiFi won’t work right now) and plug it into a power source. Our RPI will take some time to boot. You can use the arp-scan utility to determine its IP address:
doas arp-scan --interface br0 --localnet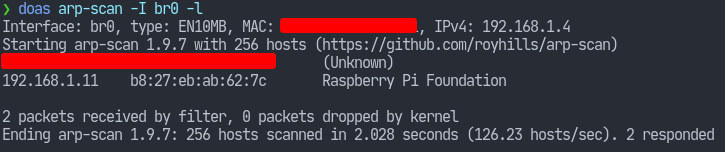
You can also assign it a static IP using your router’s web interface. Completely optional, though. I’ve inserted an entry inside my /etc/hosts file aliasing the RPI’s IP with pi.freebsd.local. So now we can SSH into it.
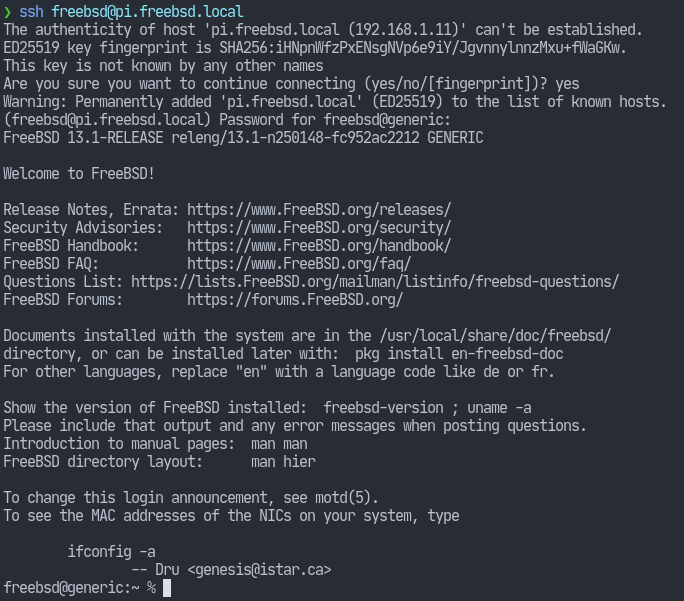
The default user is freebsd and give it the same freebsd as the password. After logging in, I’ve changed to the root user since we need to perform a lot of administrative tasks now. Just enter su - and give it the root password. The root password is root.
Step 3 – Some Basic Setup
Let’s first edit /etc/pkg/FreeBSD.conf and change the line which says:
url: "pkg+http://pkg.FreeBSD.org/${ABI}/quarterly",to be
url: "pkg+http://pkg.FreeBSD.org/${ABI}/latest",If you didn’t notice, I just changed the quarterly to latest.
I’ve installed the vim-tiny package to make my life a bit easier.
pkg install -y vim-tinyNow change the host name by editing /etc/rc.conf and editing the hostname parameter. I’ve gone with pi.freebsd.local. This will take effect in the next reboot.
Let’s also install doas using the same pkg command, and add the following entry to /usr/local/etc/doas.conf:
permit nopass freebsd as rootI don’t wanna be entering passwords every time hence the nopass option. You can also look into the persist option, however. Please see doas.conf(5) for details (i.e. by typing man 5 doas.conf).
Step 4 – Installing a Jail
The FreeBSD Handbook is, in my opinion, one of the best documentation resource out their (for their OS, of course).
Referring to that, I’m going to install a jail on /jail/nginx using the following command:
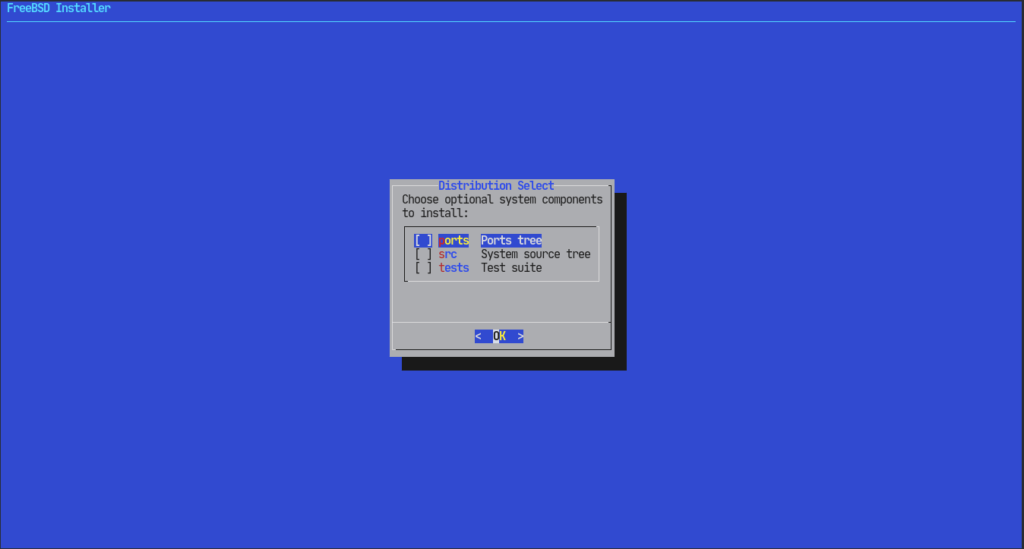
doas bsdinstall jail /jail/nginxSelect the mirrors and choose which distribution files you want in the jail, besides the mandatory base.txz. For this tutorial, it should be none.
After the jail has been installed. Let’s edit the /etc/jail.conf file to look like the following:
nginx {
    host.hostname = pi.freebsd.local;
    ip4.addr = 192.168.1.11;
    path = "/jail/nginx";
    mount.devfs;
    exec.start = "/bin/sh /etc/rc";
    exec.stop = "/bin/sh /etc/rc.shutdown";
}
Now let’s enable this jail so that it’s started at boot. Add to /etc/rc.confthe following:
jail_enable="YES"Now let’s create the jail.
doas jail -c nginx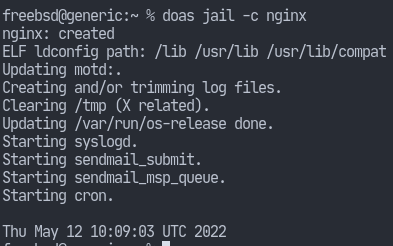
Step 5 – Setting up Nginx on the Jail
Let’s first install nginx and vim-tiny on the jail.
doas pkg -j nginx install nginx vim-tiny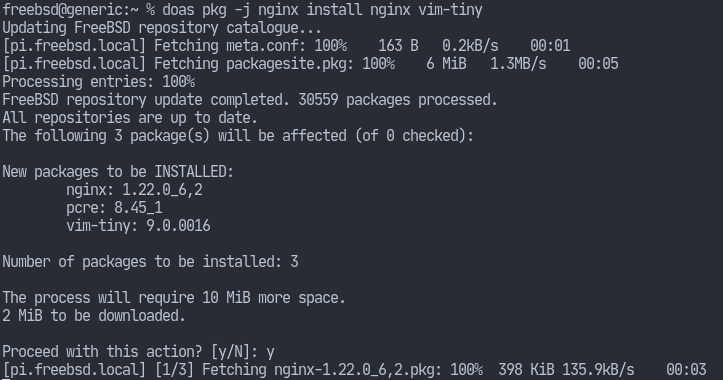
Now we can spawn a shell inside the jail and configure nginx.
doas jexec -l nginx /bin/sh
Now you can add the following entry to /etc/rc.conf:
nginx_enable="YES"We’re still inside the jail, by the way. So that file exists inside the jail.
Now let’s start the nginx service:
service nginx startWe can now quit out of the jail.
Step 6 – Enabling the jail
Now we can enable the jail so that it starts at boot by adding the following entry to /etc/rc.conf:
jail_enable="YES"To stop the jail, run the following command:
doas service jail stop nginxTo start or restart, just replace stop from the above command.
Conclusion
And there you have it. The nginx jail service should be running on the desired port, and you should be able to view it from a web page. That’s all for this article. Hope you learned something and thank you for reading.