
Hello, friends. In this post, you will learn how to install FileRun on Debian 11. The procedure is simple, so let’s get started.
What is Filerun?
According to the FileRun website:
Reliable and Performant File Management
Desktop Sync and File Sharing
But if we are a bit simpler, we can say that Filerun is a sort of Nextcloud but lightweight. And I say this not to minimize the power of FileRun but to better explain what we are talking about.
Thanks to FileRun, many companies share their files securely because the platform is self-hosted. That is, we can deploy an instance ourselves and thus have full control over it.
So let’s go for it.
Install LAMP on Debian 11
FileRun has a powerful web interface that besides being very intuitive works as an administration panel. So, the first step is to create a LAMP environment.
First, upgrade the server completely:
sudo apt update
sudo apt upgrade
Then install Apache and MariaDB.
sudo apt-get install apache2 mariadb-server mariadb-client At the end of the installation, it is the turn of PHP and its modules.
sudo apt install php libapache2-mod-php imagemagick ffmpeg php-imagick php-mysql php-fpm php-common php-gd php-json php-curl php-zip php-xml php-mbstring php-bz2 php-intlWe also need the unzip package.
sudo apt install unzipTo complete the installation, restart Apache and open the necessary ports in the firewall.
sudo ufw allow 80
sudo ufw allow 443
sudo ufw reload
sudo systemctl restart apache2
Now we can continue.
Configure PHP for FileRun
To better run and protect FileRun we need to make some PHP configurations. First, download and install ioncube.
wget https://downloads.ioncube.com/loader_downloads/ioncube_loaders_lin_x86-64.tar.gzThen unzip it in the directory where the PHP libraries are hosted.
sudo tar -xzf ioncube_loaders_lin_x86-64.tar.gz -C /usr/lib/phpTo enable it, you have to create a new configuration file
sudo nano /etc/php/7.4/apache2/conf.d/00-ioncube.iniAnd add the following
zend_extension = /usr/lib/php/ioncube/ioncube_loader_lin_7.4.soSave the changes and close the editor.
It is also necessary to create a new PHP configuration file specific to FileRun.
sudo nano /etc/php/7.4/apache2/conf.d/filerun.iniAnd add the following content
expose_php = Off
error_reporting = E_ALL & ~E_NOTICE
display_errors = Off
display_startup_errors = Off
log_errors = On
ignore_repeated_errors = Off
allow_url_fopen = On
allow_url_include = Off
variables_order = "GPCS"
allow_webdav_methods = On
memory_limit = 128M
max_execution_time = 300
output_buffering = Off
output_handler = ""
zlib.output_compression = Off
zlib.output_handler = ""
safe_mode = Off
register_globals = Off
magic_quotes_gpc = Off
upload_max_filesize = 20M
post_max_size = 20M
enable_dl = Off
disable_functions = ""
disable_classes = ""
session.save_handler = files
session.use_cookies = 1
session.use_only_cookies = 1
session.auto_start = 0
session.cookie_lifetime = 0
session.cookie_httponly = 1
date.timezone = "UTC"
Save the changes and close the editor. Reload Apache to apply all configuration changes.
sudo systemctl reload apache2Creating the database in MariaDB for FileRun
Now we have to work with MariaDB. Since we are on a new installation, then we have to configure it before using it. To complete this, run the needed script.
sudo mysql_secure_installationThere you will be asked for a password that, as it does not exist, just press Enter to access. Then, you will be able to define yours and finally, secure the installation by answering Y to each of them.
Now you can access the MariaDB console:
sudo mysql -u root -pAnd create the database with the name you want.
CREATE DATABASE filerundb;Then create the user and his password and give him permissions on the database.
GRANT ALL PRIVILEGES ON filerundb.* TO 'user'@'localhost' IDENTIFIED BY 'pss';You can use any username you want, as well as a stronger password.
Refresh the permissions in general and exit the console.
FLUSH PRIVILEGES;
exit;
Install FileRun on Debian 11
Now with the environment ready, we can start installing FileRun. First, we have to download it using wget.
wget -O FileRun.zip https://filerun.com/download-latest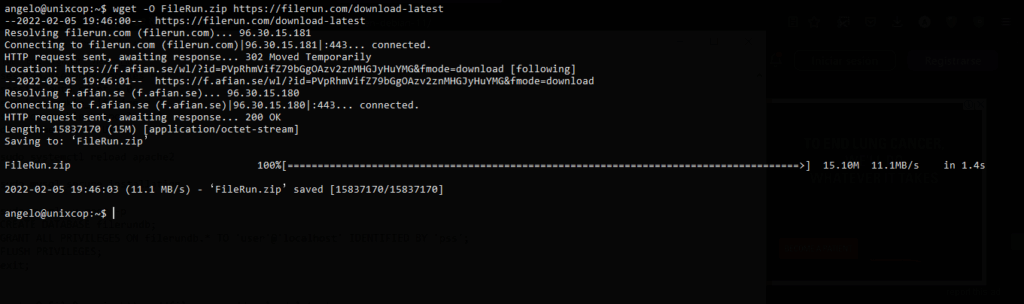
Then you have to unzip it, using the unzip command, into the Apache root directory.
sudo unzip FileRun.zip -d /var/www/html/filerun/Now make Apache the owner of the folder:
sudo chown -R www-data:www-data /var/www/html/filerunAnd assign the correct permissions to it:
sudo chmod -R 755 /var/www/html/filerunNow you need to create a new virtualhost to handle the FileRun site-
sudo nano /etc/apache2/sites-available/filerun.confAnd add the following:
<VirtualHost *:80>
        ServerName filerun.unixcop.test
        DocumentRoot /var/www/html/filerun

        <Directory "/var/www/html/filerun">
                Options Indexes FollowSymLinks
                AllowOverride All
                Require all granted
        </Directory>

        ErrorLog ${APACHE_LOG_DIR}/filerun.error.log
        CustomLog ${APACHE_LOG_DIR}/filerun.access.log combined
</VirtualHost>
Don’t forget to replace ServerName with your domain.
Save the changes and close the editor.
Enable the new site and the rewrite module
sudo a2ensite filerun.conf
sudo a2enmod rewrite
Finally, restart Apache.
sudo systemctl restart apache2Installing FileRun via the web interface
Now open your favorite web browser and access your domain to perform the installation.
First, you will see the following screen:
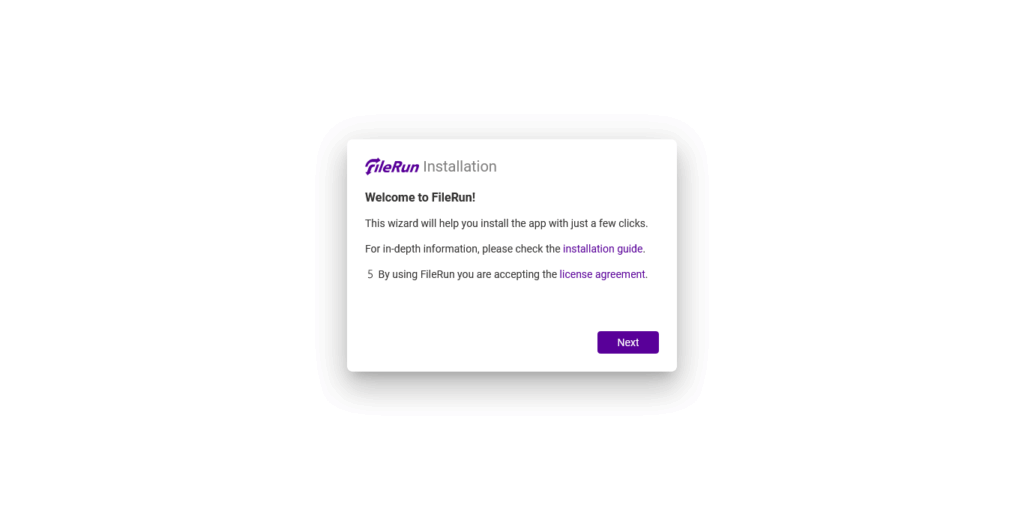
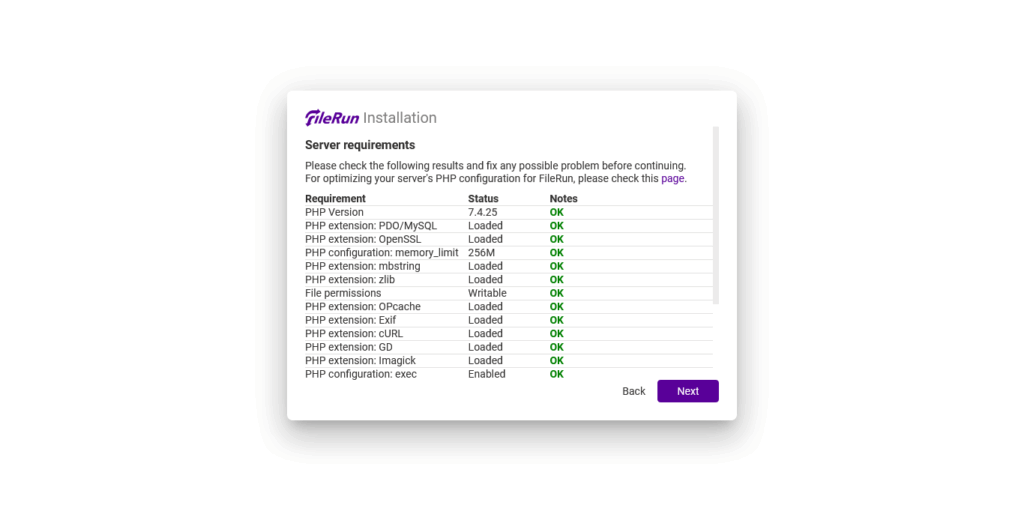
Then the installer will check the system for missing dependencies.
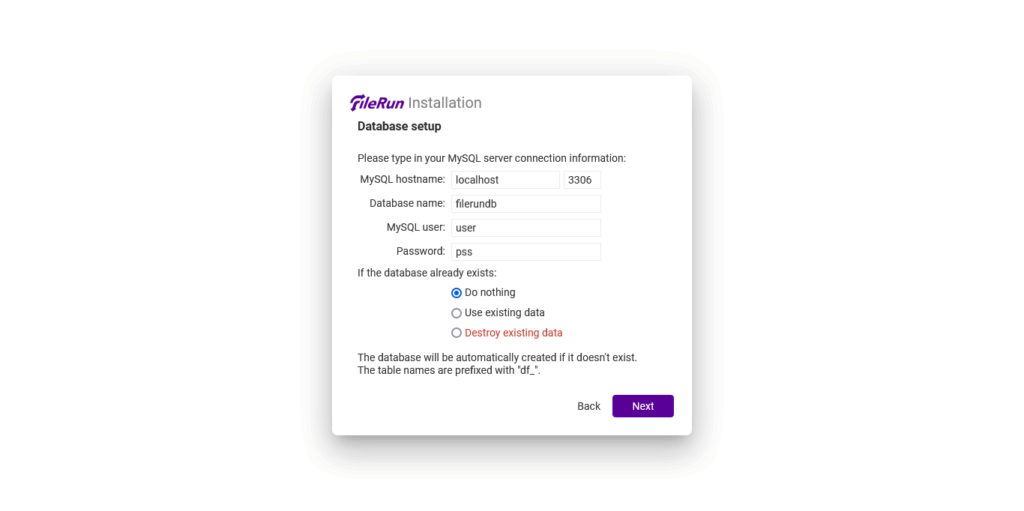
Next, you will have to enter the parameters of the database we have configured.
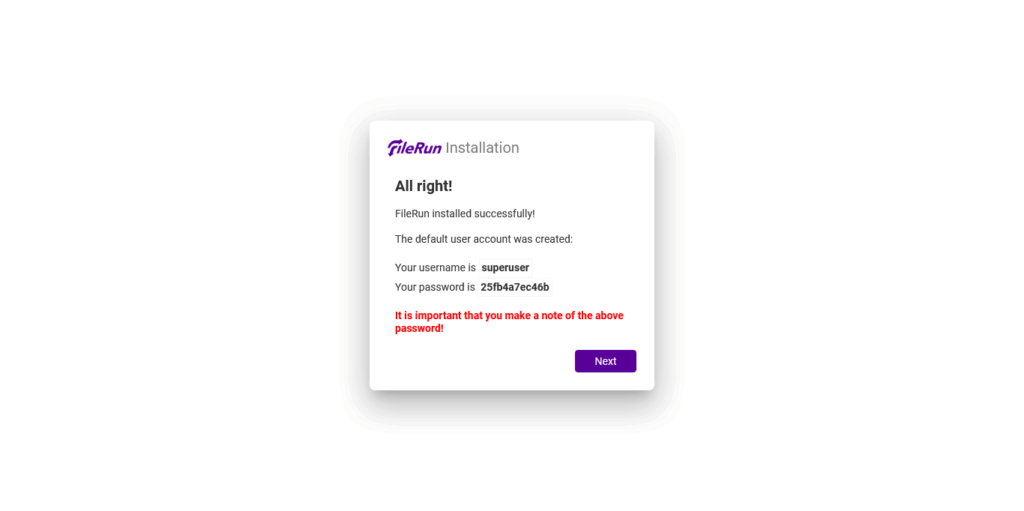
If all goes well, you will see the following screen. There you will see the login credentials that you will have to write down in a safe place.
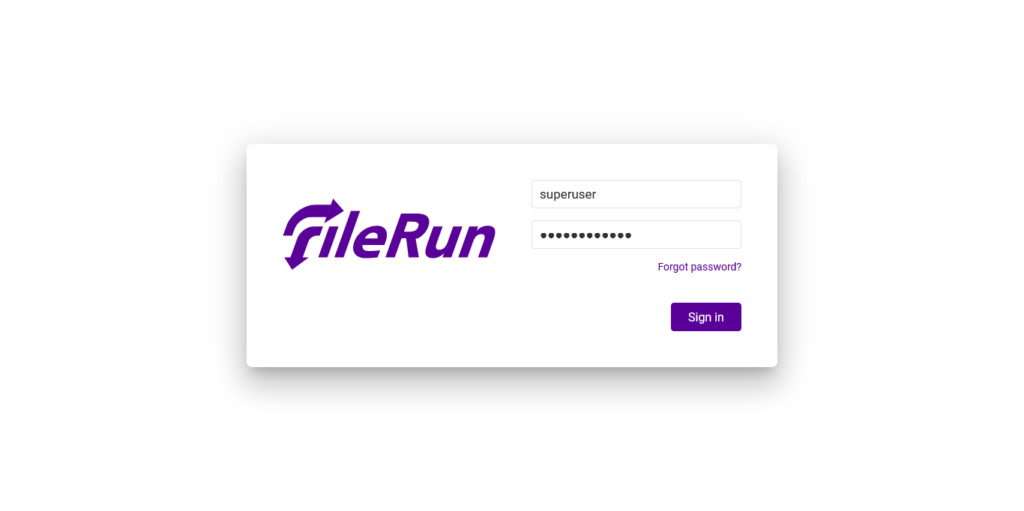
Next, you will see the login screen.
Finally, you will see the initial FileRun screen.
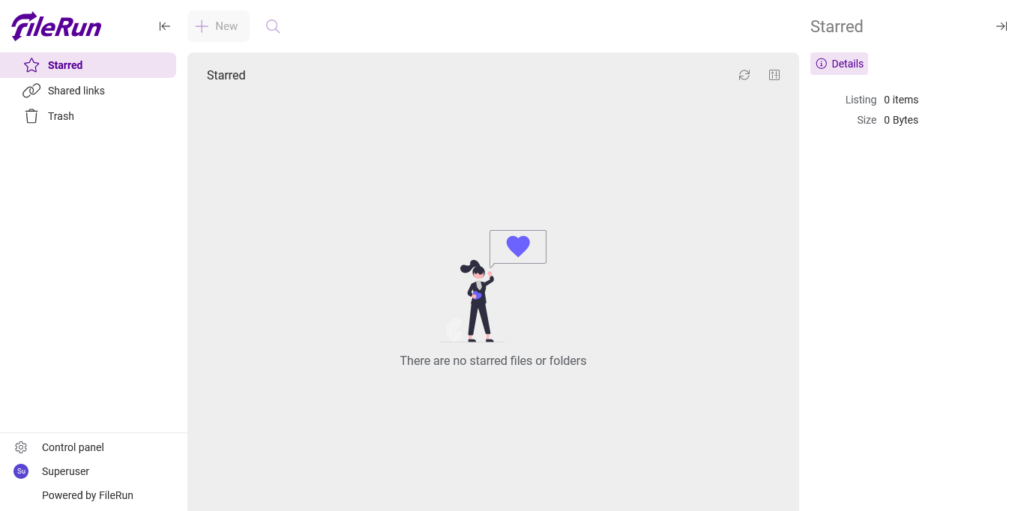
Enjoy it.
FileRun on Debian 11 – Conclusion
In this post, you have learned how to install FileRun in Debian to have a file server that you can use privately.
I hope you liked the post.